And a final behemoth, the somewhat maligned Resistance one.
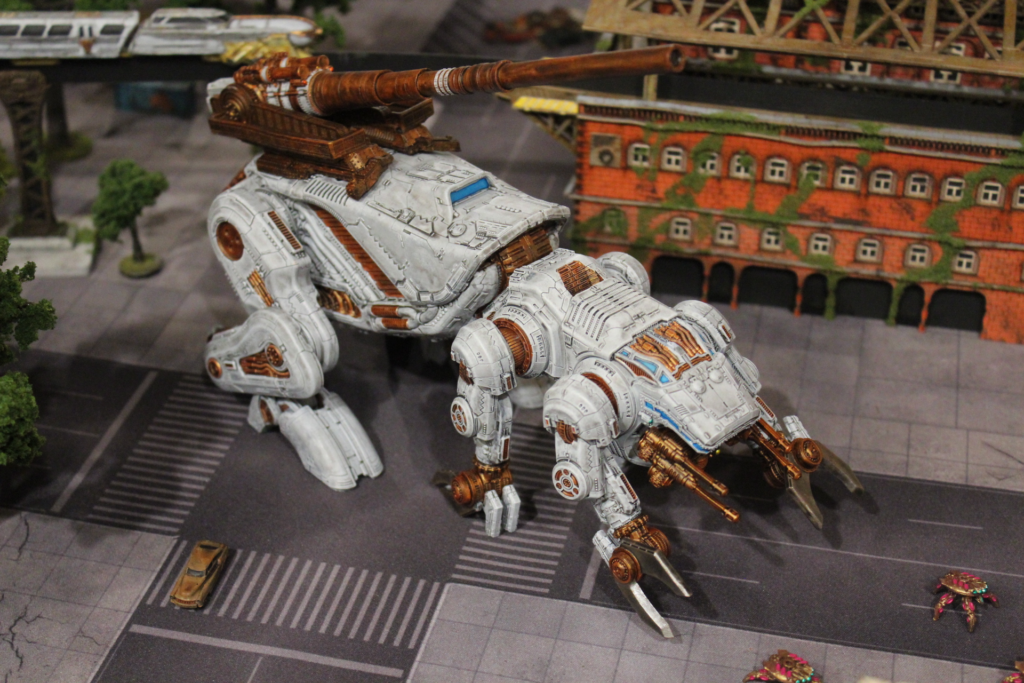
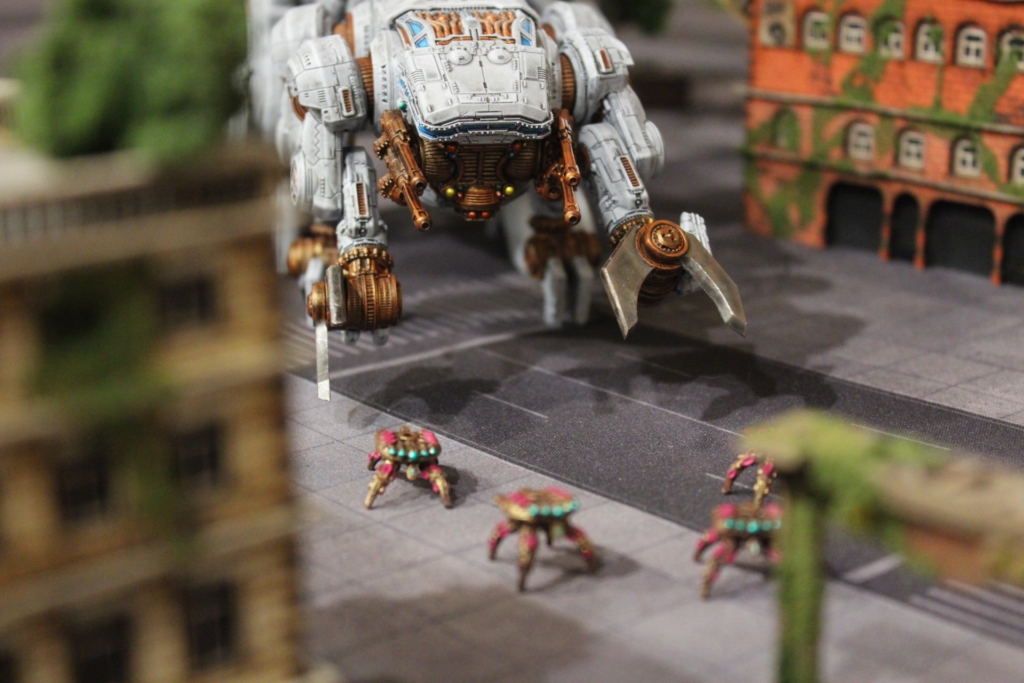
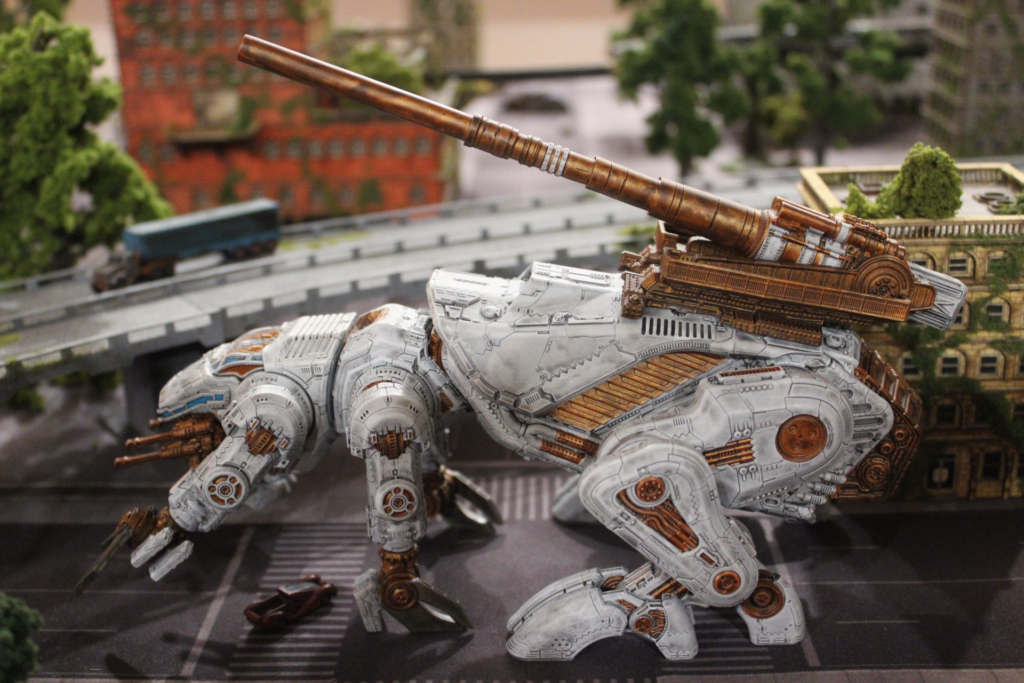
One of the big complaints I’ve seen has been about the downward dog-esque pose the ‘default’ pose has, a result of the large abdomen(?) component being elevated above the front two sections. I wanted to remedy this a bit by both tilting the back downwards as much as looked reasonable, and having the middle section stand as tall as it could. The cannon of the Juggernaut variant also draws the eye more towards the front area of the model; I dislike the Colossus variant as it appears too back heavy and emphasizes the size and height disparity between front and back.
I think it turned out alright at least! My only real complaint about the model design is that you can’t rotate the individual sections to the sides. In my head I had the idea of the front sections angling aggressively to the side and downward, but to do that the back section and cannon would also have to be angled, and I prefer to have the cannon and its apparatus kept level.
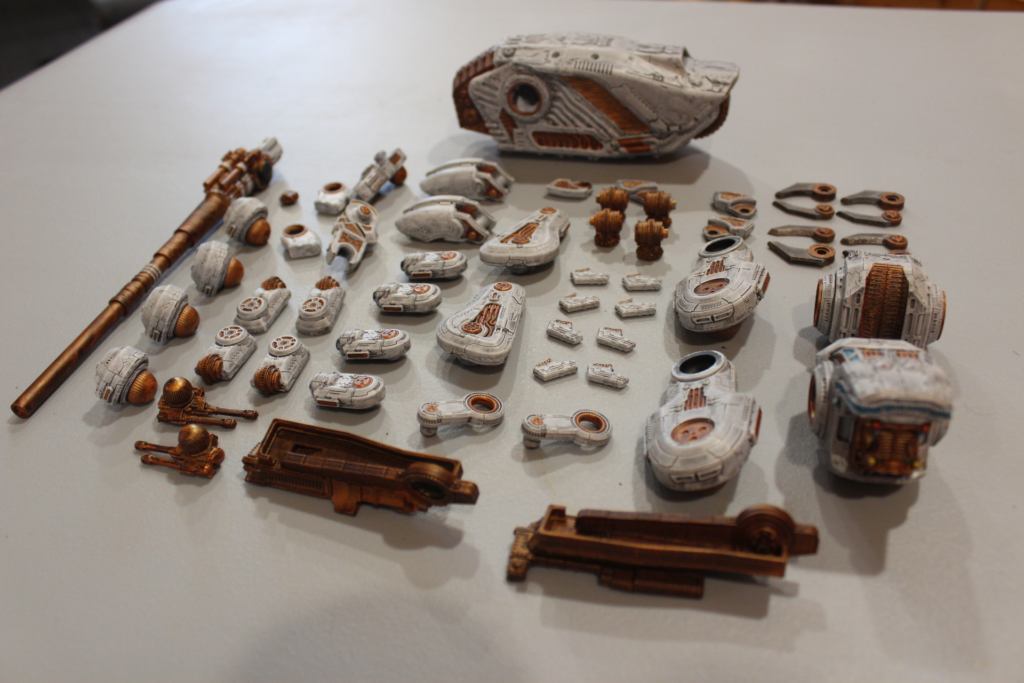
Quite a few bits with this kit! Each front leg consists of eight pieces, so that’s the bulk of the piece count here.
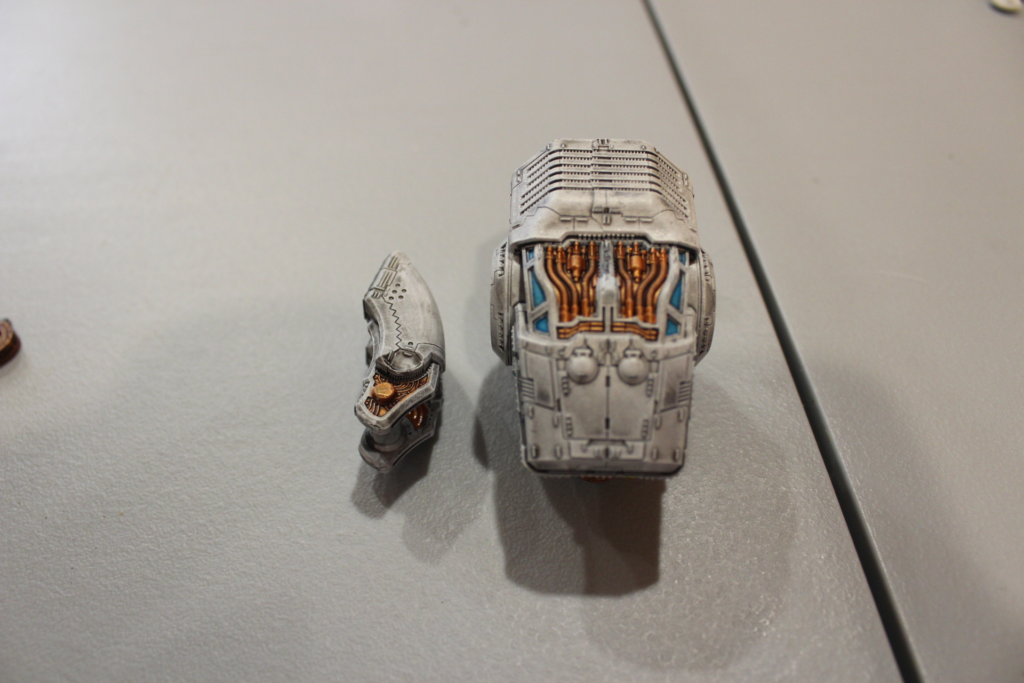
I accidentally deleted most of my initial photos of the unpainted/prepped pieces to go over casting issues. There’s a few mold slips here and there but nothing much of an issue. The two notable and non-fixable problems are the slip on the head piece here, and what appears to be a collapsed air bubble in one of the feet. Neither are major, especially on Resistance models where often I’m fine passing them off as damage or wear and tear. Not that I wouldn’t prefer to be without them, but overall the kit only had one bit that required some prep work.
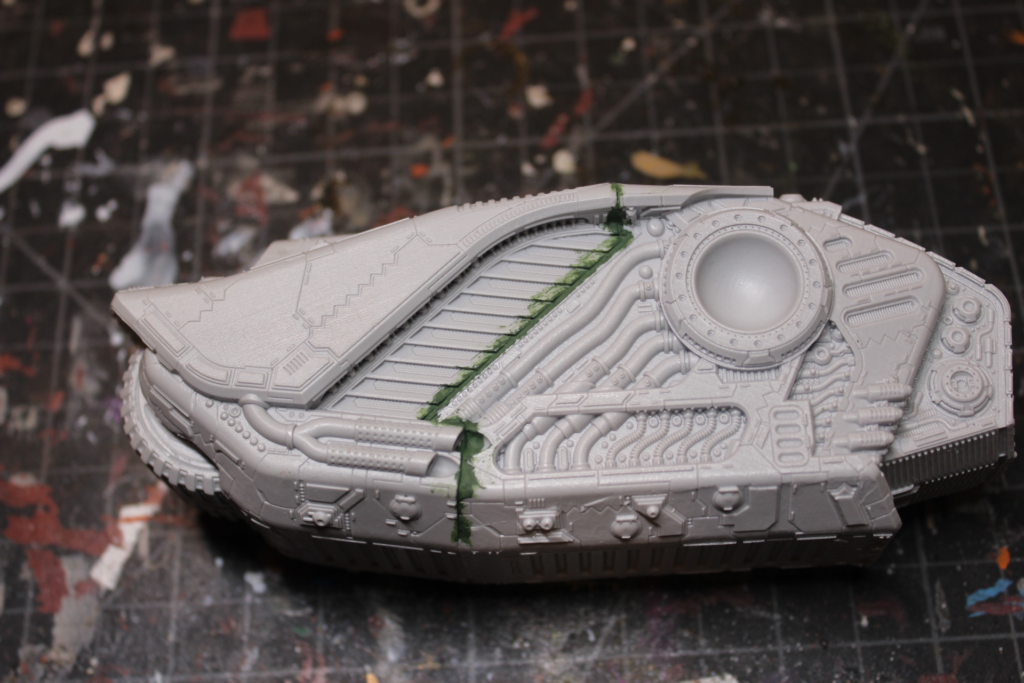
The back section is two hefty blocks of resin that had a large gap between them. I think every other WIP picture I’ve seen of this has had the gap or filler present, so seems this is just how the kit is. Liquid green stuff took care of it quickly enough.
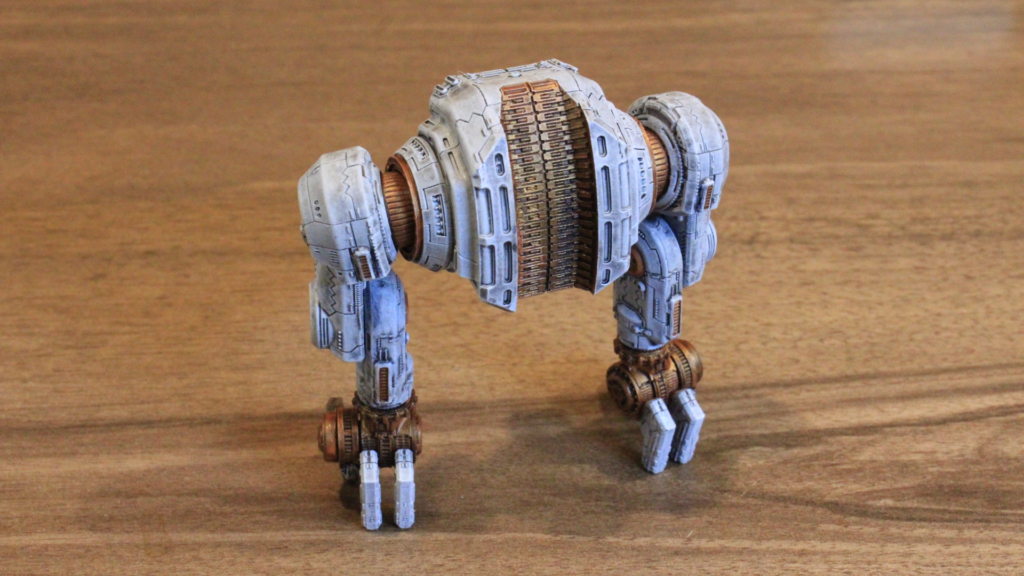
I had a bit of dread for assembly, but it wasn’t too bad. First was the middle section to ensure I could have the legs as tall and flat as possible, resulting in something that looks like a cute little robot.

Feet were next, and involved a bit of tricky dry fit testing with the leg and abdomen pieces to see what angles were possible. The back foot/toe bit could be lifted off the ground if you wanted to angle the back of the model as high as possible for whatever reason, as the ankle bit can rotate quite a bit farther forward than seen here.
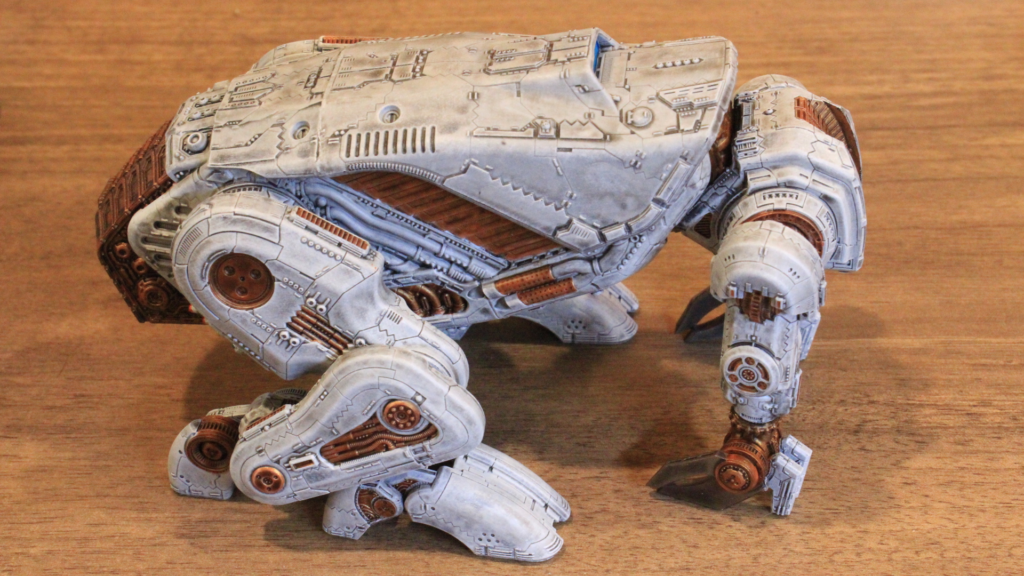
Glued the back onto the middle section first, then supported it with a book while getting the legs on. You could go a bit crazy with the leg setup, but keeping the feet flat and the back low meant they came out reasonable. My initial plan was to have one leg nearly behind the model and angled, as if bracing for a cannon shot, but that involved the thigh/shin leg sections rotating to be at the opposite angle, and it looked a bit off, so nixed that idea.

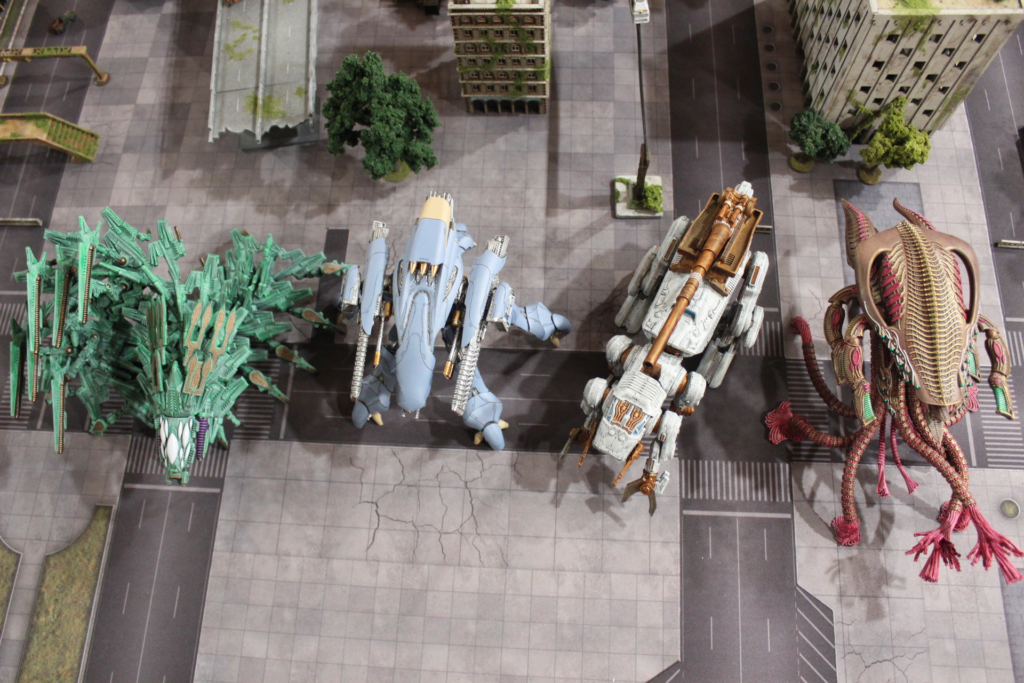
And so lastly, just a size comparison. The Resistance behemoth is definitely the heaviest of the set thanks to the big solid block of resin.
These were all quite fun to build and paint, and while each one was never a particularly difficult project, they’re still enough work that I’m content with the collection as it is and not getting second Shaltari or Resistance ones like I have with PHR/Scourge. UCM models don’t interest me at all, so unless some new faction comes out with a cool set of kits, that’s it. If I do in fact get more games in playing with these, I’ll try to compile thoughts on them in that aspect, but these were modeling projects first and foremost to me. As it is, my stance on them in the game is that they’re fine but awkward. Each time I’ve felt that an equivalent amount of standard units would be at least equally as effective, and the awkwardness of actually moving the model itself around the table would be avoided then as well.