I’ve had a pile of MDF, foam board, and spackle laying around untouched since November, mostly because I didn’t feel like taking it out into the cold to sand the spackle down. With the arrival of spring, no more excuses for me!
Perfect smoothness of course isn’t required, but I wanted the obvious jags and bumps taken care of.

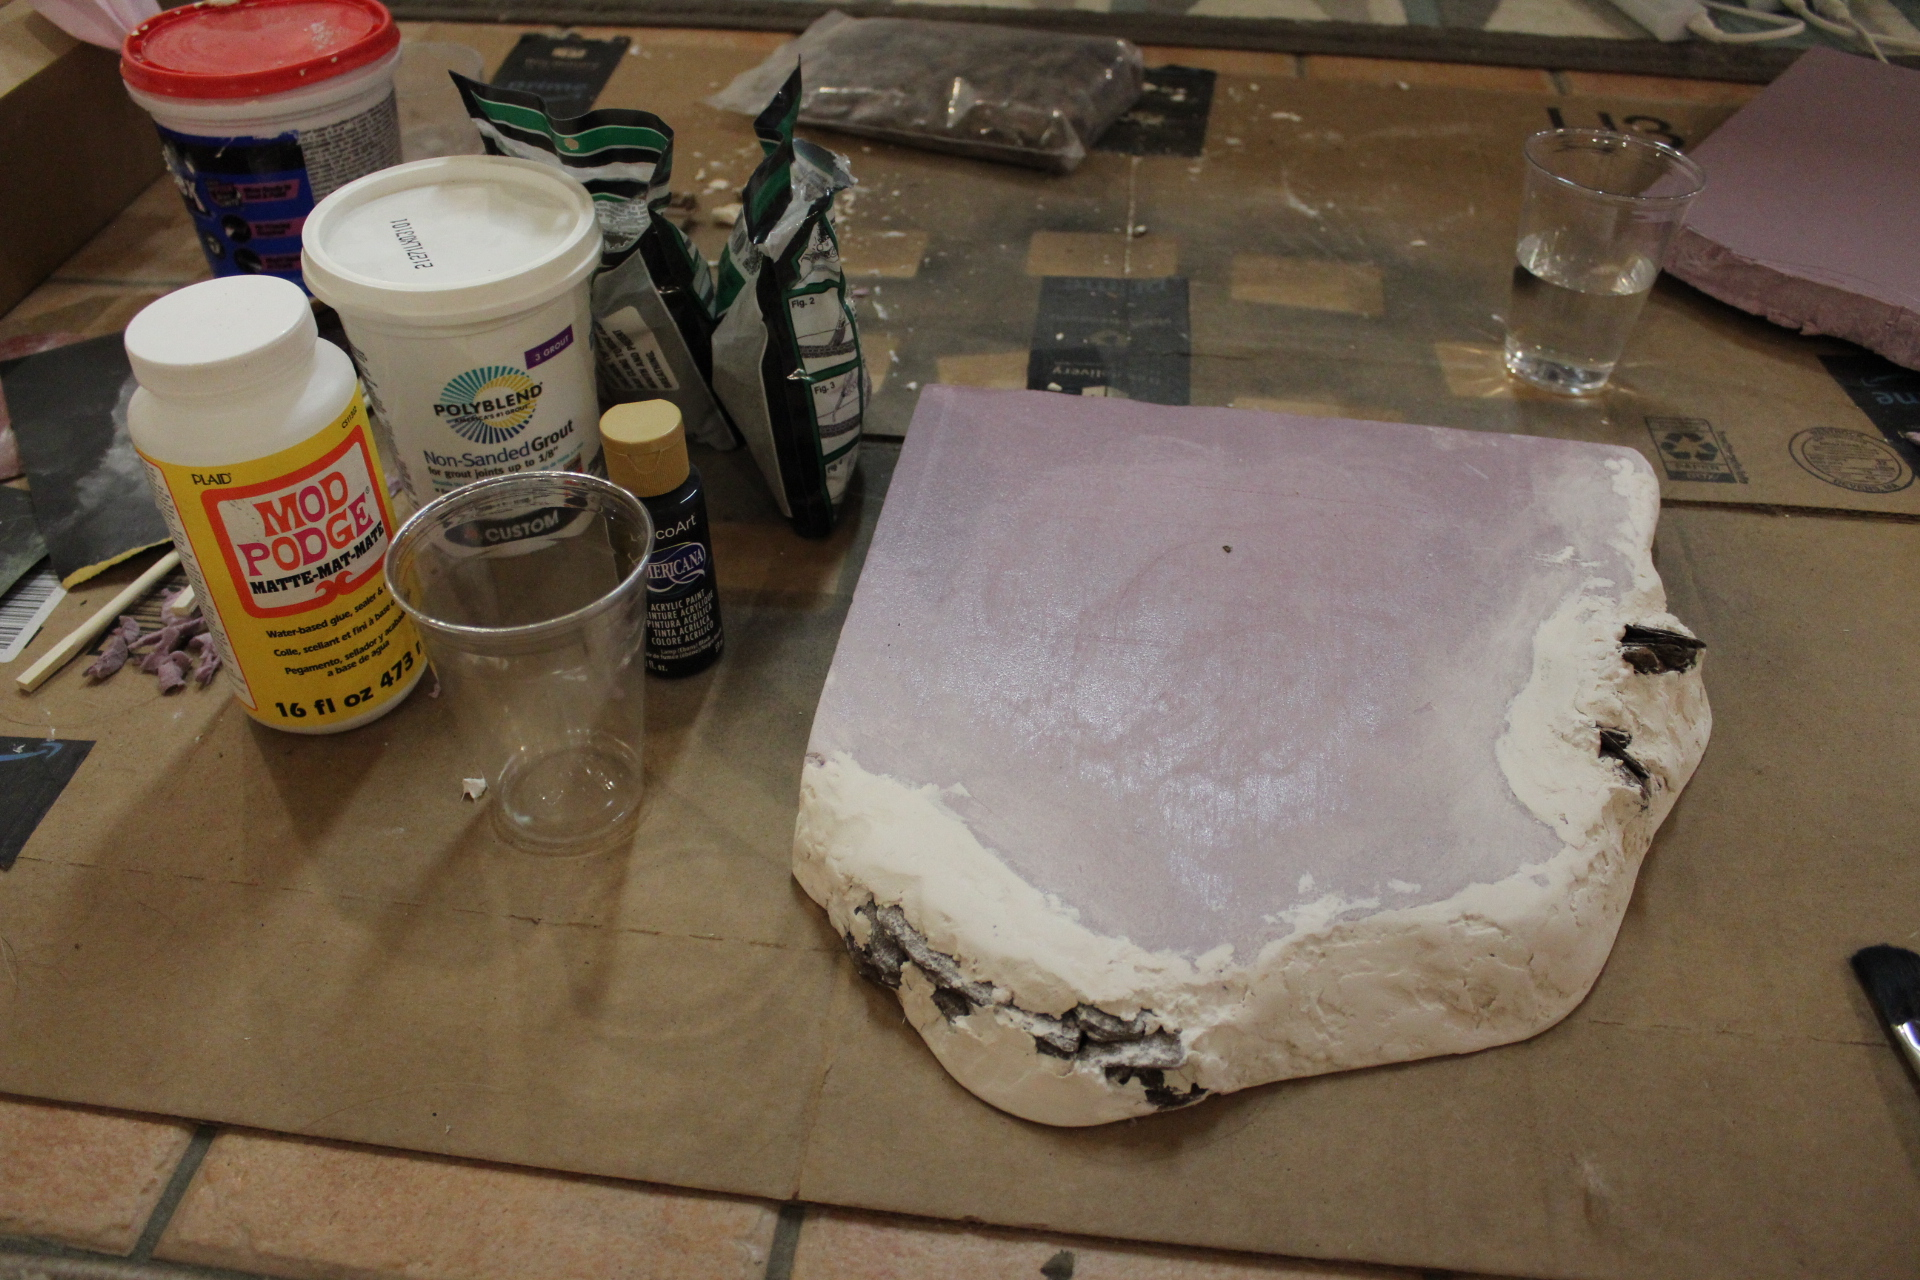
Mixed up some craft paints along with matte Mod Podge and some of the small modeling gravel to seal, color, and texture. Trying to match the color of my textured mat was a bit difficult; this first color ended up looking flesh-like and rather gross.
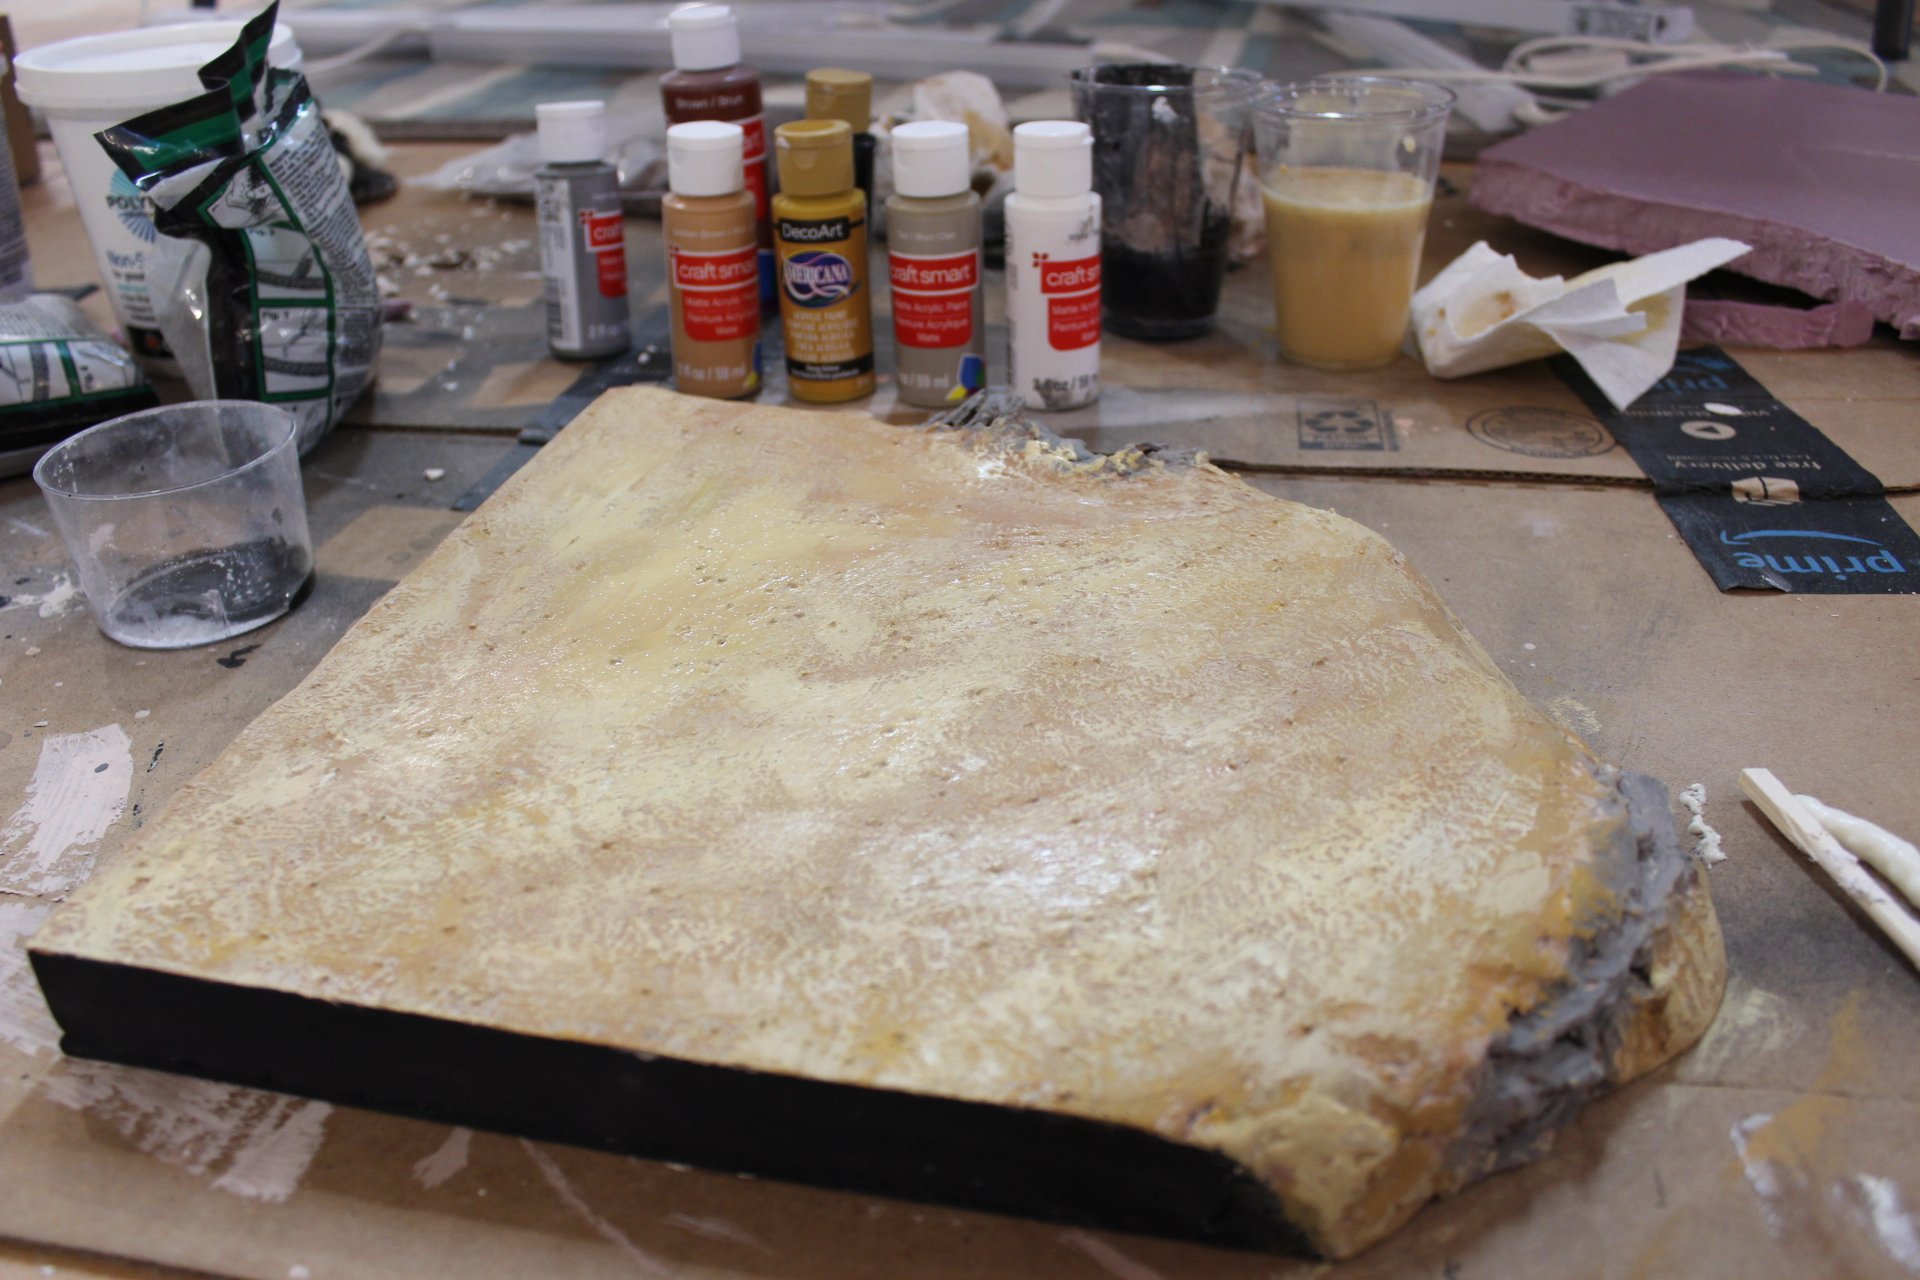
After adding a bit of a yellow-hued tan, it looked alright at first. However, the more I looked at it once completed, the more off I realized it actually was, but it was too late in the process to remedy by then!
The rock portion is simple, at least. Gray, water down the black to make a wash, dry brush with gray again and then white. The edge gets black and Mod Podge to seal it.
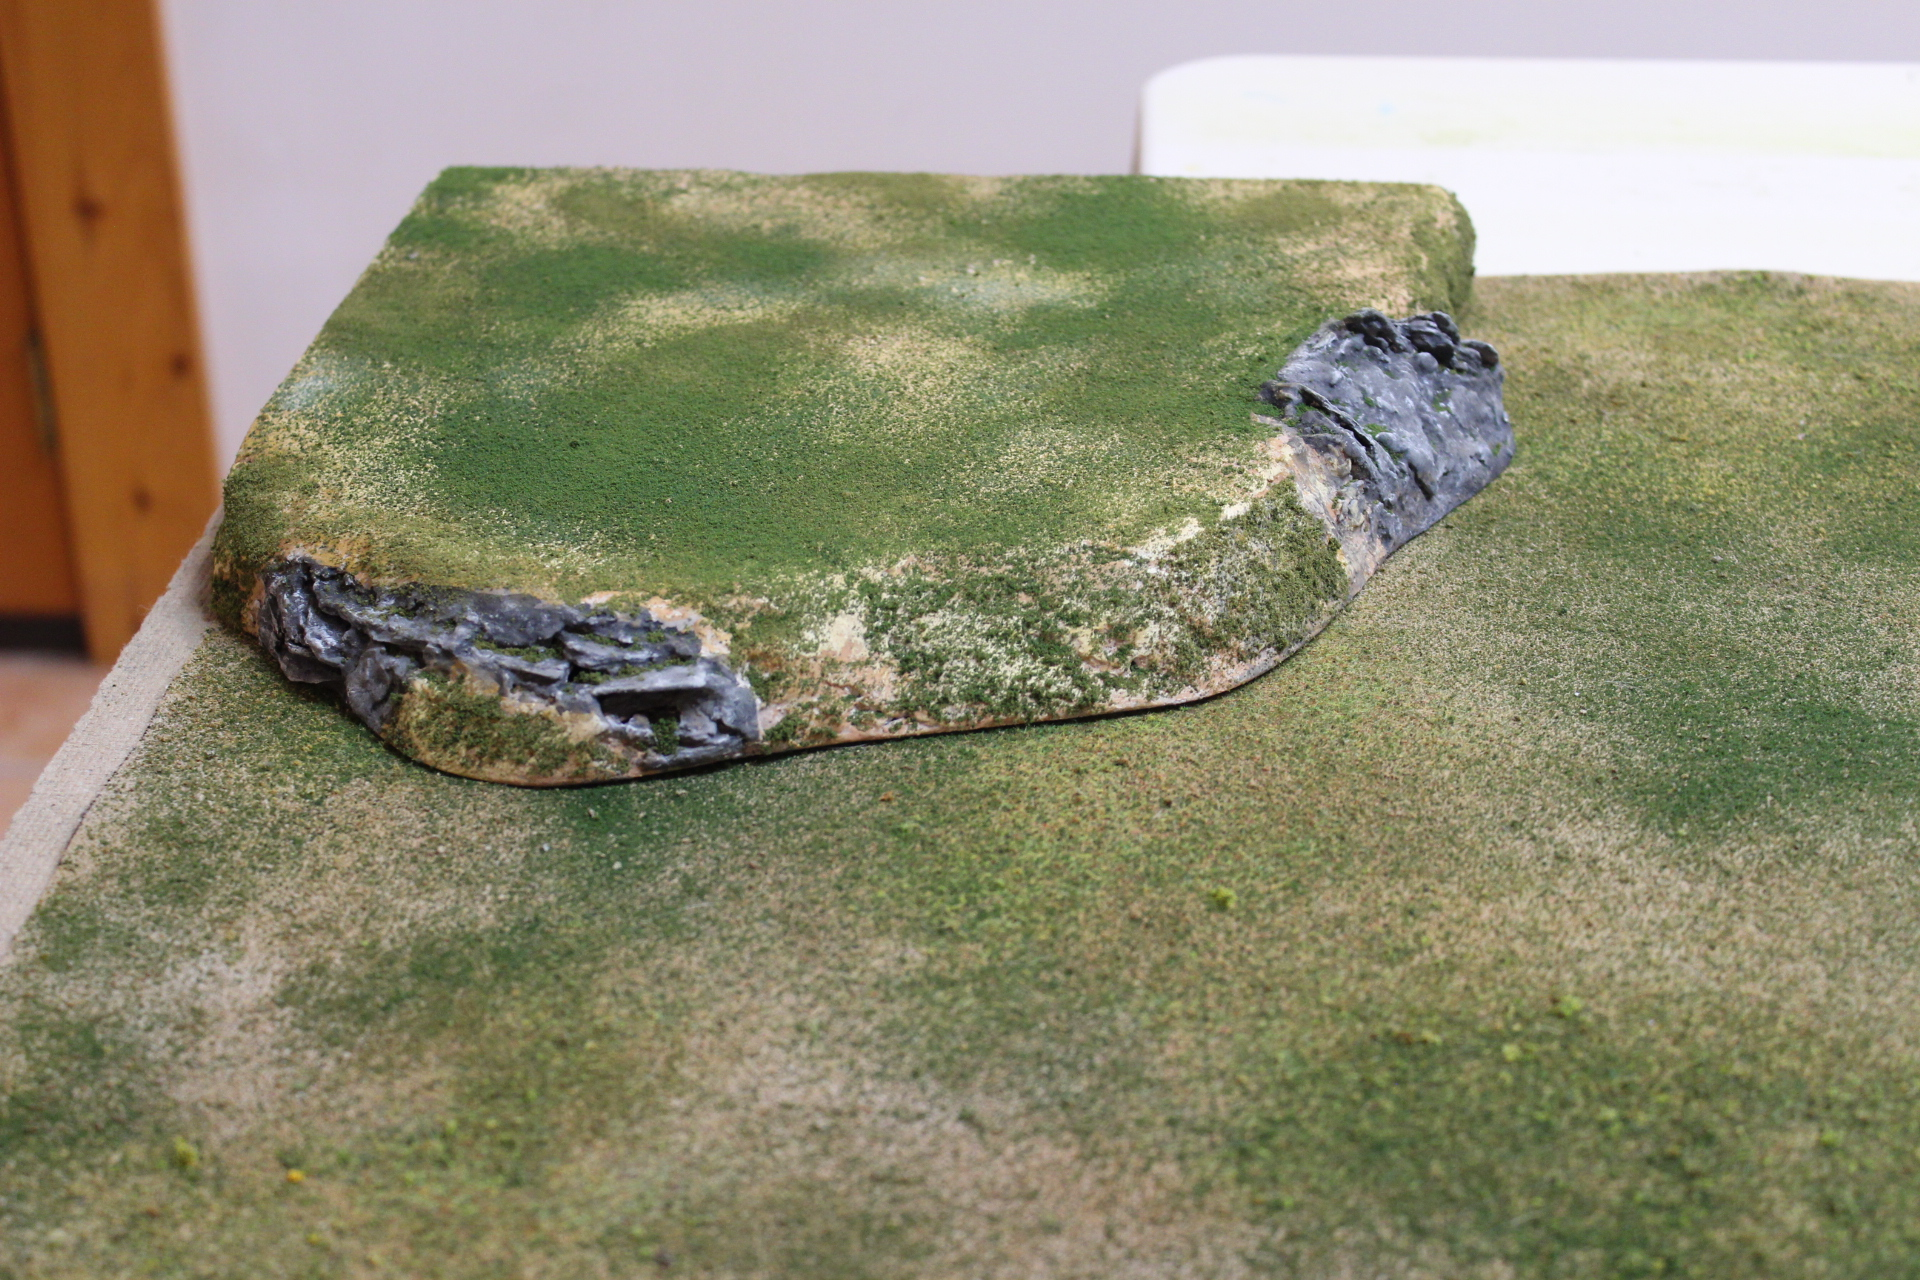
Flocking’s the usual affair, watered down glue, sprinkle from high up, seal with a spray of watered down glue.
This first test piece taught me a decent amount on how to handle assembling and painting the stuff, so I wanted to try some slightly more complex pieces next.
On a painting note, I also finally got some drills! More on those later.
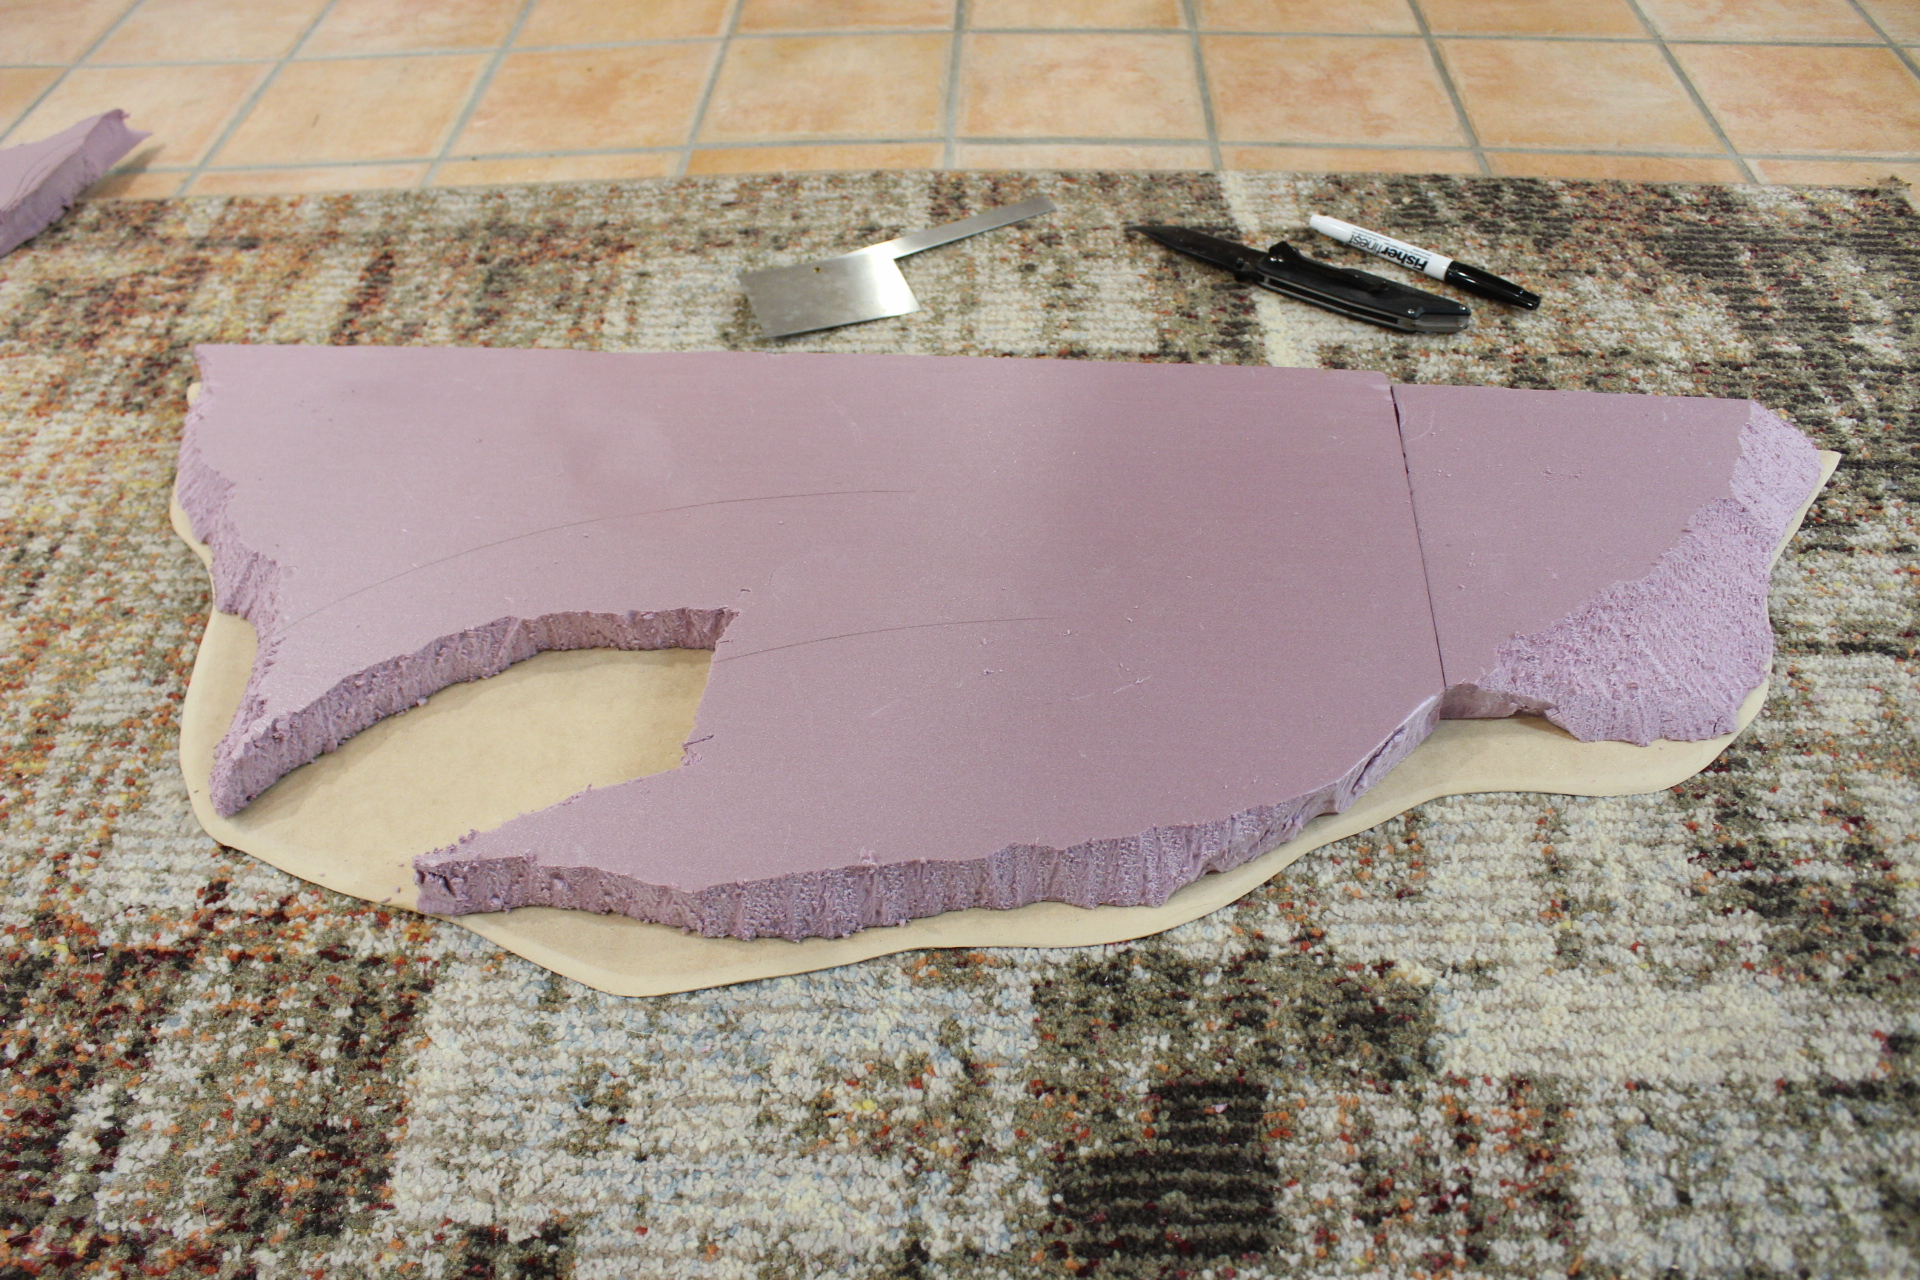
I decided to have a small ramp going up to the main plateau, with a mixture of cliff faces and a sloped hill leading up.
I used a coping saw to cut the rough shape and various slopes. Going ahead, I think I’d also do a bit of sanding/spackling on the cliff/hill cuts as well rather than leave them mostly as-is after the cut.

To construct the slope, I tested what sort of angles some of the less stable models could deal with (heavy dropships and PHR walkers), and found that around a 10° angle seemed workable. To build it, I cut out some pieces to that angle, and used scraps to fill in the gaps. The slope will then be constructed with spackle, using the pieces as a guide, with the scraps being there to reduce the amount of spackle necessary and thus the weight.
Attaching the foam to the board also requires some time to get it flush, so I had to leave this overnight clamped and weighed down so that both the small pieces would be secure while applying spackle, and the large pieces wouldn’t have a large gap when seen from the side.
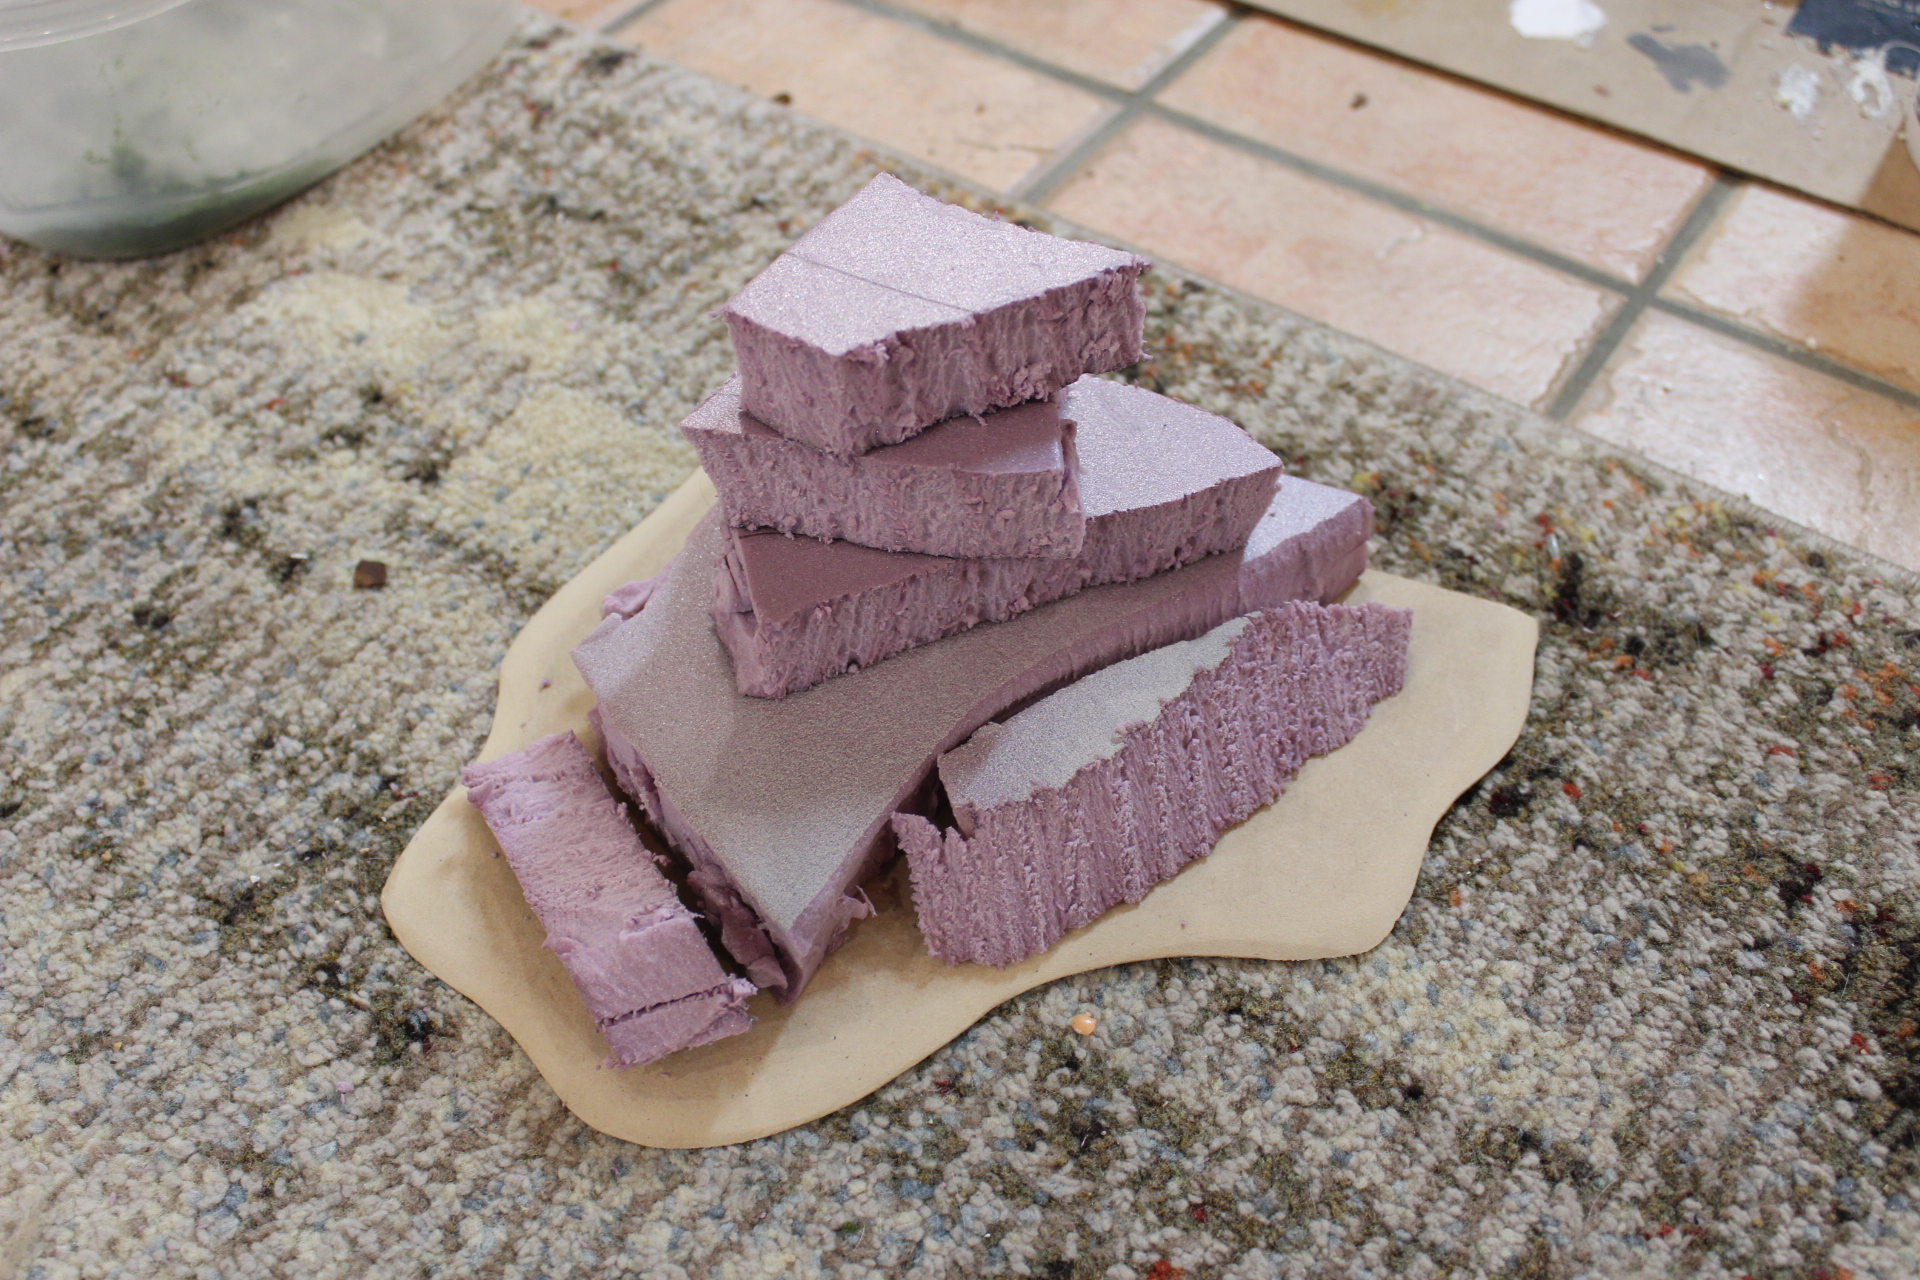
I figured I would build two types, which I’m classifying as either ‘terrain’ or ‘scenery’. Terrain will be the larger flat features that models, buildings, etc. will be able to be placed on. Scenery will be mostly there for flavor and restricting line of sight/movement. Hence, this haphazardly assembled pile of foam.
In my previous terrain WIP post, I had another one of this sort of scenery piece being assembled, but I forgot to take pictures of the work on it until it was complete. It mostly followed the same process as the above scenery piece did, with the exception that I tried using expanding spray foam to give it some bulk. It didn’t work great and I ended up cutting off most of it, but I can see a use for it in later pieces if I start with the spray foam for initial body and shape, rather than trying to add it to a work in progress.
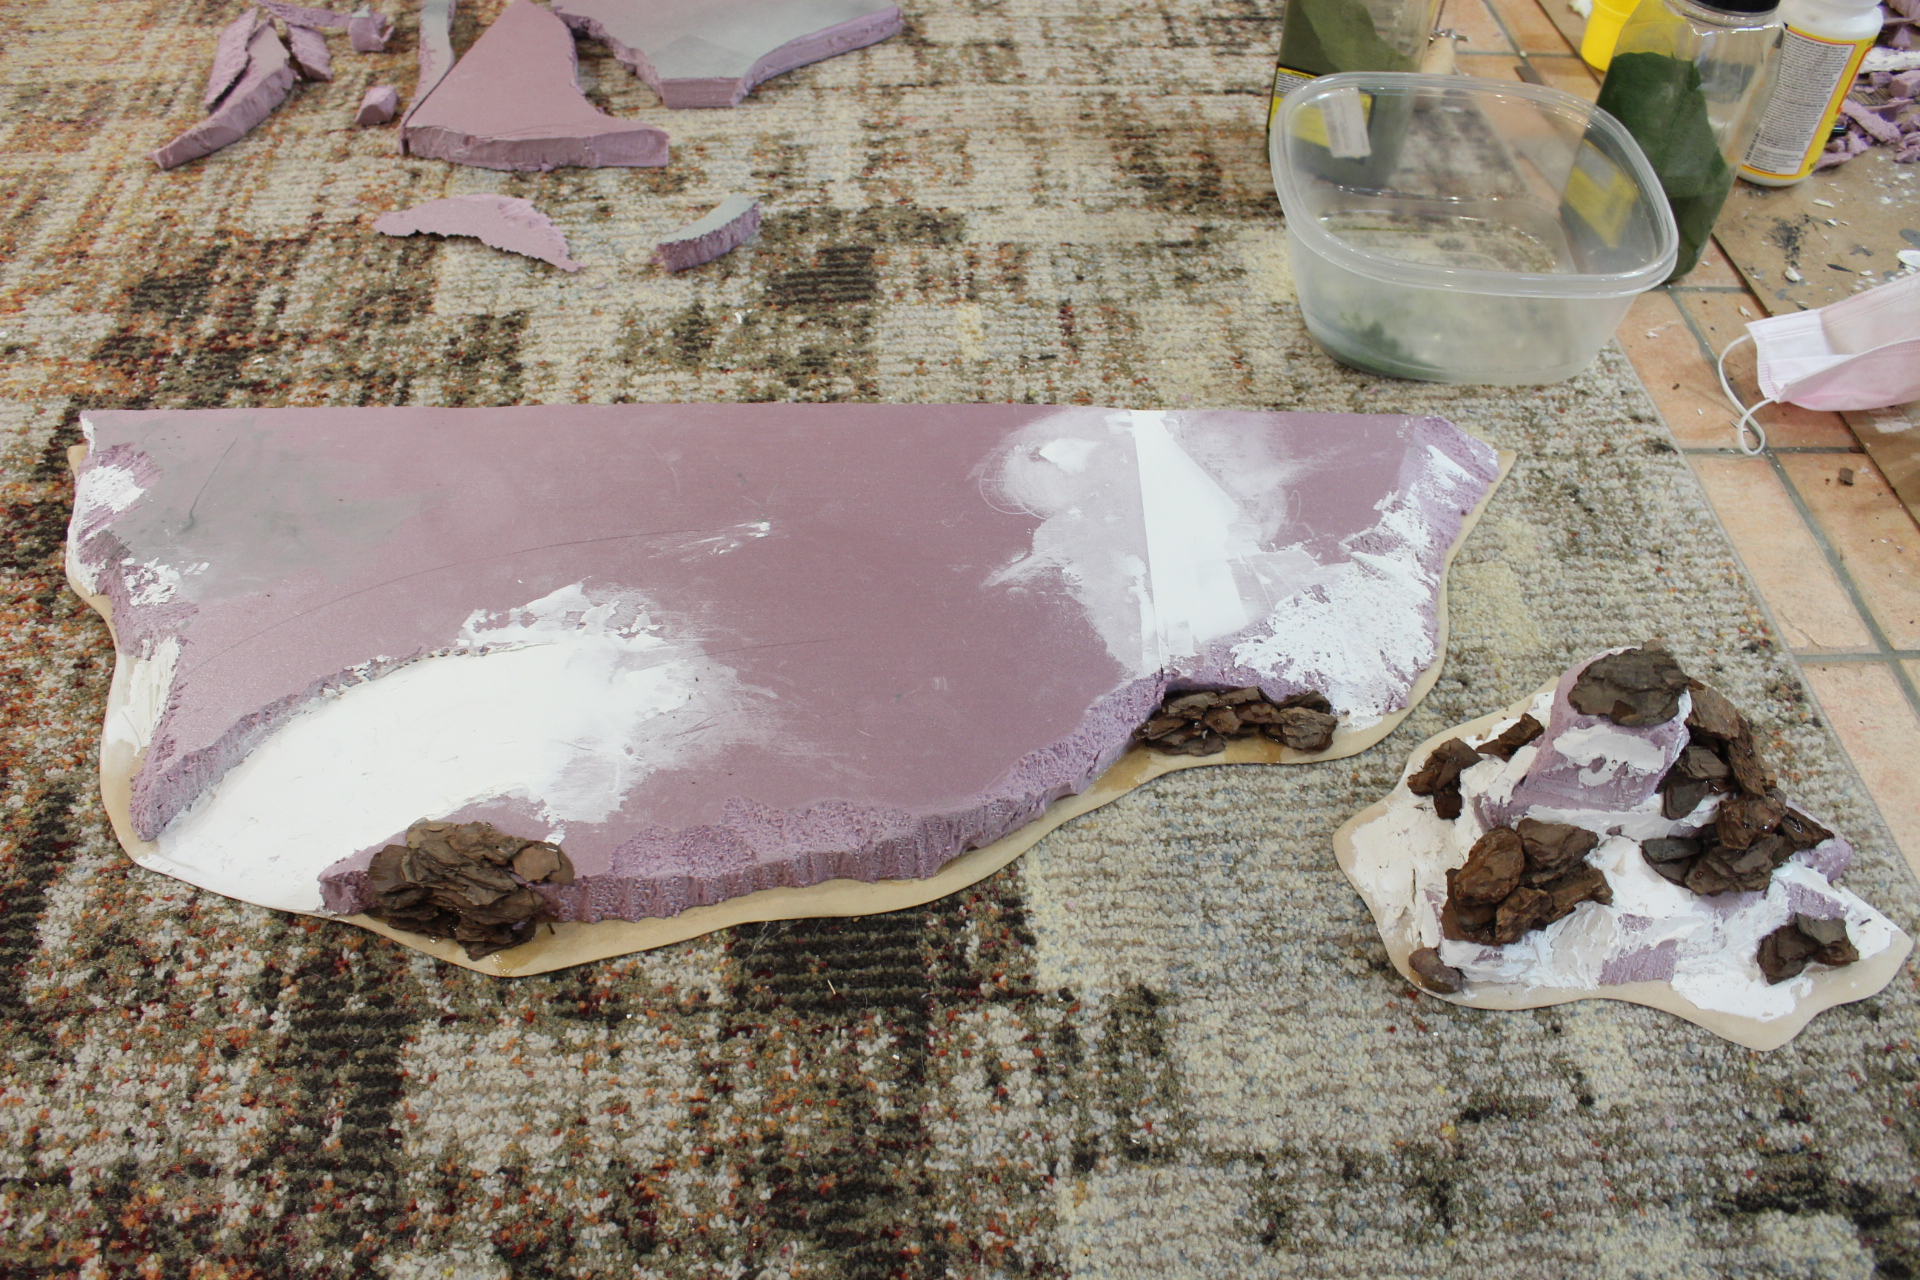
Bark chips for some rocks, and spackling/sanding complete! One thing I wish I had done during this step was add some extra spackling to better incorporate the rocks. As they are, they rather look like they’re just laying there as opposed to protruding from the earth.
A bunch of rough slapping around of various mixtures of browns, whites, and grays ends up with this. Same as before, glue and rocks for sealing in texture are incorporated here.
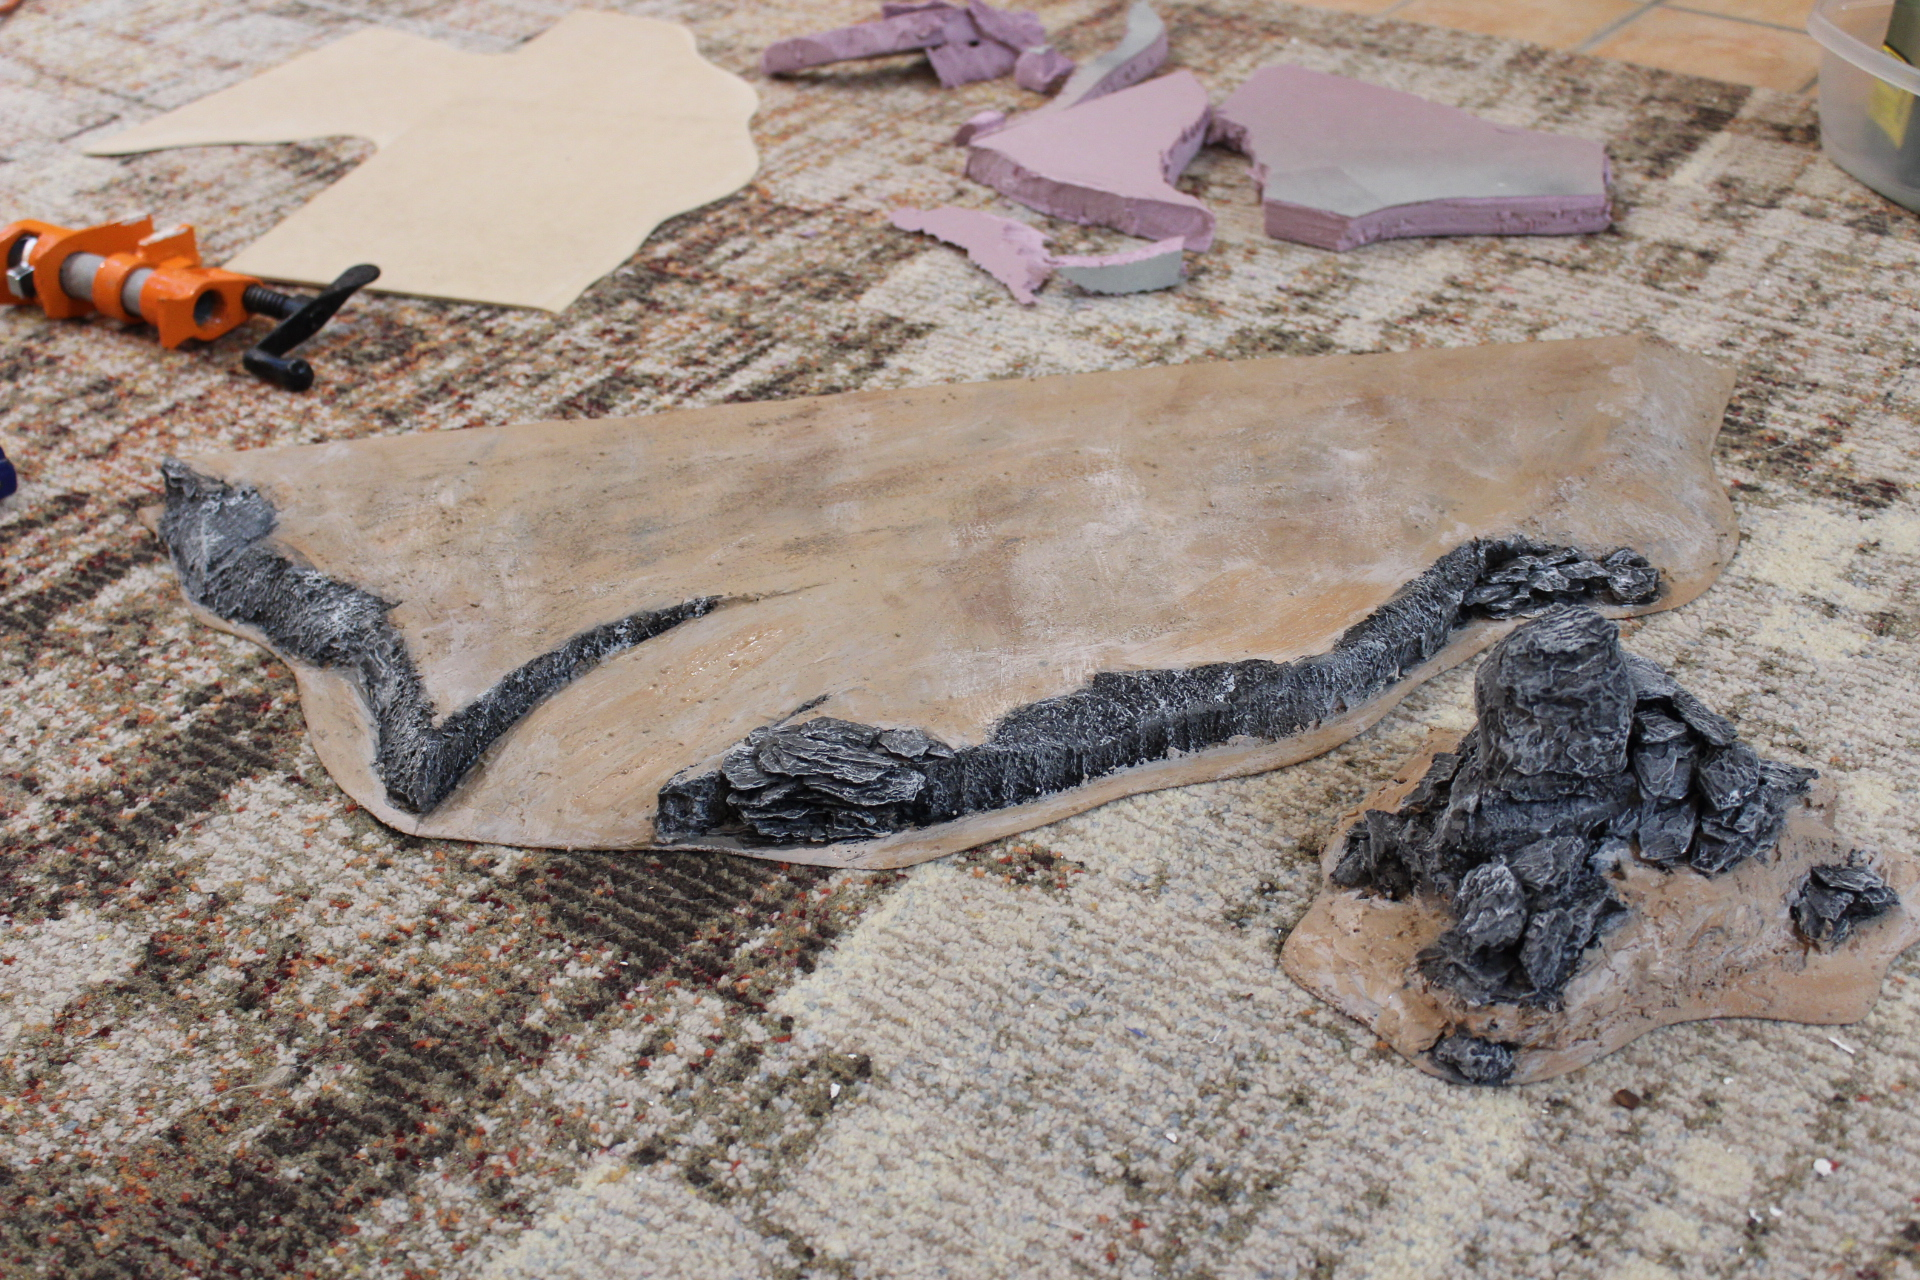
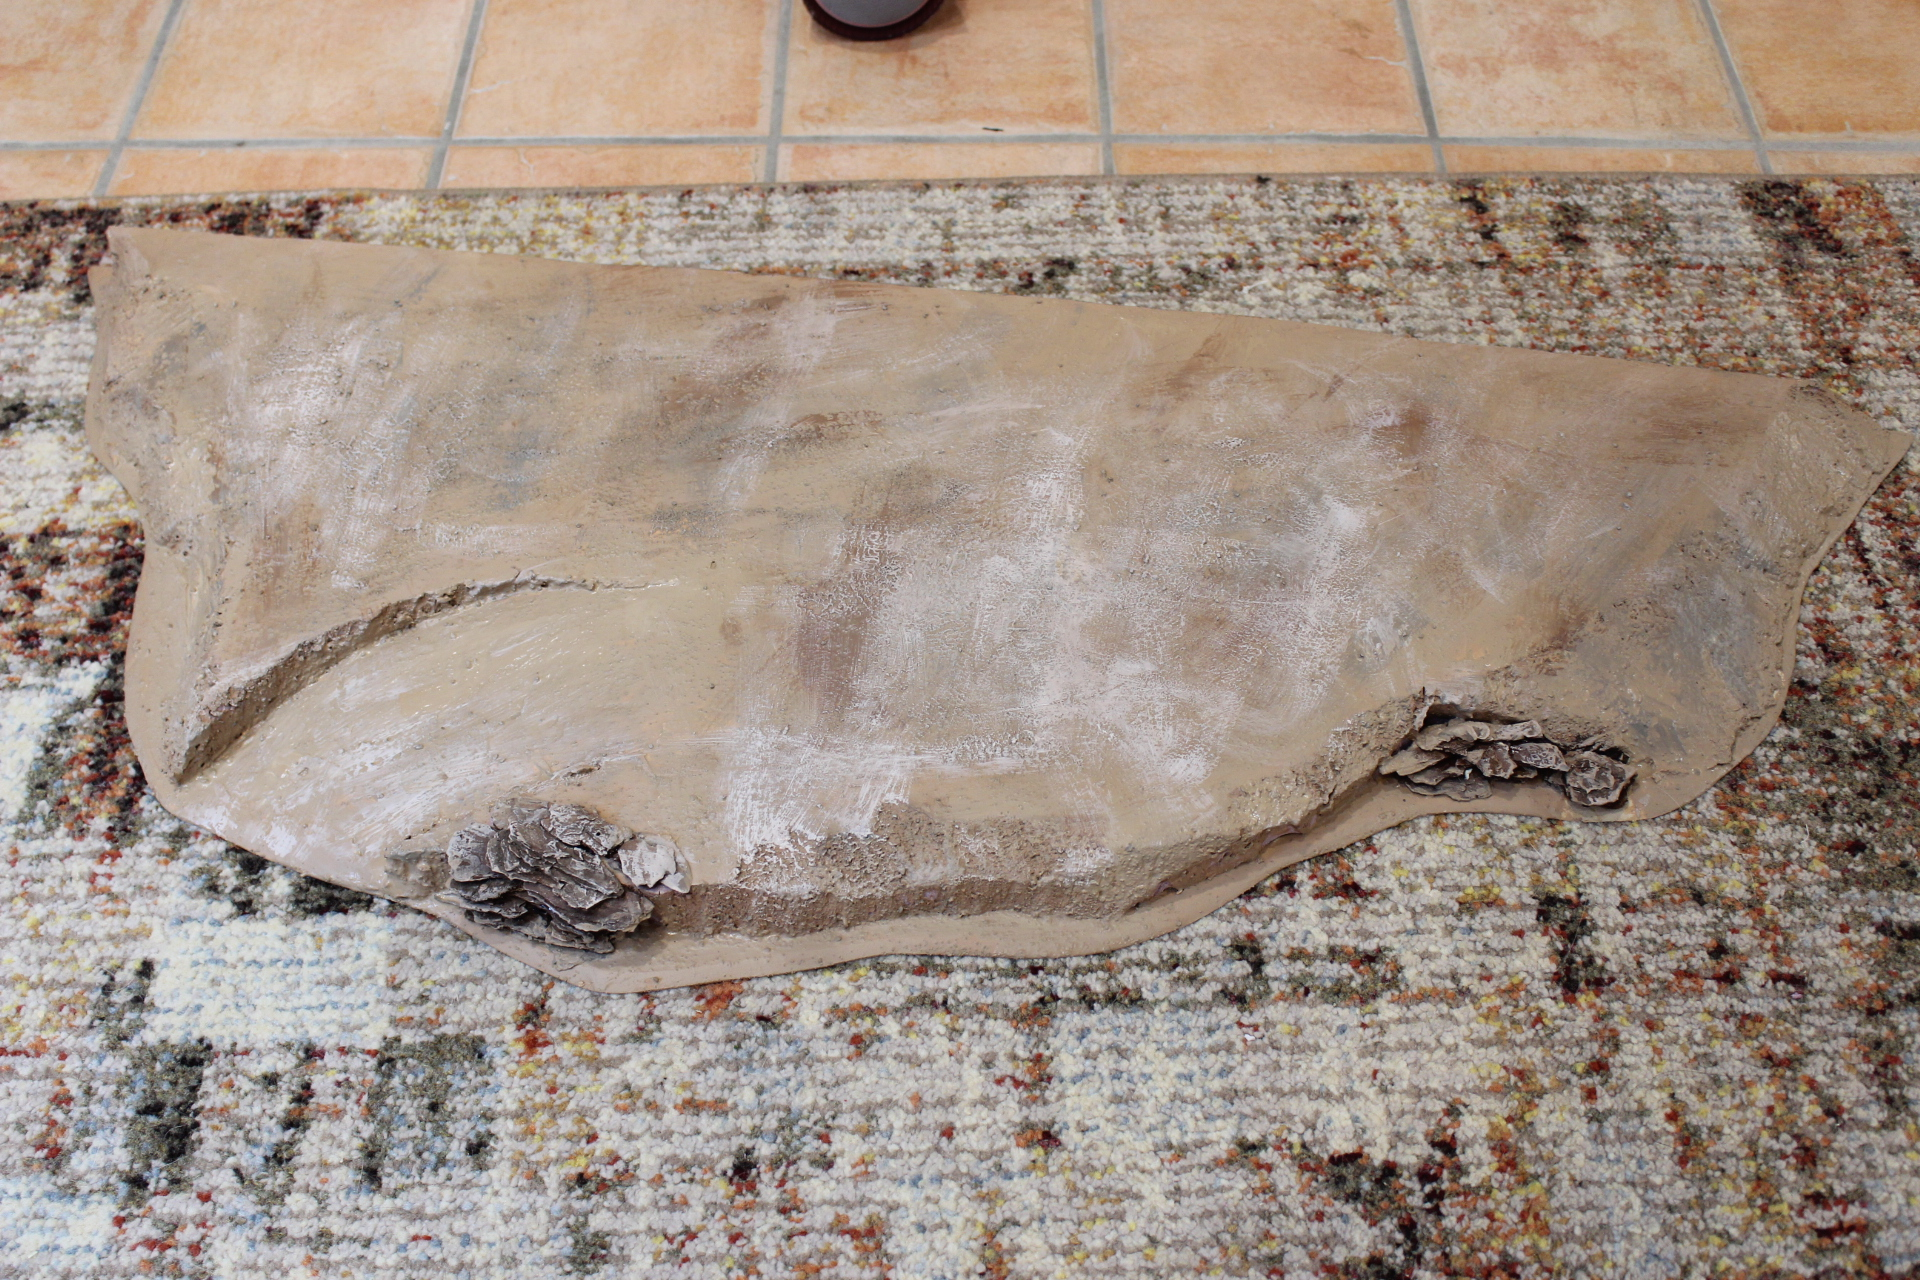
Post-rock-ification!

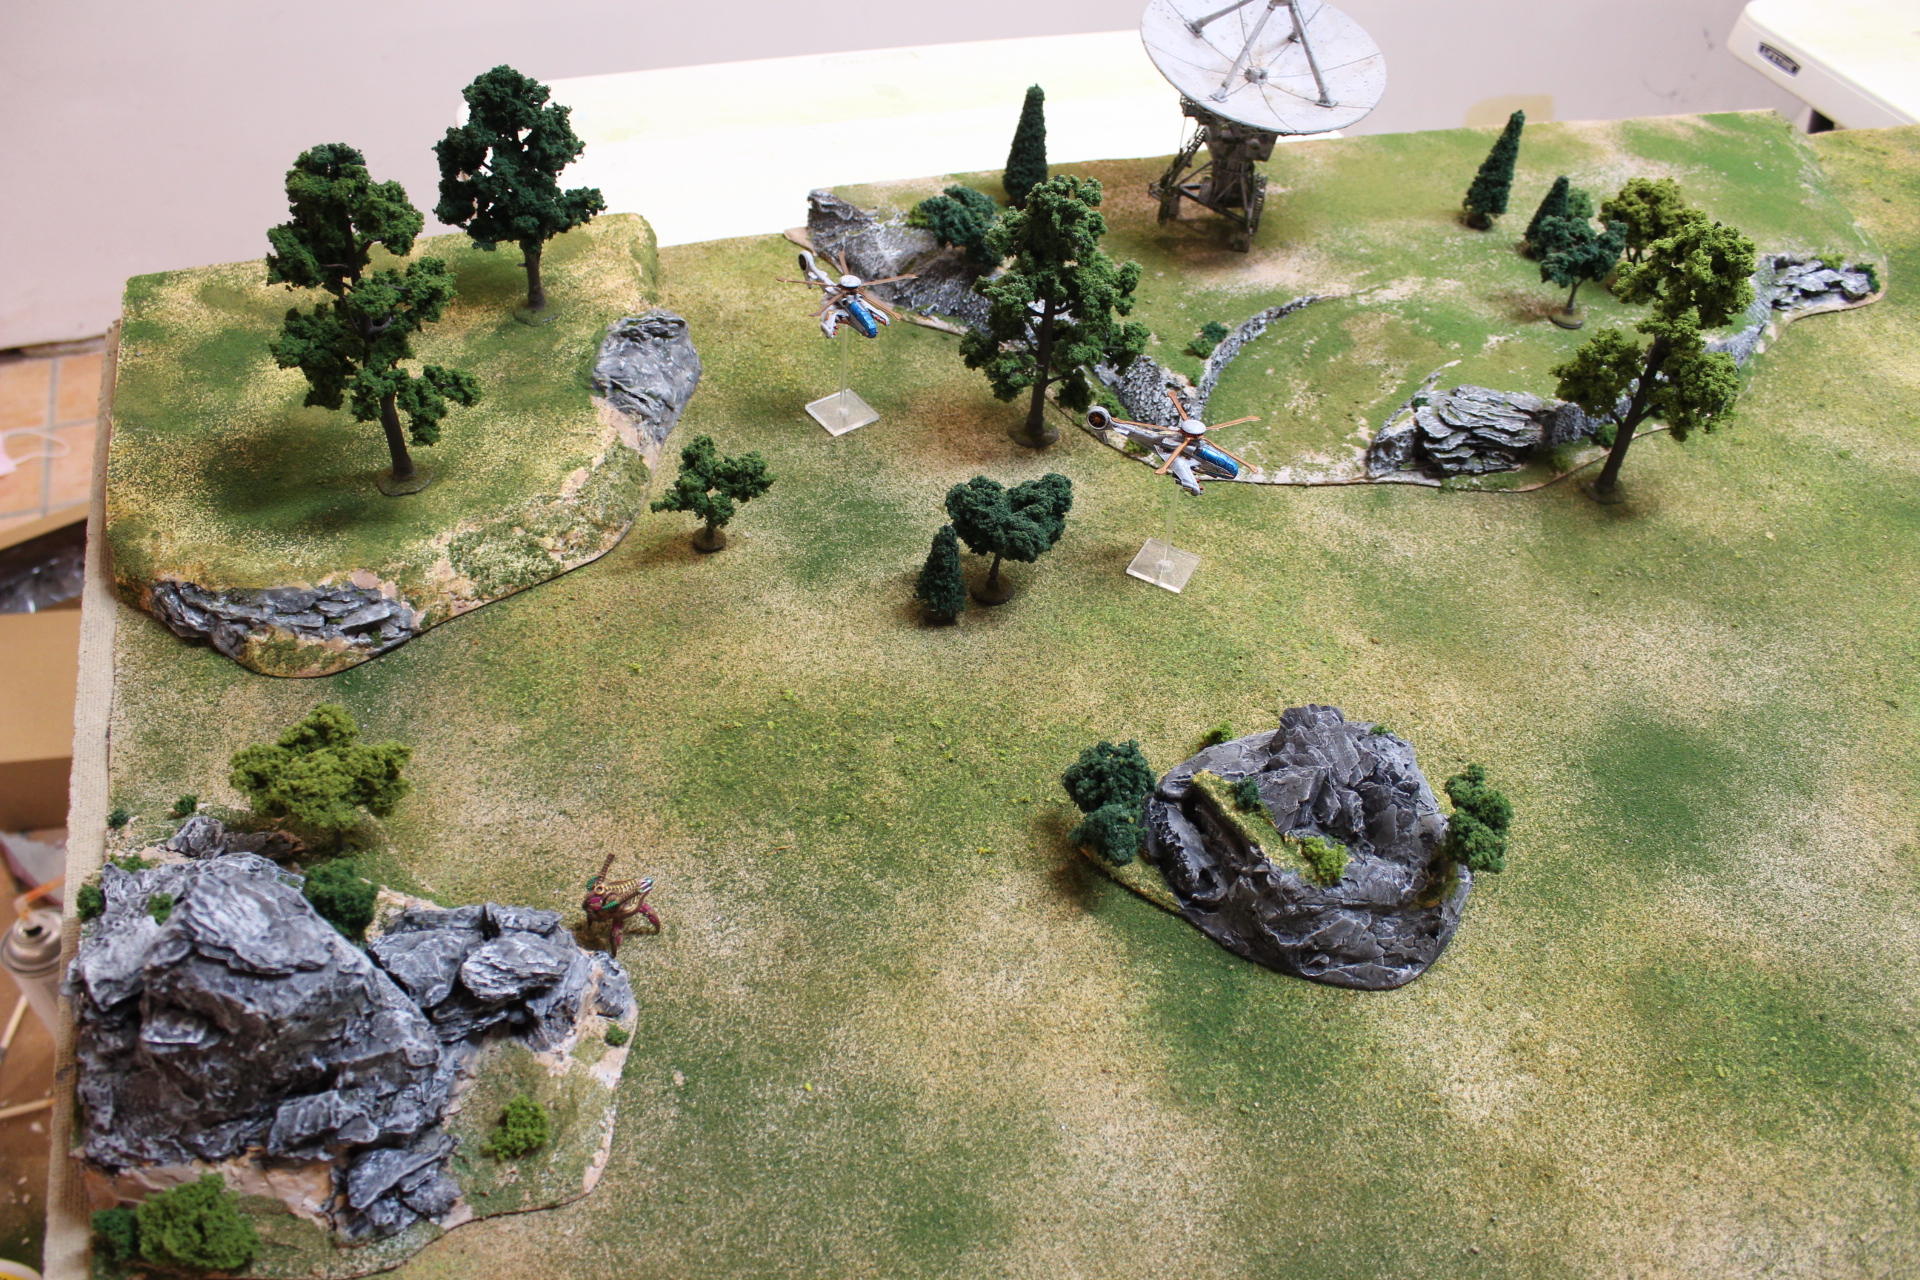
And mostly complete. I’m going to come back to touch up the flocking around the base edges at least, and I think see if I can rub off some of the flock on the ramp/slope. Originally I wanted it with less, to show some active use of the slope, but I couldn’t get the paint quite right then overdid the flocking a bit. It’s still alright, but could be better with some hint of erosion or whatever.
Right now it’s mostly edge pieces, with two more of such waiting as sheets of cut and sanded hardboard, but I’m out of straight edge pieces of foam. After those are complete, I’ll be doing a handful of more amorphously shaped pieces to go into the center of the table.
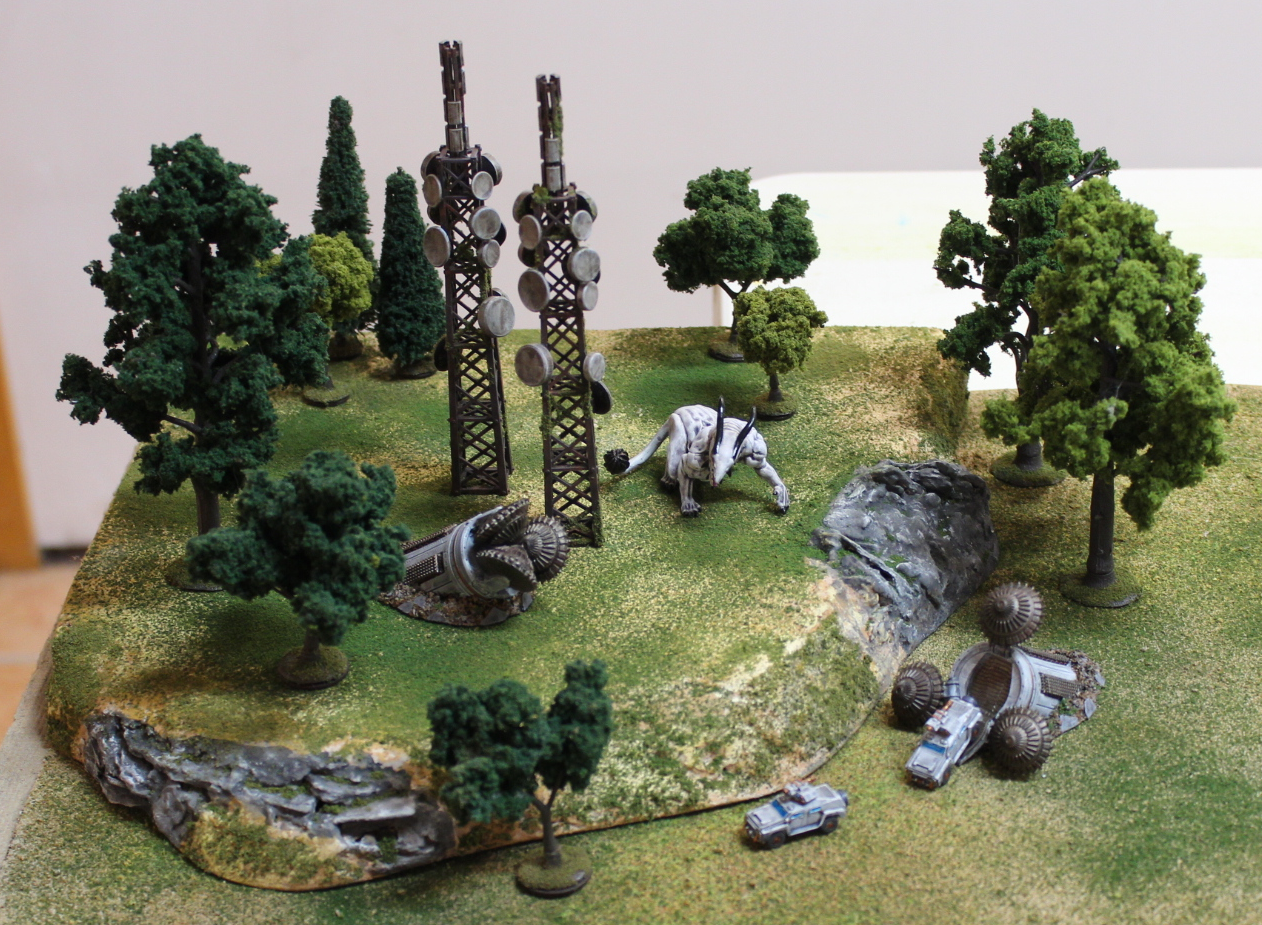
One thing I hope I’m doing an alright job of avoiding so far is the odd appearance that a table has when all the ‘hills’ are nothing but plateaus of the exact same height, comprised entirely of cliff faces. I assume if you’re familiar with wargaming terrain you know what I mean! I am a bit afraid as more terrain pieces are complete that will come to be an issue.
There is the ever present tension between playability and appearance, and I am making concessions to the former by sticking to the height of a sheet of XPS+MDF across multiple terrain pieces. I’m hoping that by adding more features such as the ramp, there will be enough visual variety once trees, buildings, etc. are placed it will still look alright. Additionally, part of the reason I’m building ‘scenery’ features is that they should be able to be placed on the terrain to shake things up visually. Smaller ‘terrain’ pieces can also hopefully be stacked up, but we’ll see how that pans out.
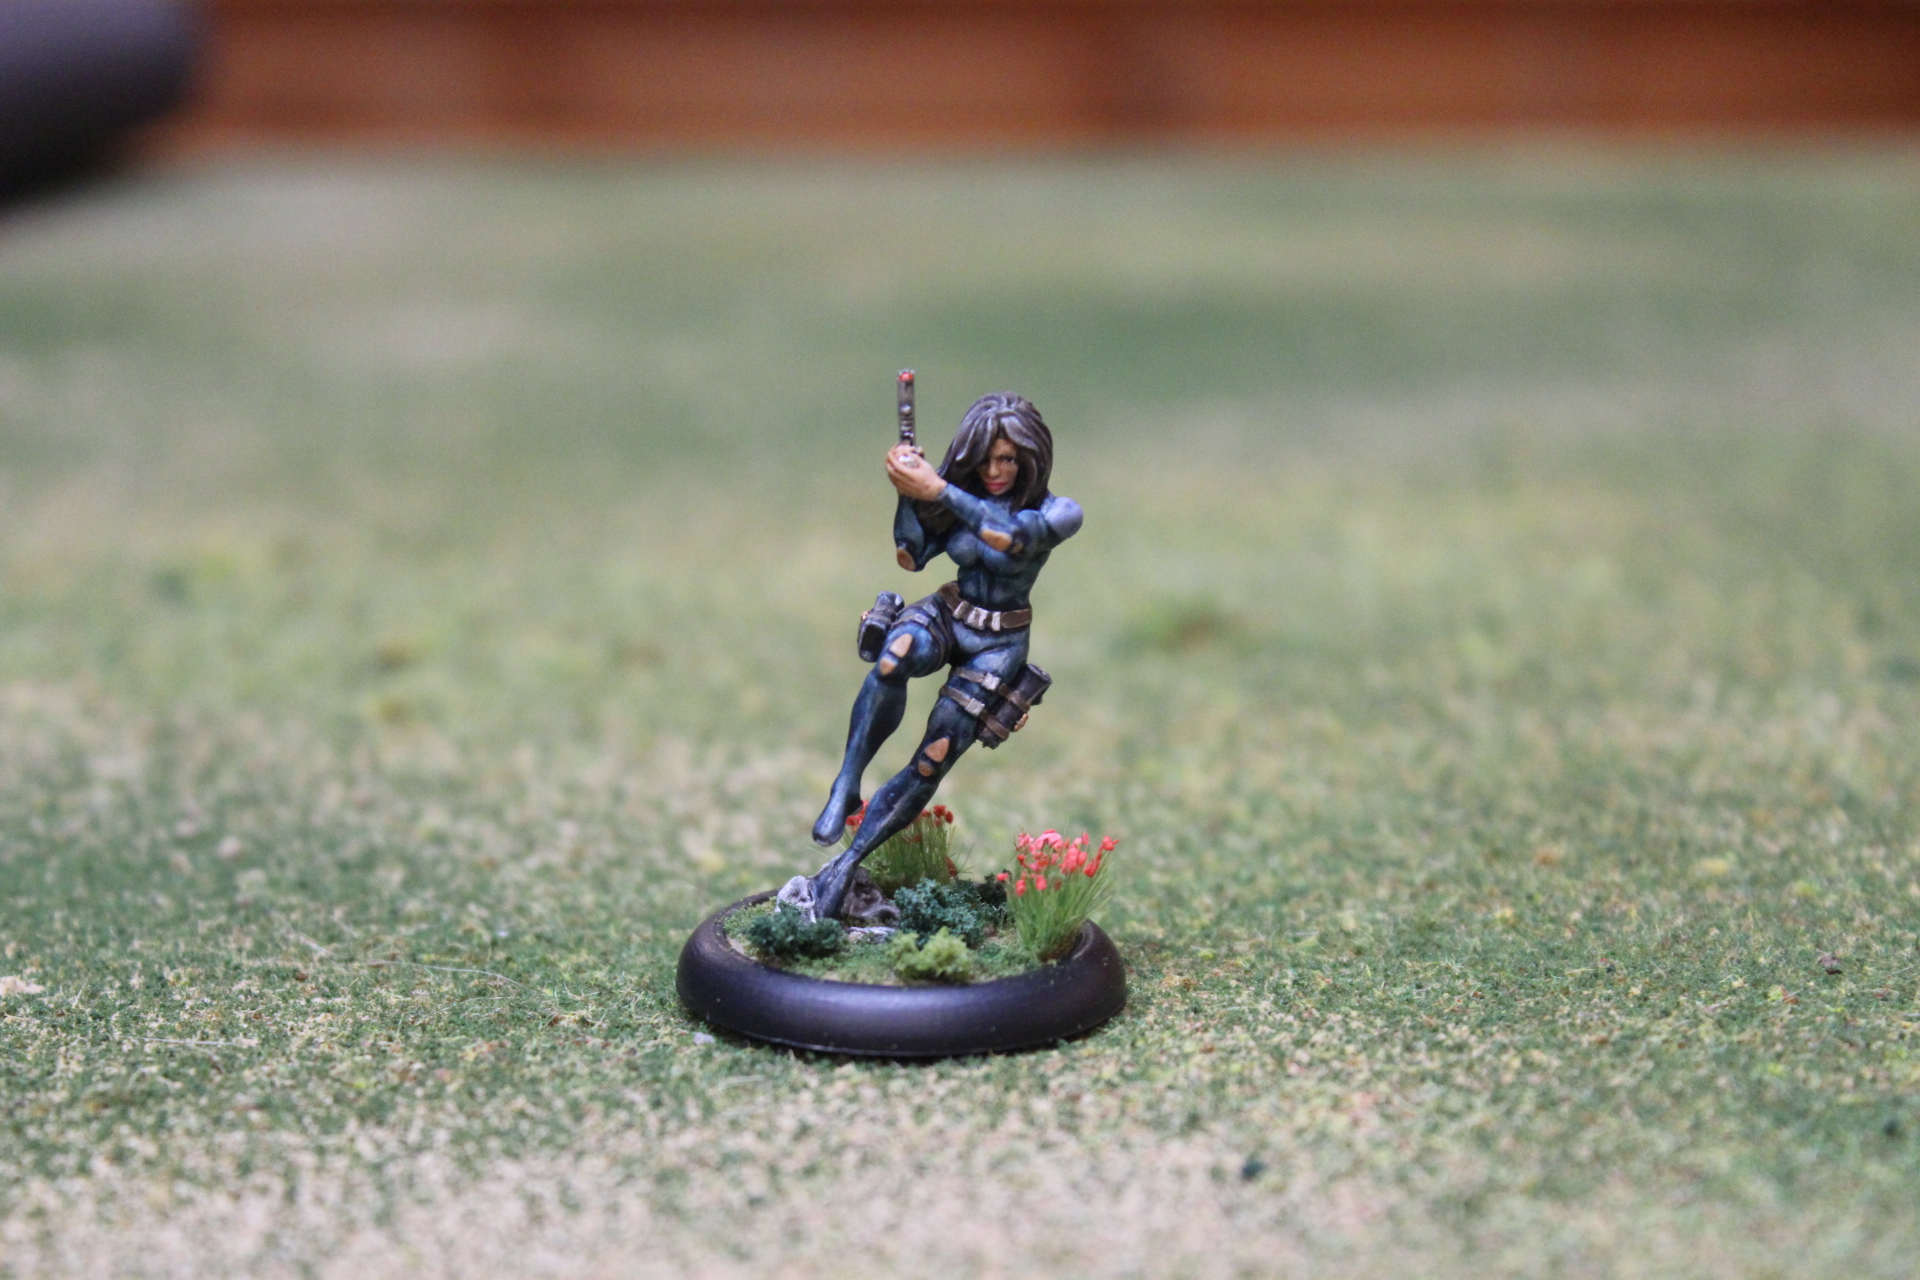
Staying on the theme of “things I started back in November”, did up the Siren that came with my Black Friday order. I wasn’t in any particular rush to do this, but ended up wanting a change of pace in painting.
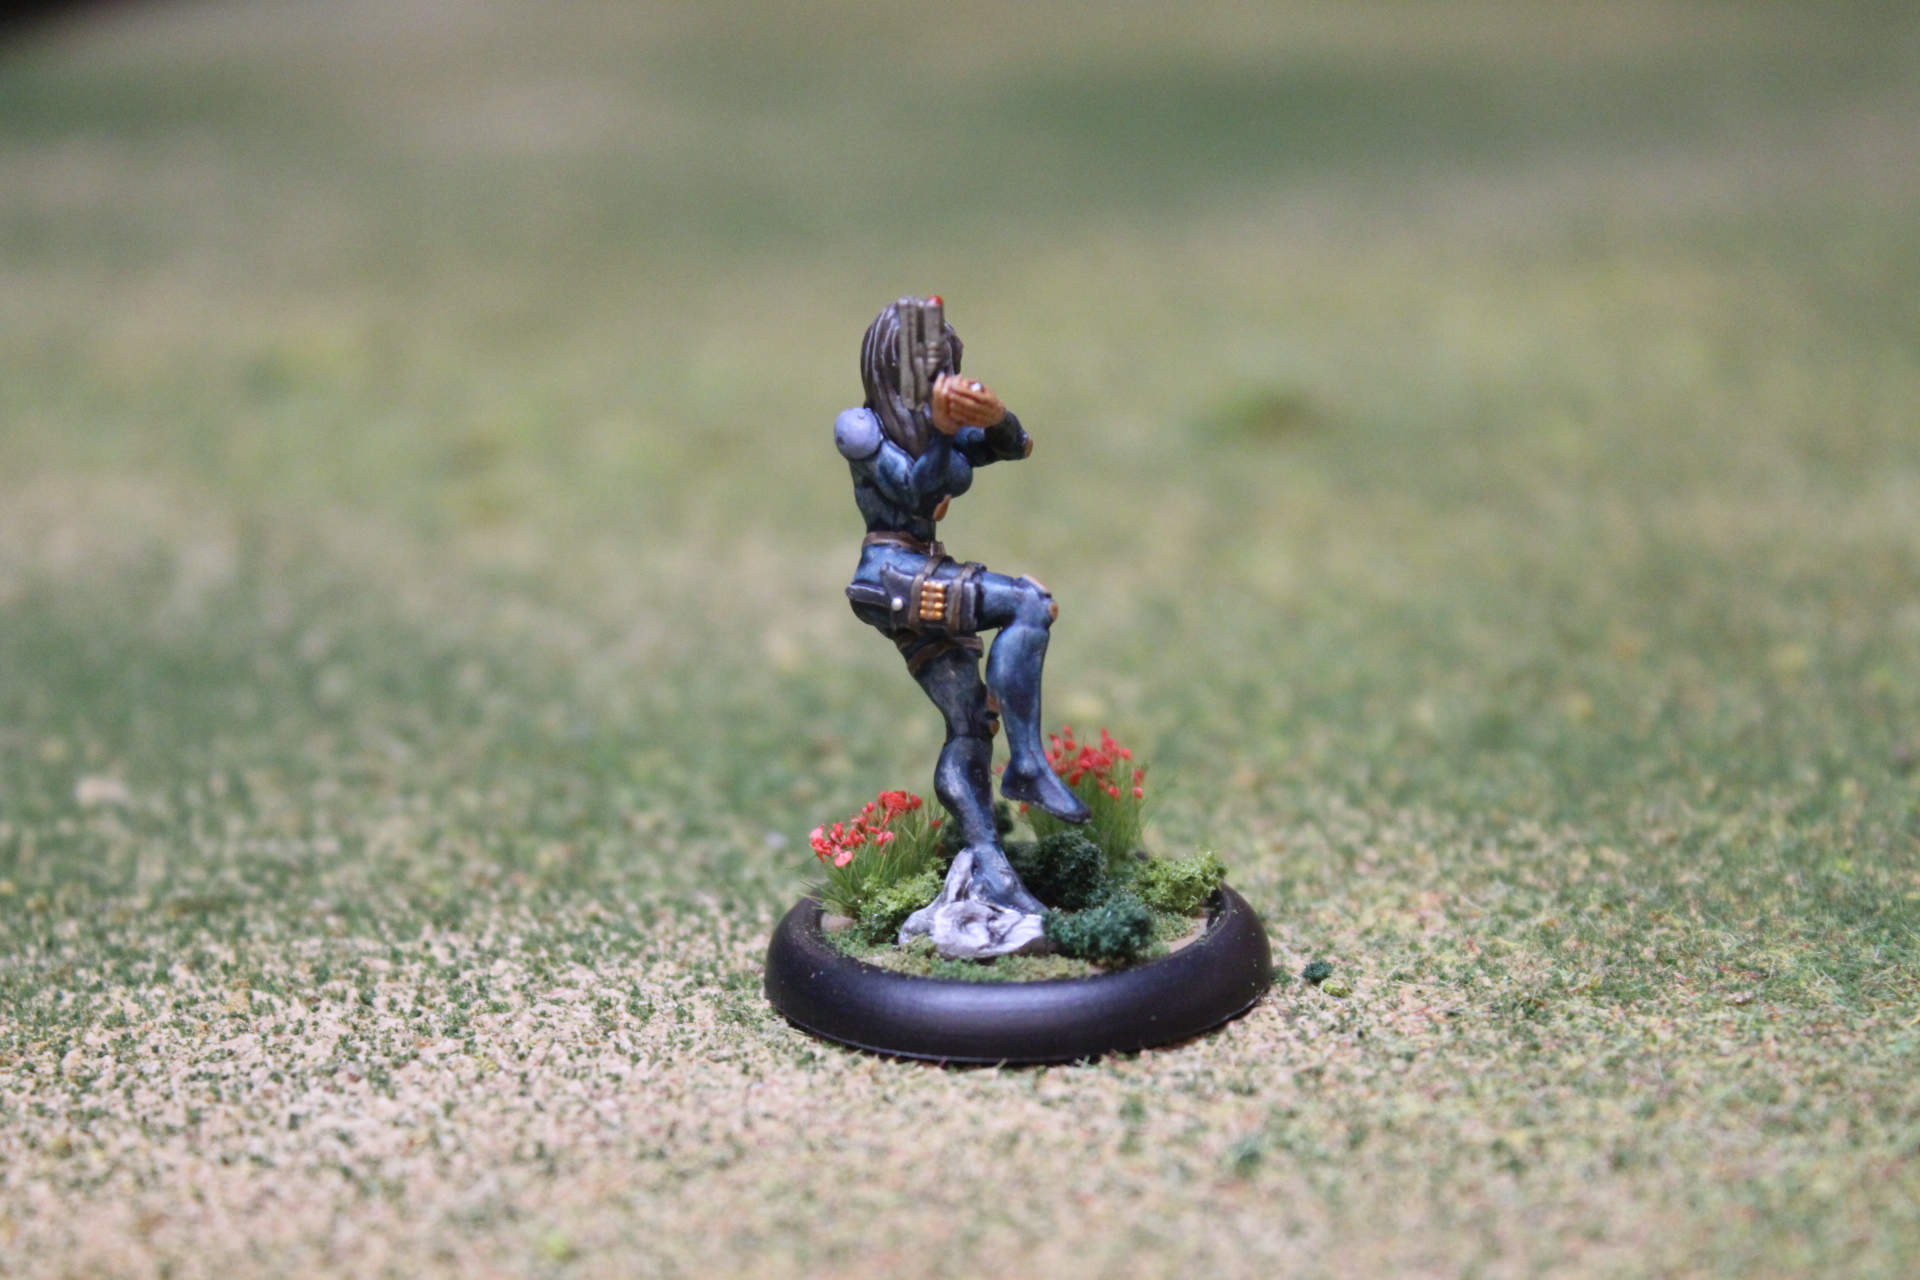
Never painted anything with face/skin, so it was an interesting experience, especially the eyes. The suit is good enough but nothing great; just Vallejo Black Lotus Xpress over white, so whatever. I wanted a bit of a darker skin tone, but ended up with this after various mixtures and applications of whatever I could construct that seemed like something a human would actually look like and decided not to mess around anymore.
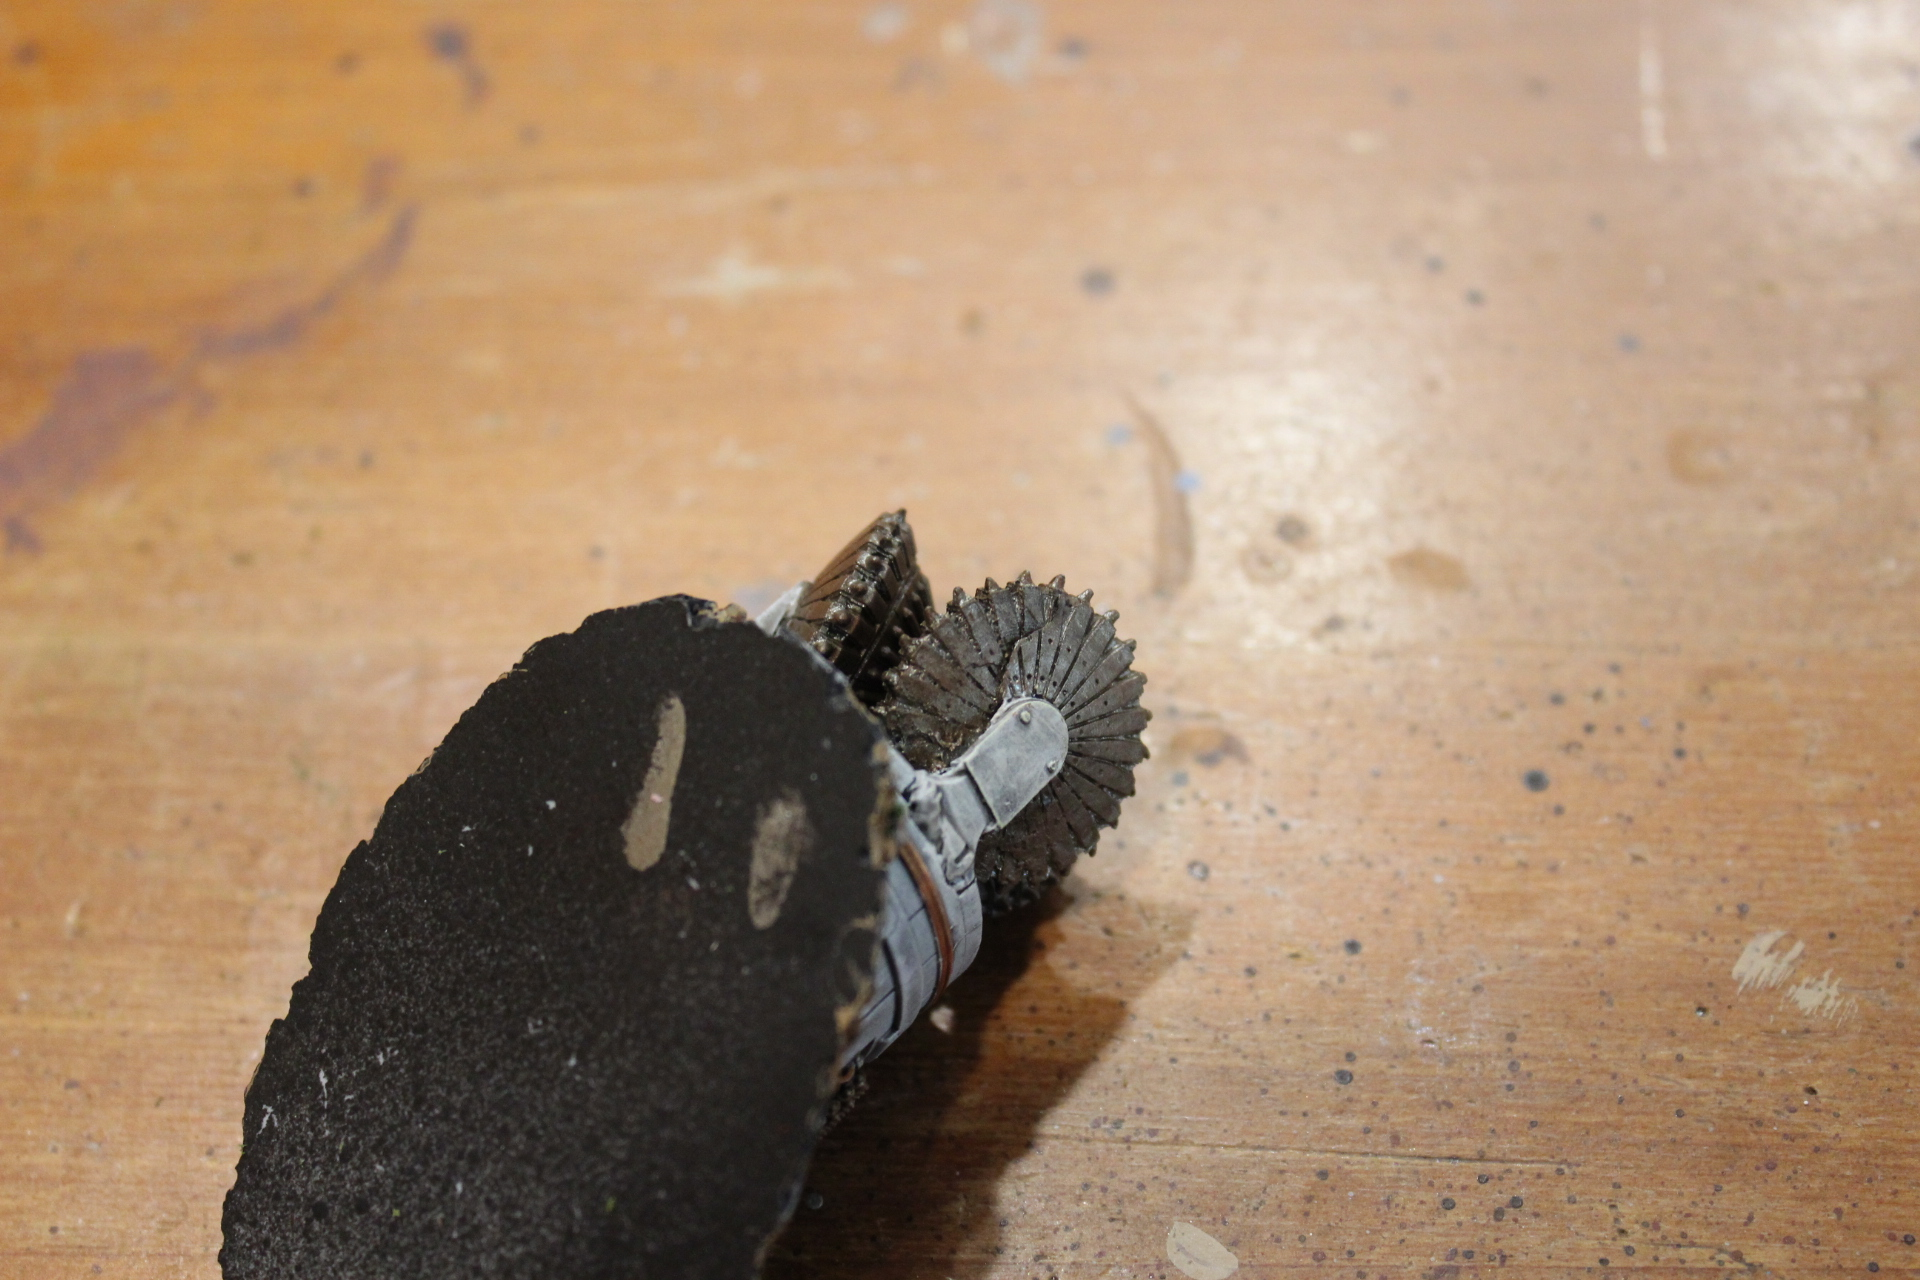
Originally, I only had one drill. One of the drilling bits had significant mold slip issues as you can see here (although once painted up, it doesn’t look too bad). I sent them an email asking about a replacement, and they ended up sending an entire new kit, so hurray, two drills! I could mostly hide the damaged piece by having it facing down like this, so it ended up working out nicely.
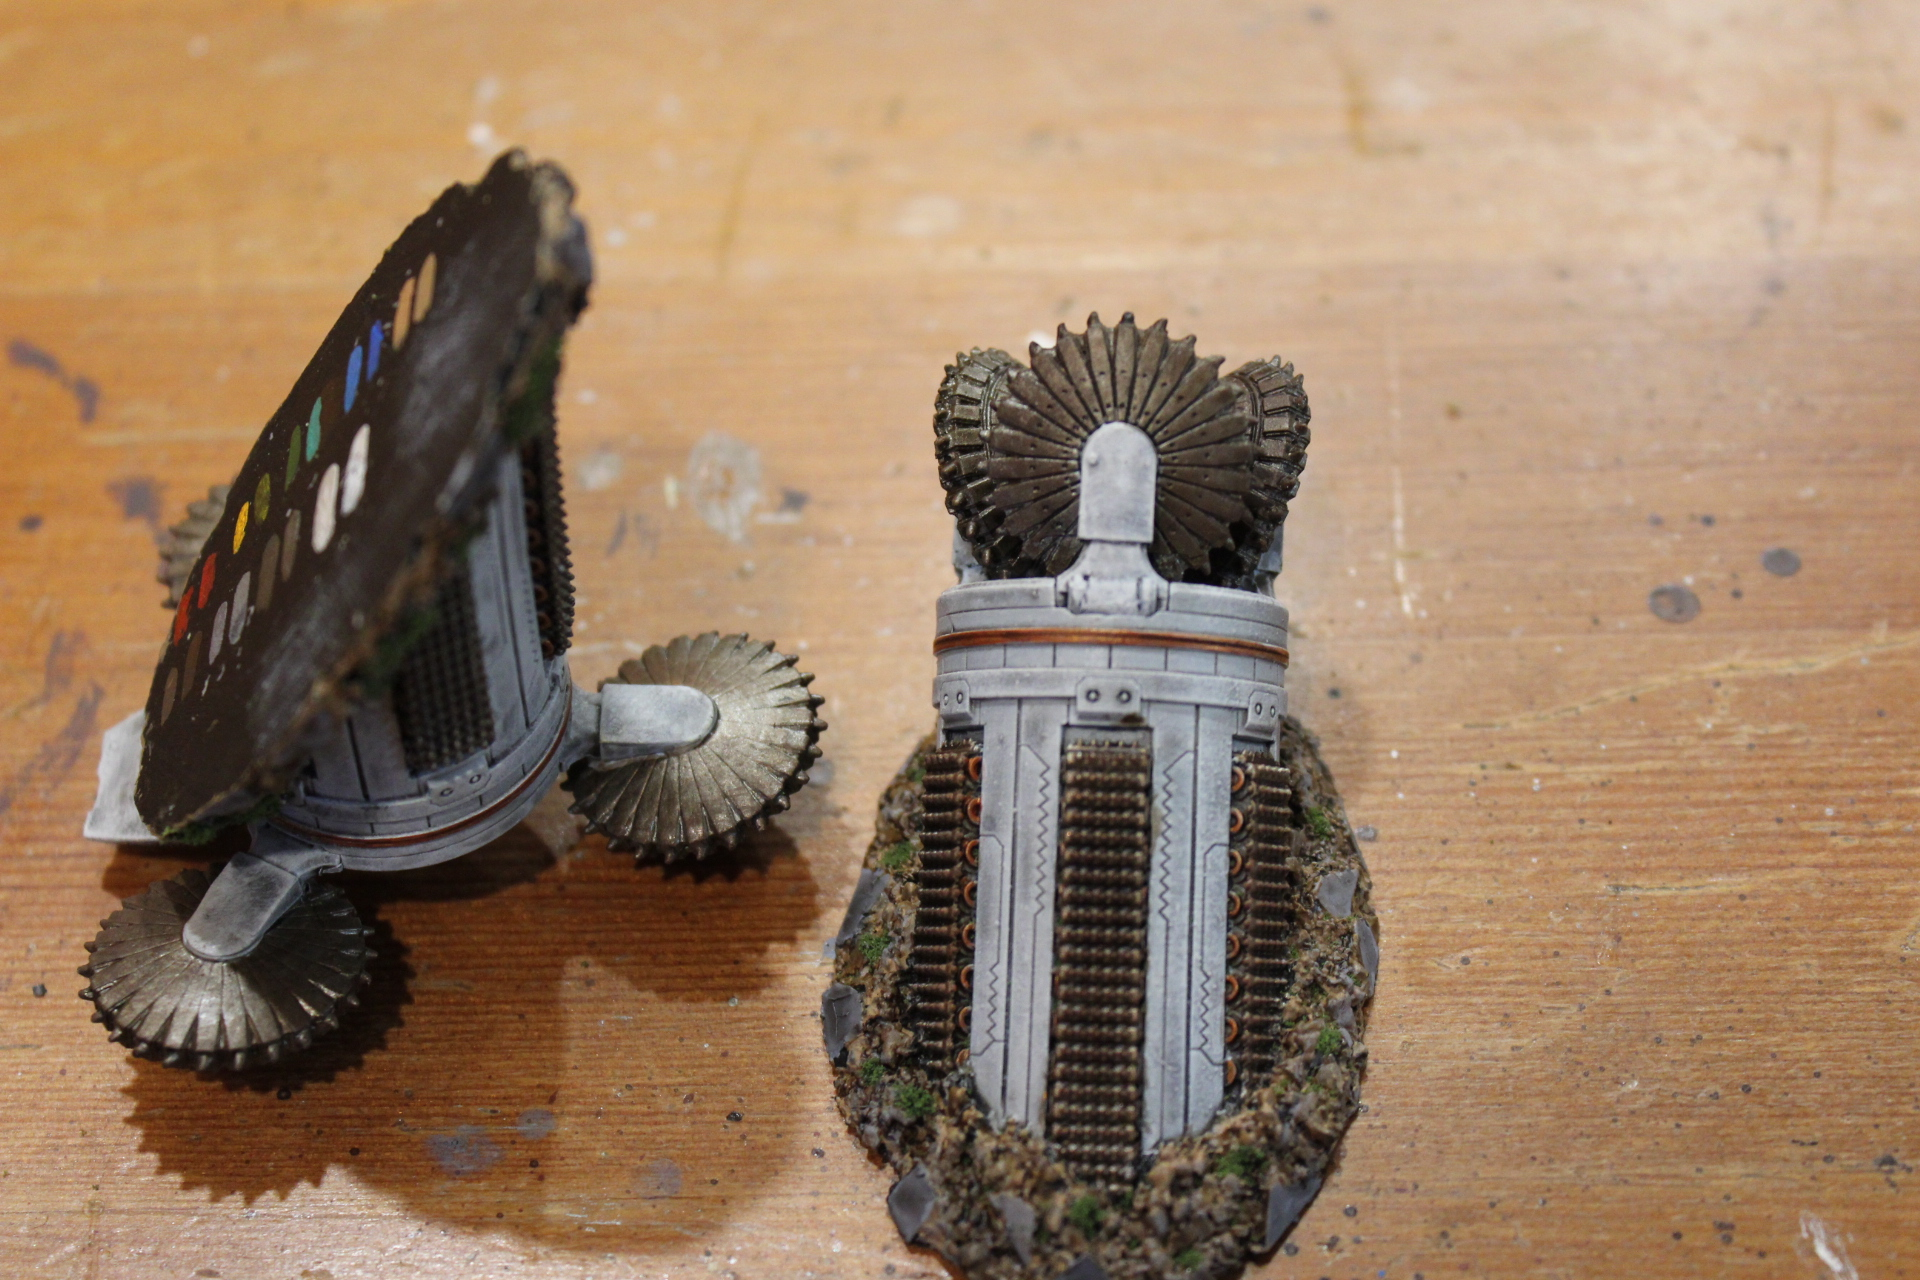
One thing to note is that the cast on the replacement model actually differs on the drilling bits! The drill hinge doesn’t have the two rivets, and the bit has shallower and less detail. Not thrilled with this.
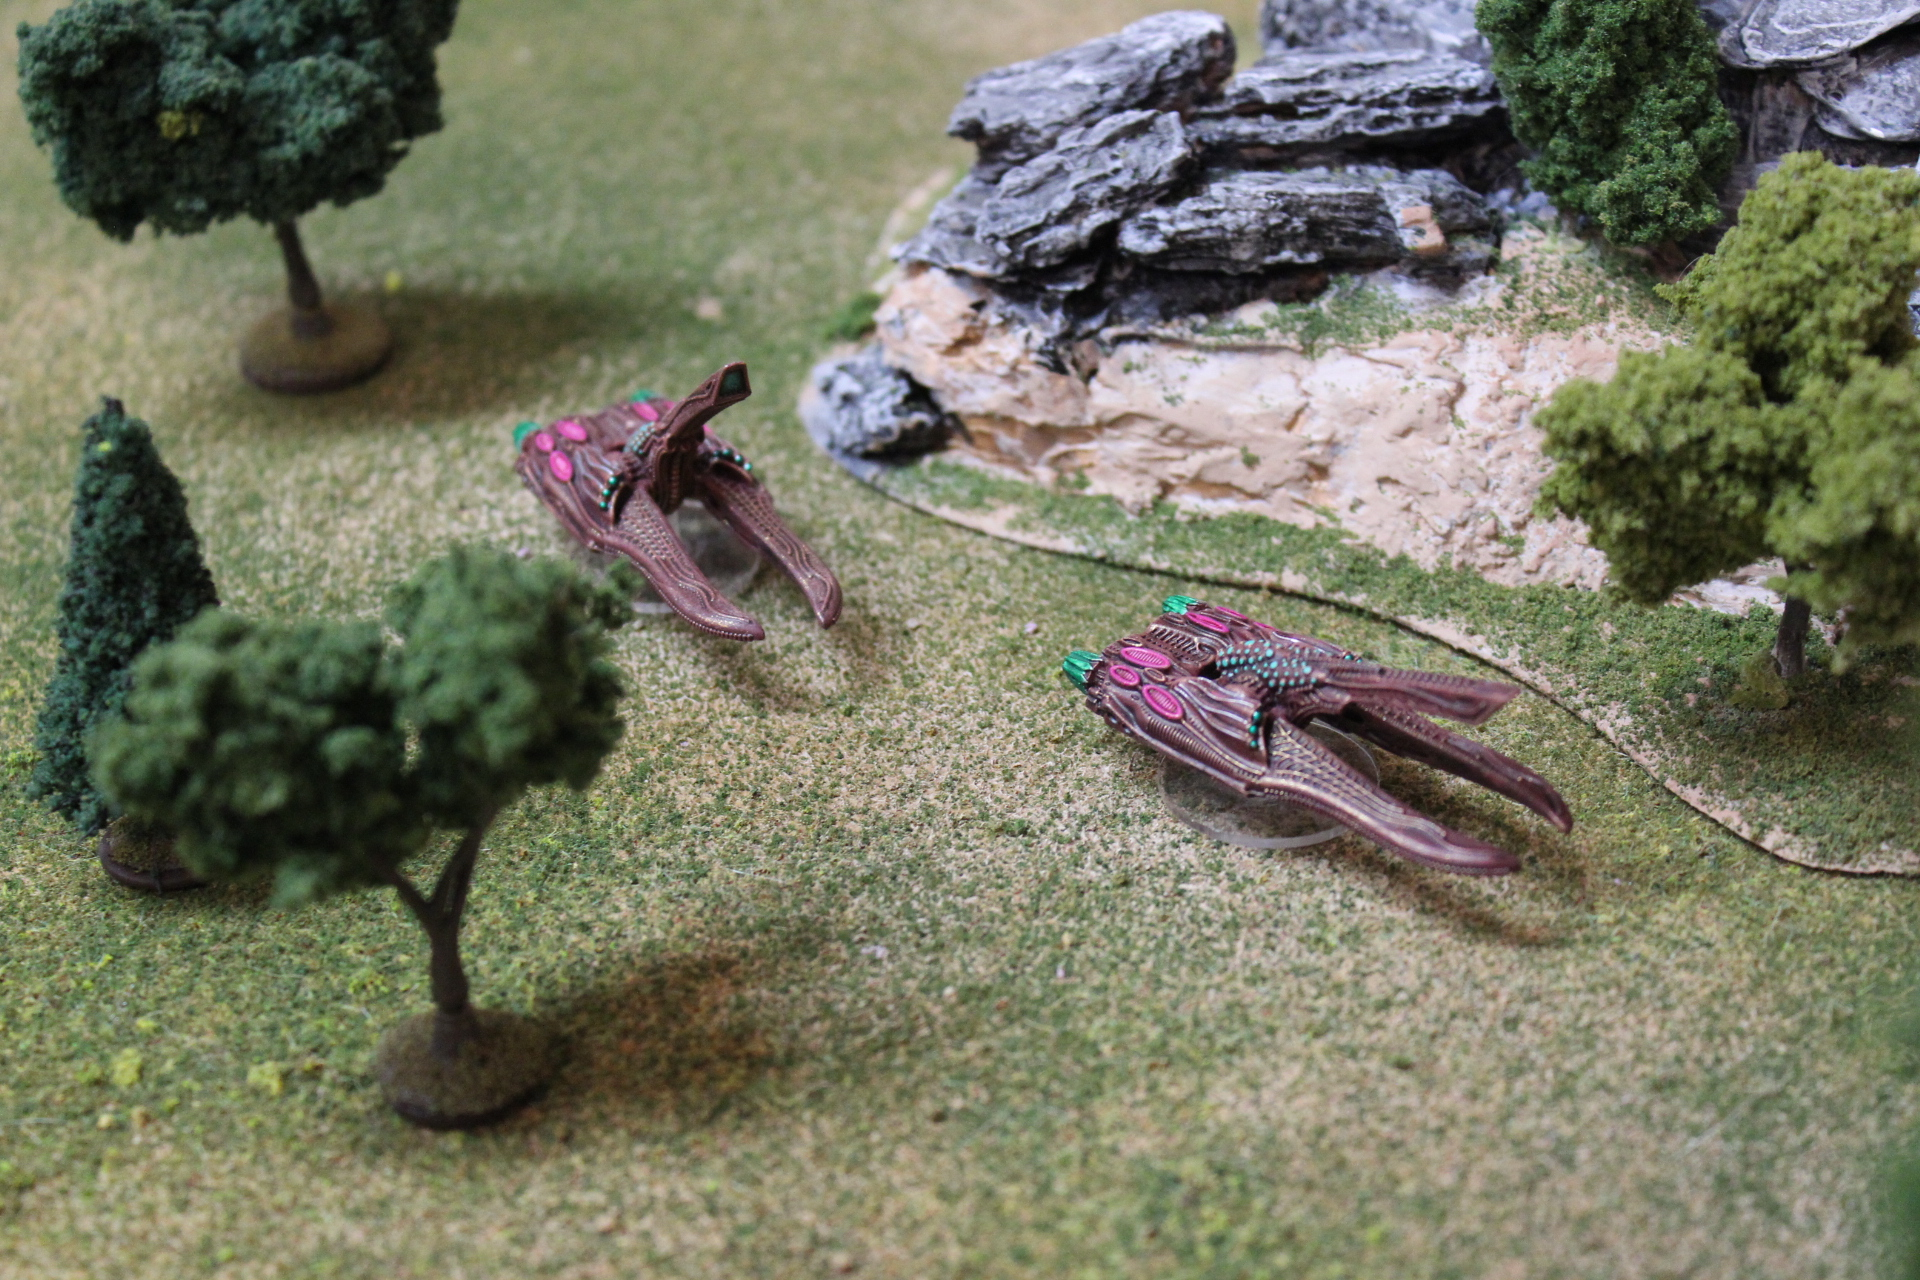
Got some Executioners out as well, not too much to say about them other than the casts being fine and I like the bio-weapons Scourge have.
Also, I need to put a wash or something on the exposed hillside, it doesn’t look too great here.
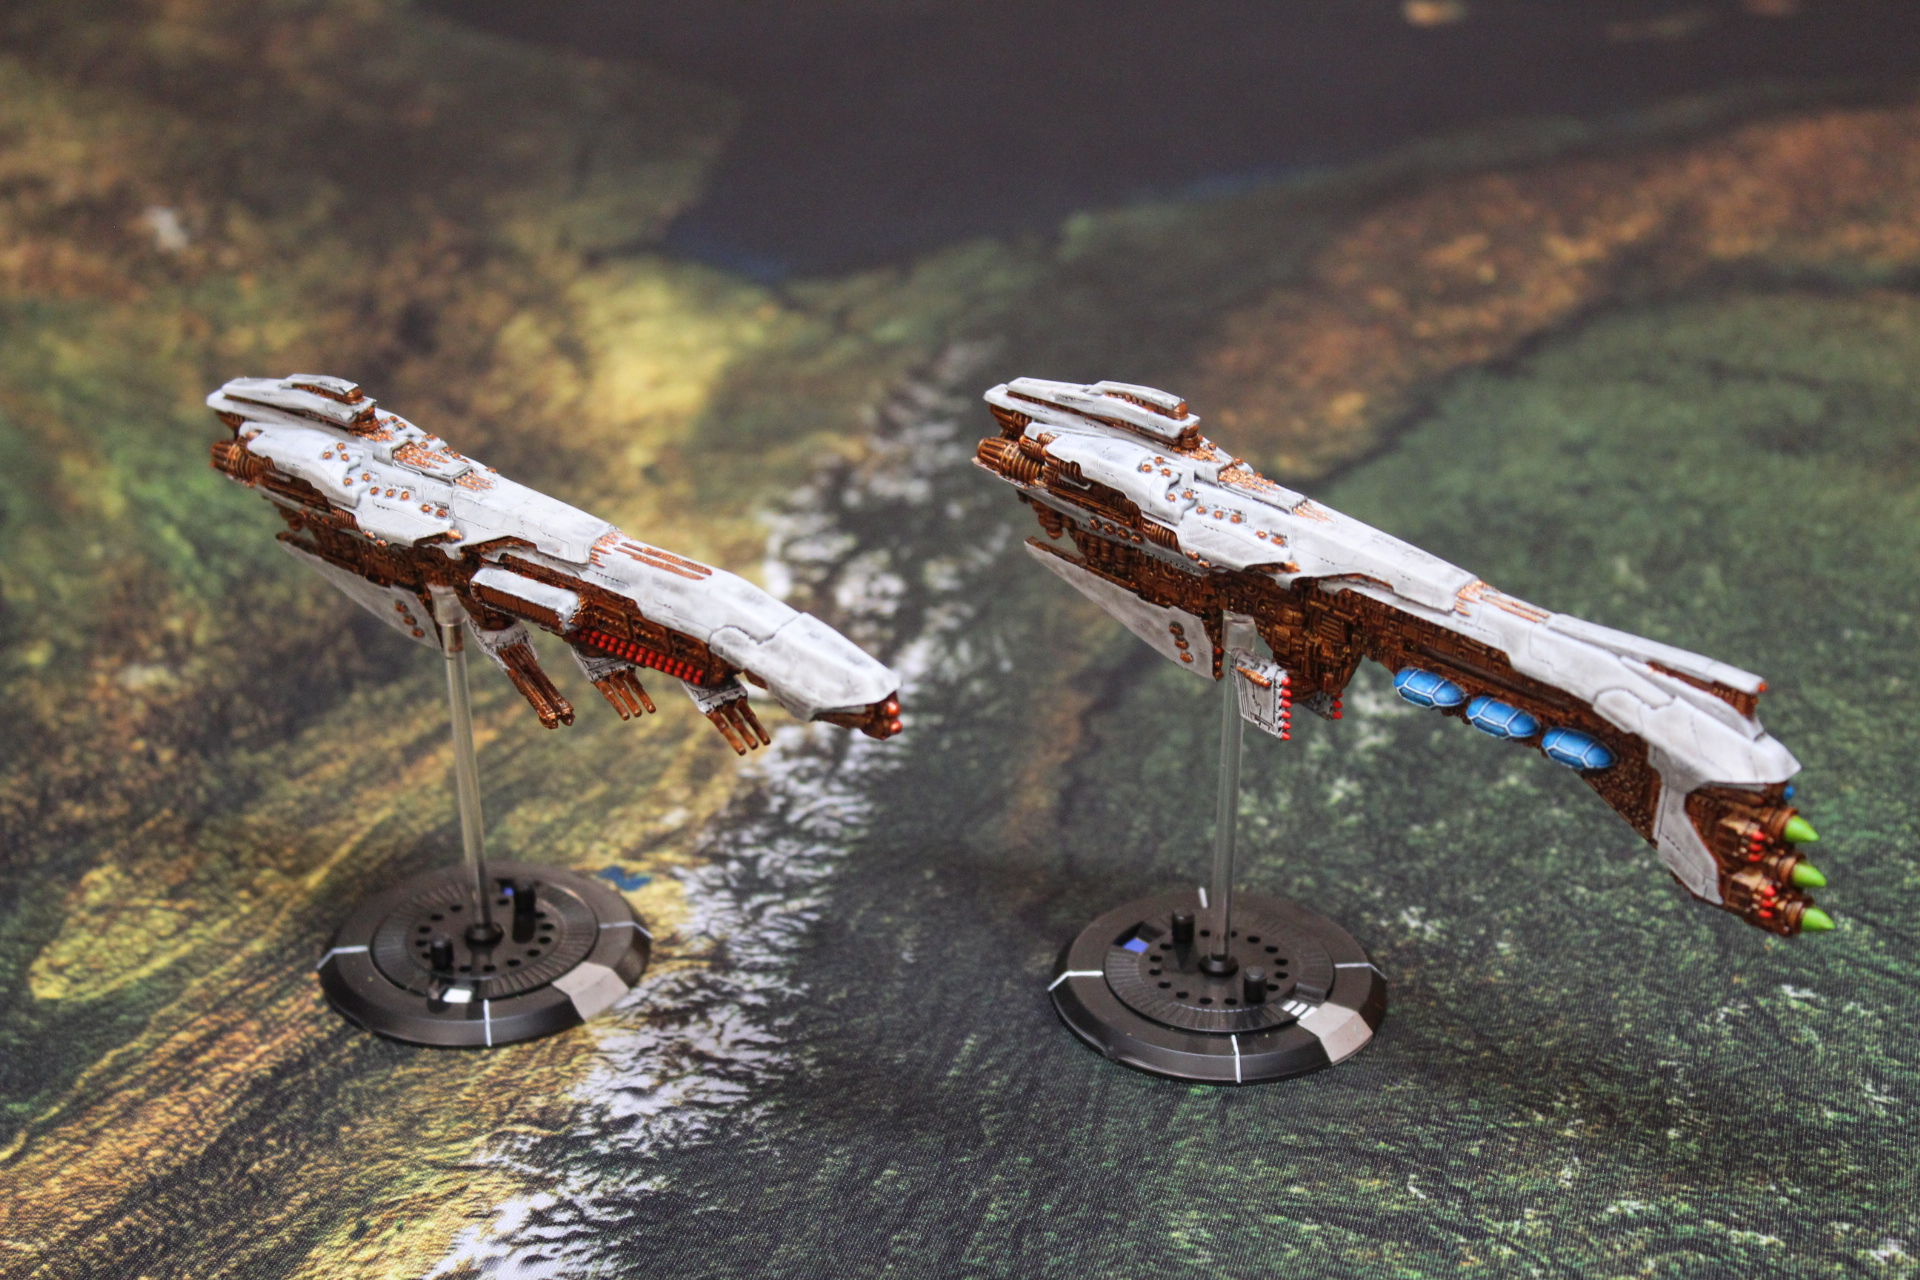
And as for the last thing completed recently, I added some more heavies to the Resistance fleet. I’m not sure if I’ll get a Phalanx at any point; it seems fine in terms of rules and all, but it’s just a bunch of guns and not that interesting.
In particular, I like how the sensor domes and nerve gas bombs on the Senator pop. These were both fun to do, with the only pain being a bit of fiddliness with getting the bow bit aligned properly with the stern portion. Still nowhere near as much of a pain as the Triumvir was.