During list building, I noticed that solo play and standard play will have to be treated differently when designing your battlegroup. Upgrades will have to be thought of differently for one, as for example, I had to remove one upgrade I picked initially as it turned out to be irrelevant to how enemy elements function. Total presence value can be very impactful as well, as it is what determines the number of enemy models on the table; a shift of P1 can add or remove 7 enemy elements!
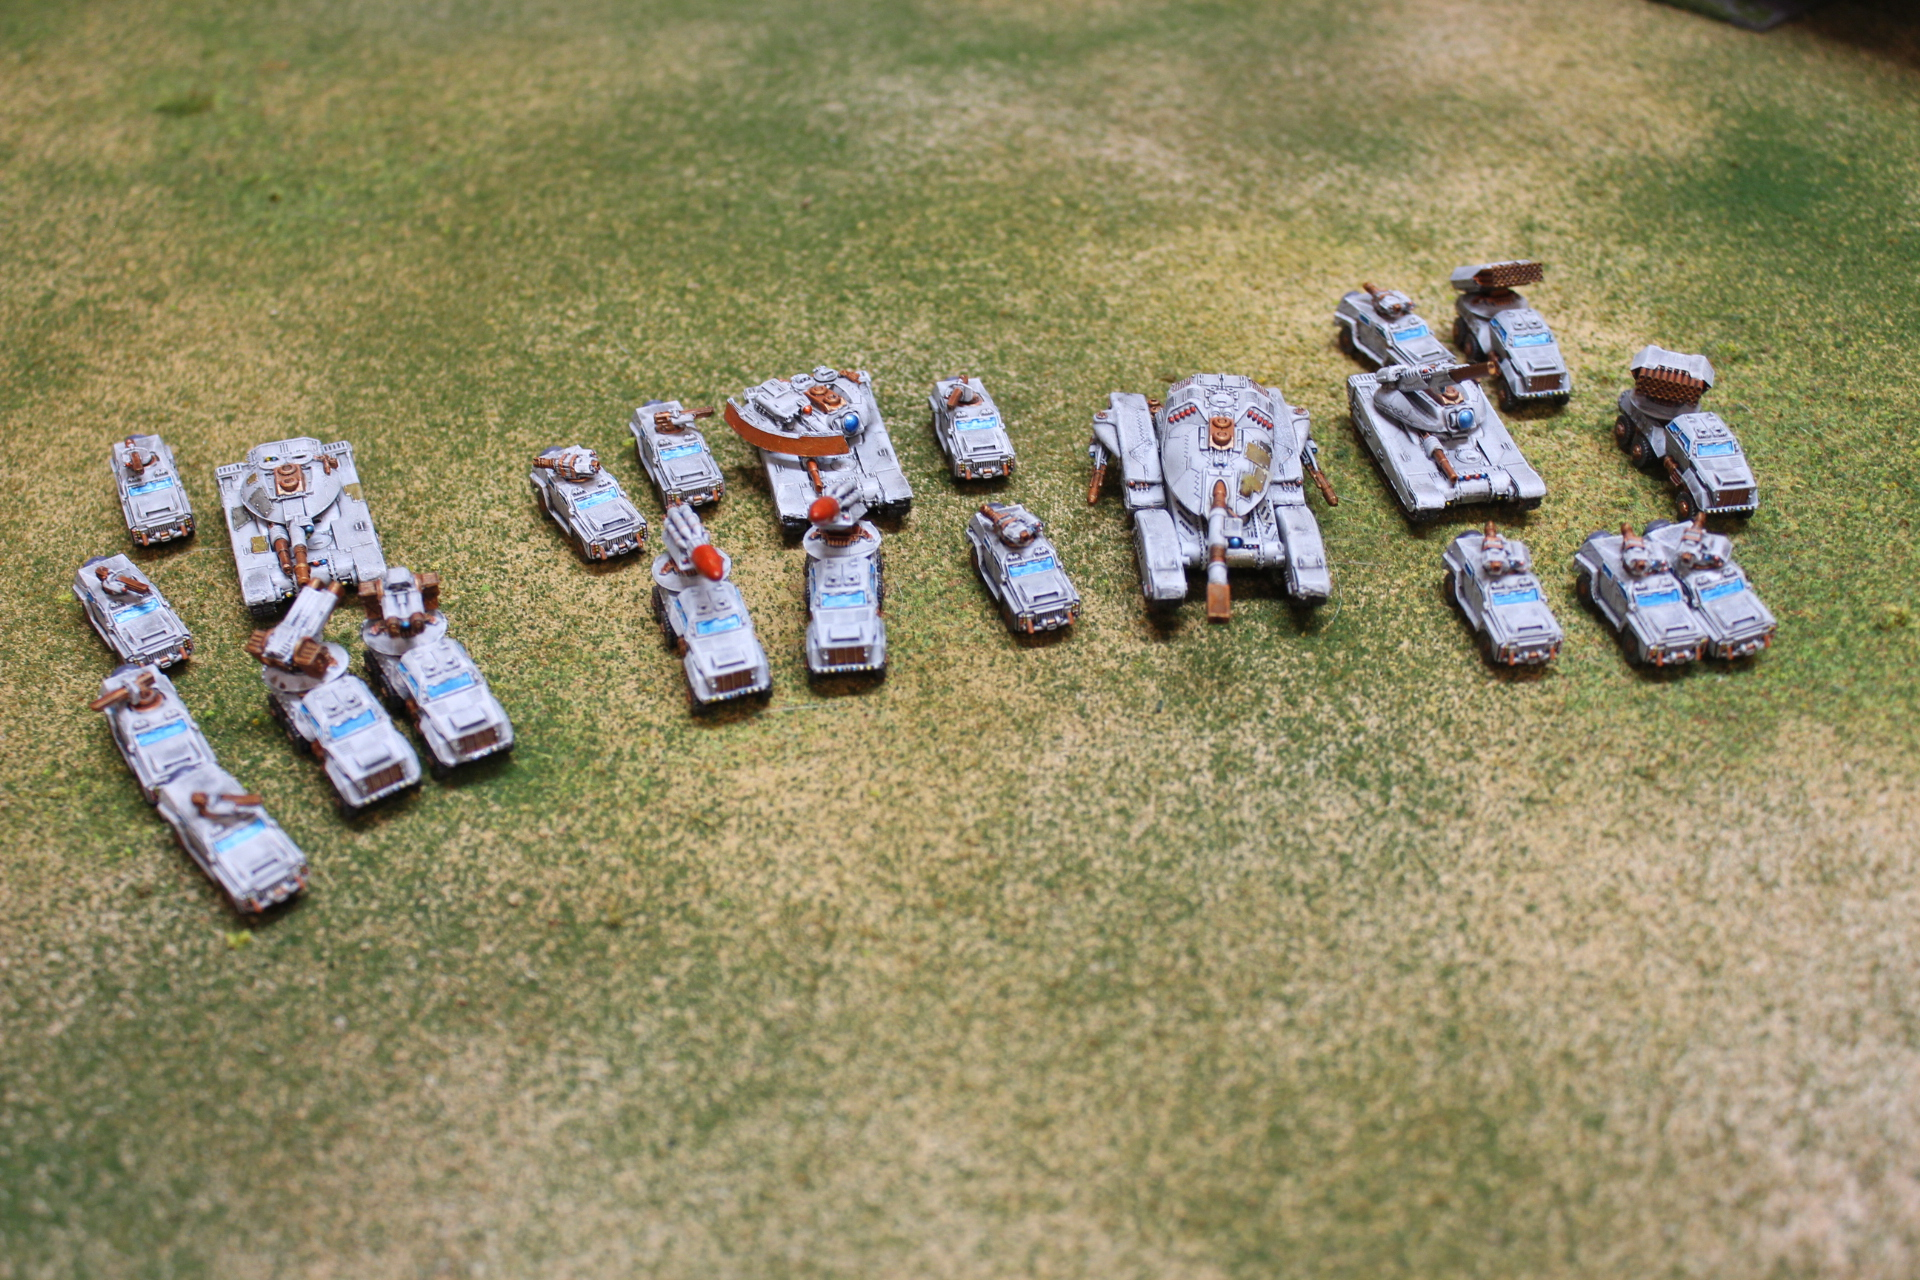
I set myself a limit of 300 points and decided to see what I could do with 7-8 models, as I wanted a lower total model count to keep the game simple. Also decided to ignore aircraft, heroes, strategic assets, and leadership or quality upgrades for the same reason. Ended up at 299 points, with what I feel is probably a fairly upgrade heavy list.

For the fun of it, tried to make each element reflect how their Dropzone unit behaves (could include airdrops/air transports if I really wanted to capture that but nah) and I think the upgrade system was able to encompass a good amount of that.
The Panther gets a combo laser/plasma that has long range and reduces defense, as well as a shield that boosts D. Gun drones are added on just because I felt I should grab something off the mech upgrade list. The Recluse should get the echo cloak upgrade for flavor, but reading it over it looks like something that might work better in standard play, so I kept it simple and just tossed on missiles and some shield stuff.
Infantry is two Braves with an armor upgrade that boosts their A. I wanted active countermeasures on these originally, but as mentioned earlier it’s pointless against solo enemies. The Daimyo has fractal armor for the same reason, and plasma just to make it better at shooting. Honestly it’s the unit that’s least like the Dropzone equivalent, but whatever, I like the model and wanted to use it.
Last is two Tomahawks, and they do pretty well, with contragrav, shields, and plasma again for better shooting. There’s also a little bit of point shifting around on the mechs and various stat point upgrades that I didn’t track and can’t remember rounding out the list.
One other thing that should be on the table here that isn’t is Special Ops, an ability the Spec Ops type has. It’s basically a 25% chance when you deploy the element to instead get some sort of powerful effect, with a failed roll resulting in your element simply being destroyed. Feels very swingy, but I decided to ignore it just because I’d rather have the element to play with in any case.
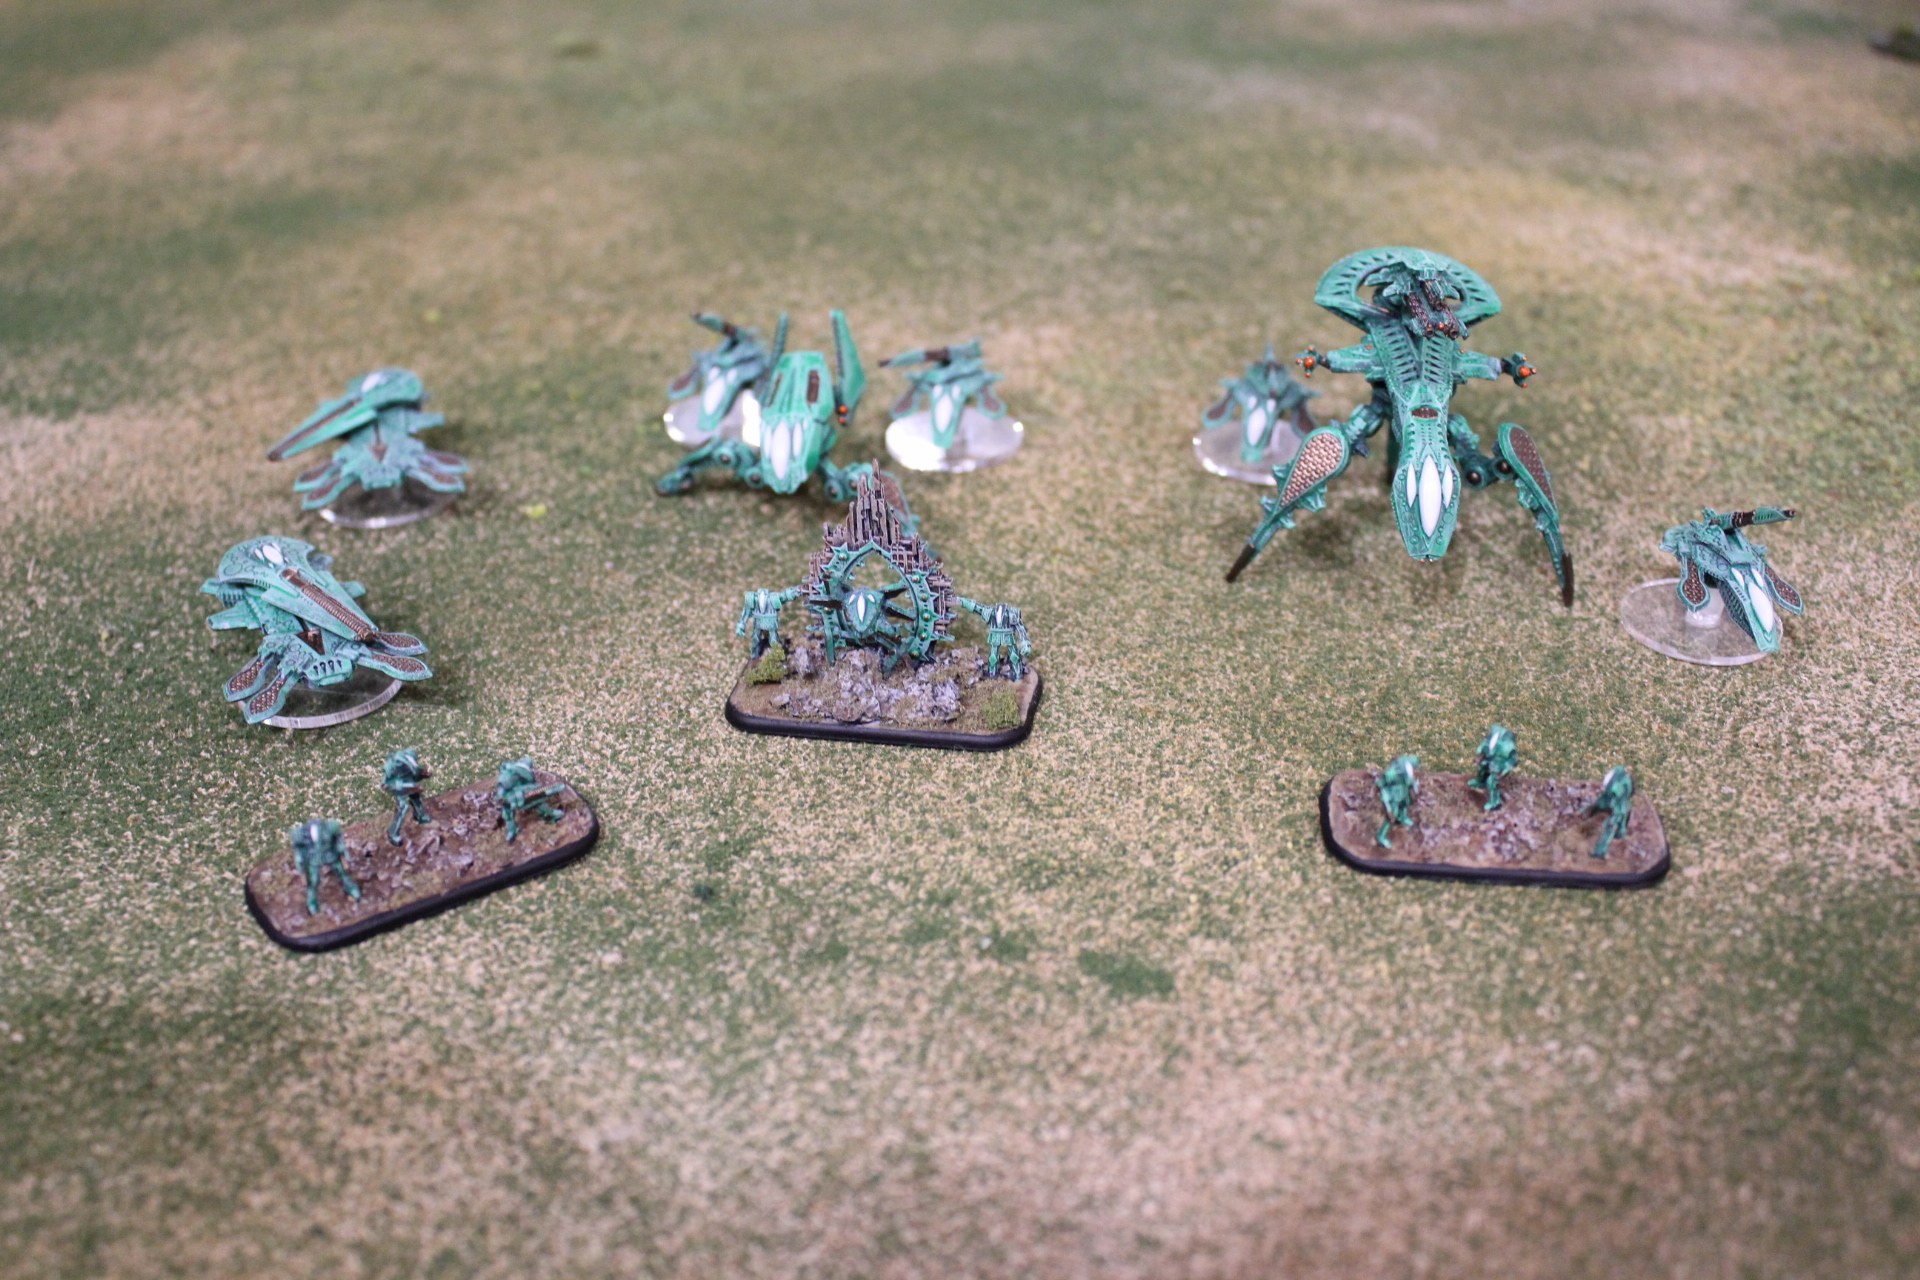
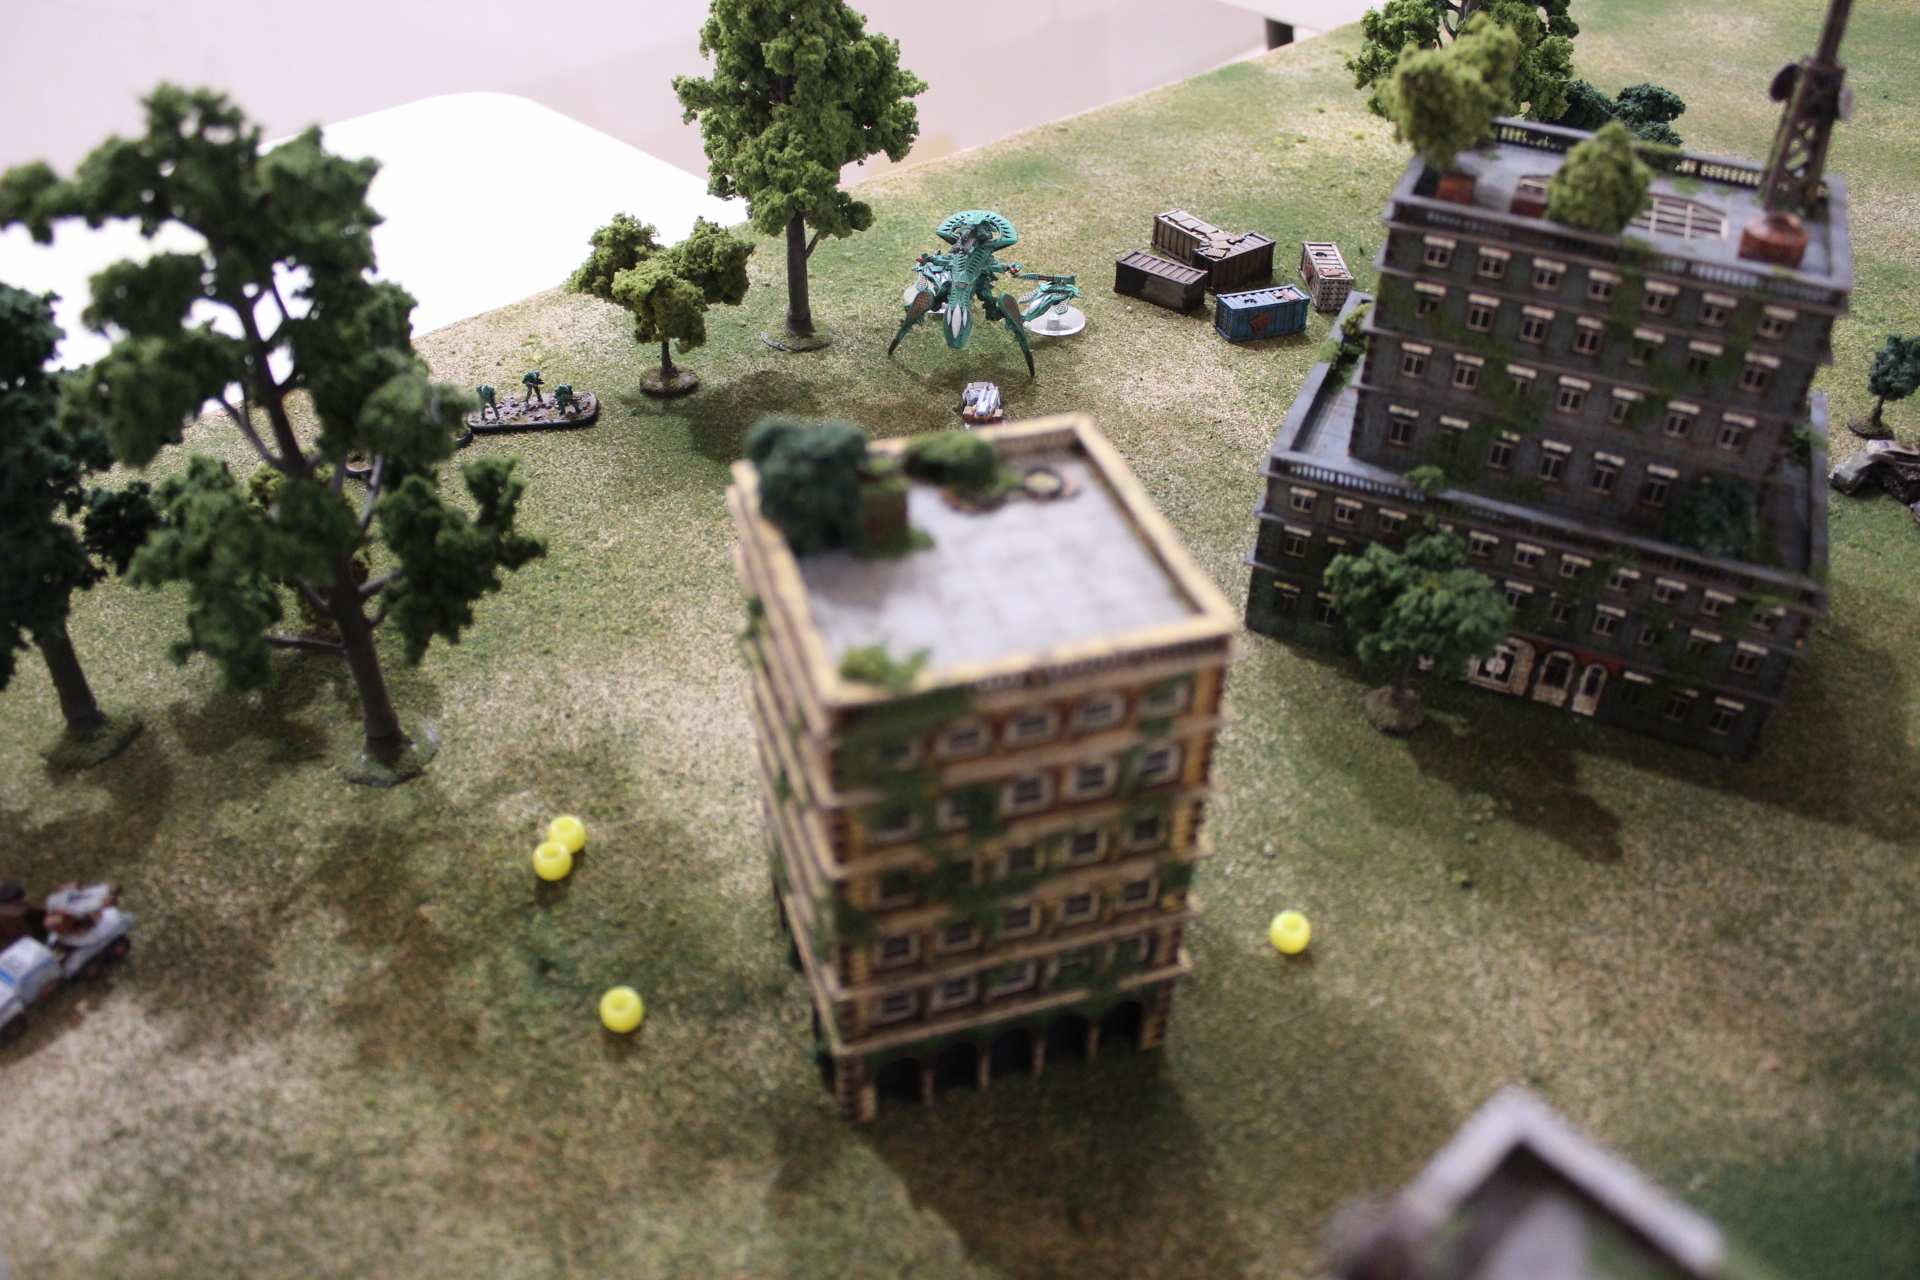
By default, the enemy elements don’t do anything like selecting upgrades or specific element types. Instead, there’s a table of 4 sizes of element (P1, P2, P3, and P4) with an associated stat line for each presence value, and they come in detachments of 4 P1, 2 P2, and 1 P3, which I have represented above with my Resistance models. The number of these detachments are based on your presence value as was mentioned earlier; every interval of 8 P of your own means one of these detachments for the enemy. For every two detachments, you also get one P4 element generated, seen above with the Alexander model.
The book suggests that you could add on more complexity if desired, so things like the upgrades could come back into play there, but the core rules keep them simple for what I presume is the sake of mental load and ease of play.
As for the scenario, I went with the second one, Loot & Pillage. Mostly because I didn’t feel like redesigning my elements to account for the limitation in the first scenario (you need to have at least half your points in units that are P2 or less)
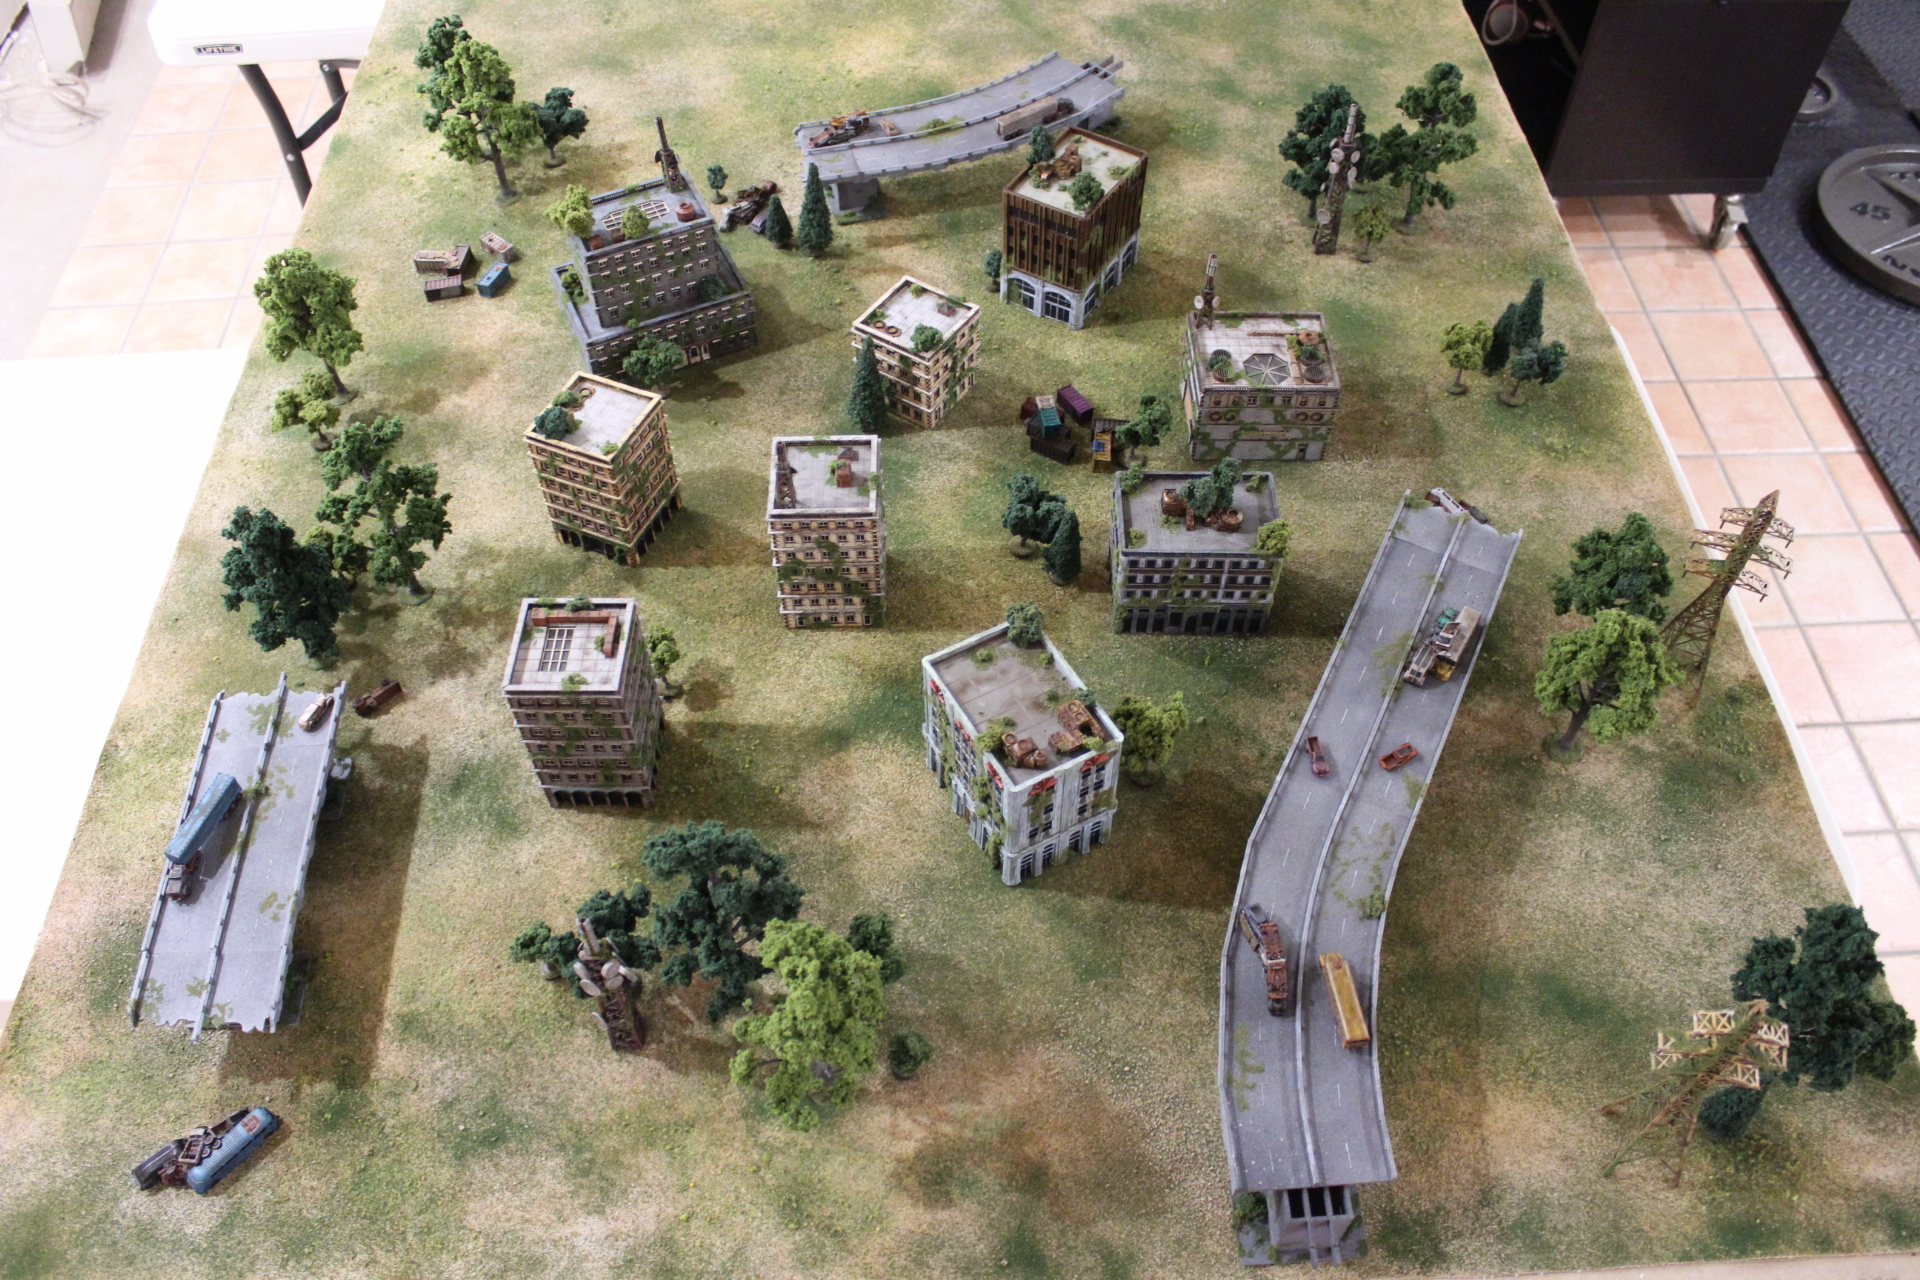
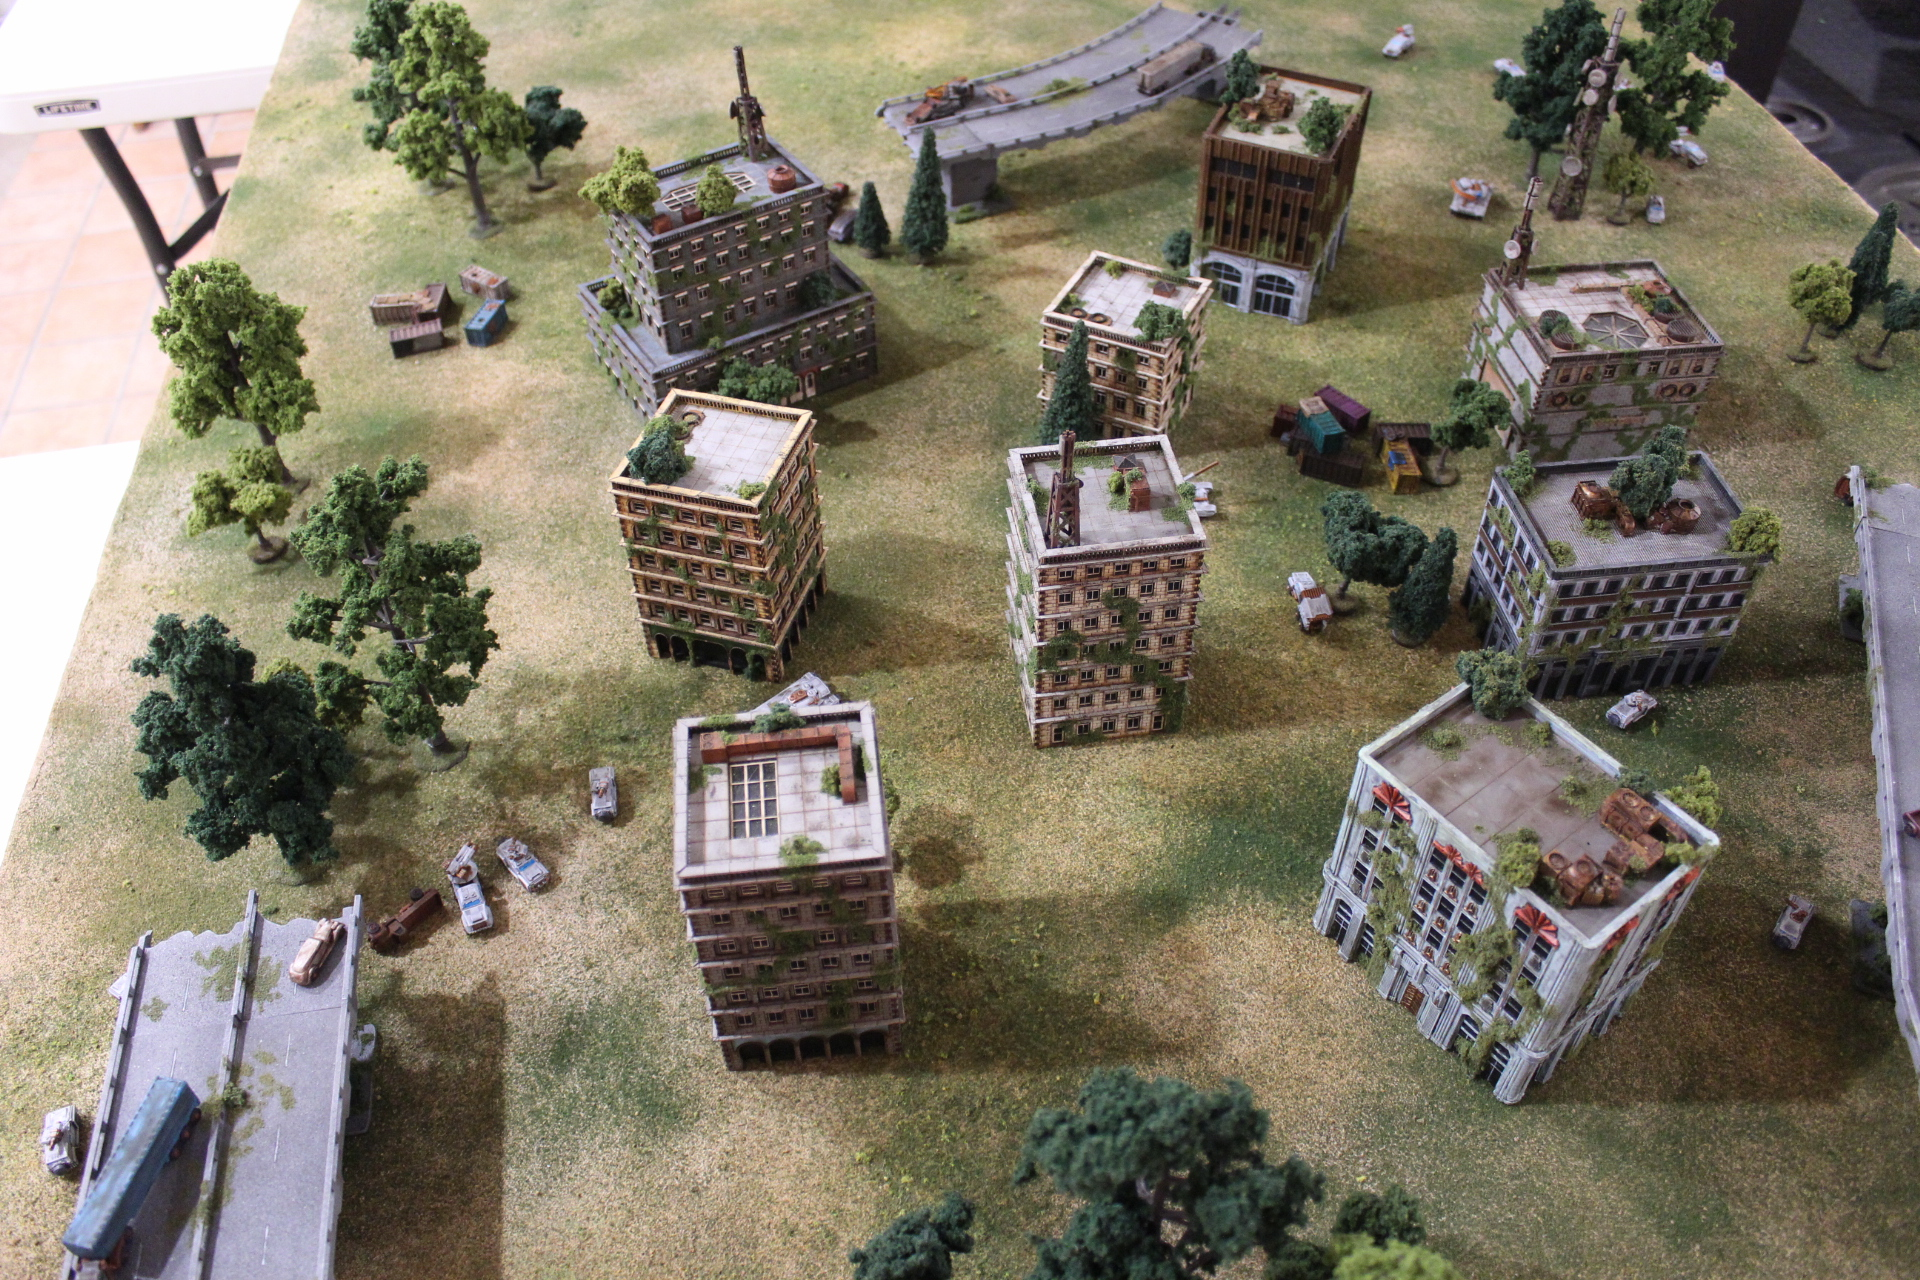
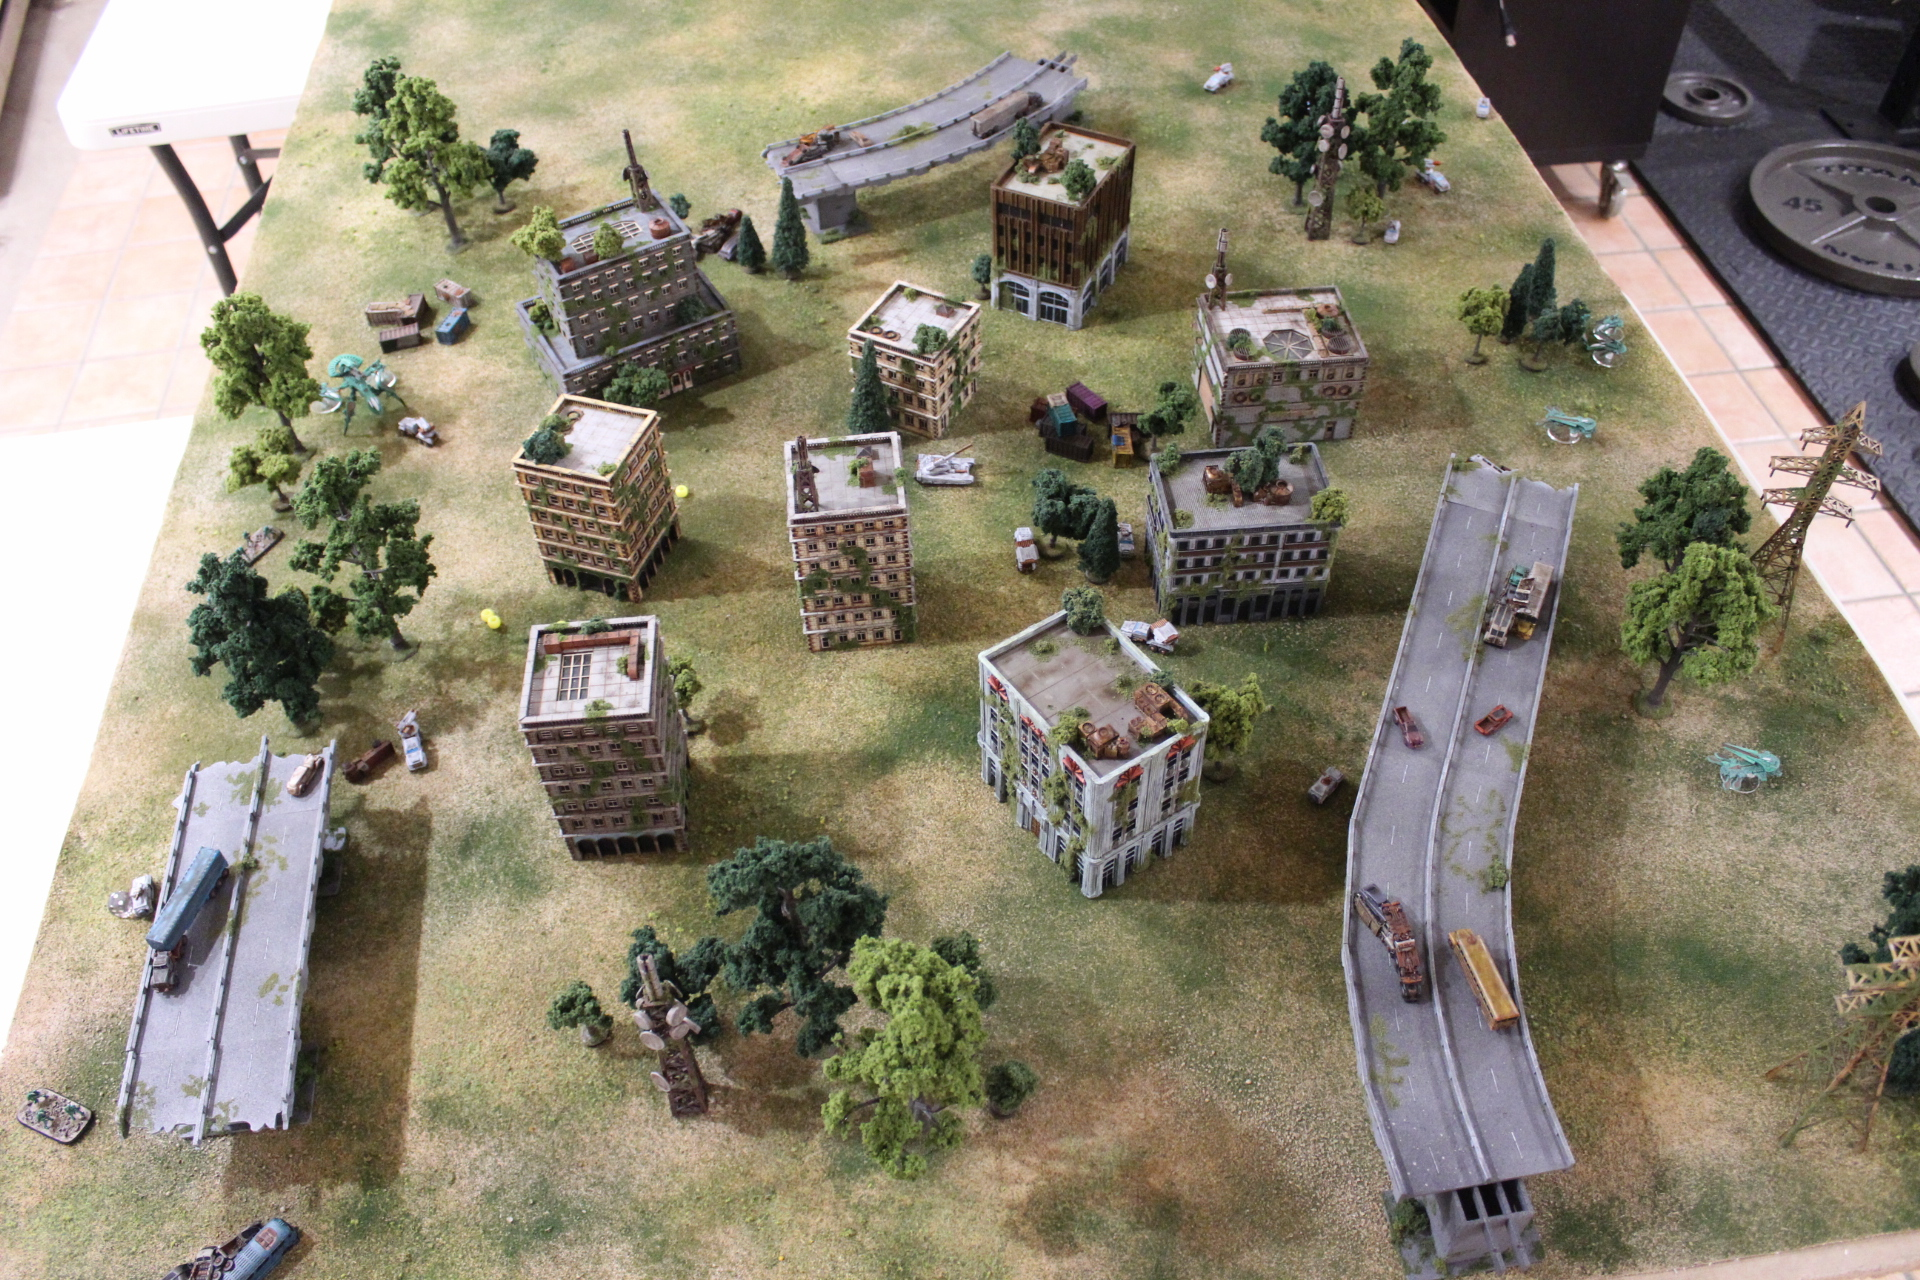
Didn’t put a ton of thought into setting up. The important thing is that there must be nine buildings in the center of the table that will contain the aforementioned loot. I believe any buildings on the table will also contain loot, but I set up the rest of the table as non-building terrain pieces. The enemy elements will attempt to engage with the buildings and get loot tokens they take off the table, while I try to take them out and claim any dropped loot for myself.
Enemy deployment involves a bunch of rolling 2d12. Ended up having them mostly strung along one of the board diagonals.
First setup hiccup: the mission does not detail how to deploy my units. All the other missions (including the other solo one) do, so I’m just going to play based off the flavor of the mission and assume my units are in reserve, having just arrived to chase off the enemy. Nothing about a friendly table edge or zone is specified either, so I’m going to have my forces enter from any edge, as it seems like the mission could end up with enemies running off the board with loot I never had a chance to interact with otherwise.
Second setup hiccup: I can’t find in the rules explicit detail of how a unit deploys when reserved. Aircraft entering from reserves is specified (and is the obvious enter from your board edge), and I’m going to follow as such for land-bound elements as it’s a reasonable conclusion of how things function. On a similar note, what to ‘deploy’ is isn’t specified either, but again, going with a common sense interpretation.
End of turn 1. At least, I believe so; a turn ends when all players run out of orders, and I’m the only one here with orders.

It was a bloody turn for the enemy. My Panther was devastating with the high F and plasma + laser combo, taking out the P4 element in one activation, and a P3 in another. Amusingly, my very first card drawn was a Joker for a complication (a special table of various effects that’s rolled on), but I only triggered a redeployment which ended up being fairly meaningless.
One thing about how the enemy activations work, is that none of the central or corner elements activated and engaged with me, as the rules specify that the activating element is one closest to the friendly element that activated last. As a result, I could mostly control where the loot generated and focus down those elements. I’m actually calling it here; my elements have suffered a small amount of attrition, but I don’t really see how the enemy can come back sufficiently, especially as I’ve taken out almost all of their most powerful forces already. So it’ll just be a few turns of picking off elements and then cleaning up loot. I might come back tomorrow night to give another turn a go and see though, and will edit in the post here if things develop differently than I expected!
Next day edit: It did not go differently than expected.
I don’t want to give the impression I’m all down on Horizon Wars, though. This was, after all, essentially a simple solo learning game, and I didn’t engage at all with quite a few systems, so can’t pass too much judgement either way. For positives, I had fun crafting my list, thinking about how each unit ‘should’ behave and what stats/upgrades would reflect that. I liked the dice resolution mechanics quite a bit as well. While I can’t say so far Horizon Wars is something I’ll surely be investing more time into, I’m going to at least give it a proper go with a ‘real’ game if I can, especially if an FAQ/errata pass releases soon and cleans up some unclear things.