Drop Campaign, Game 1
Drop Campaign, Game 2
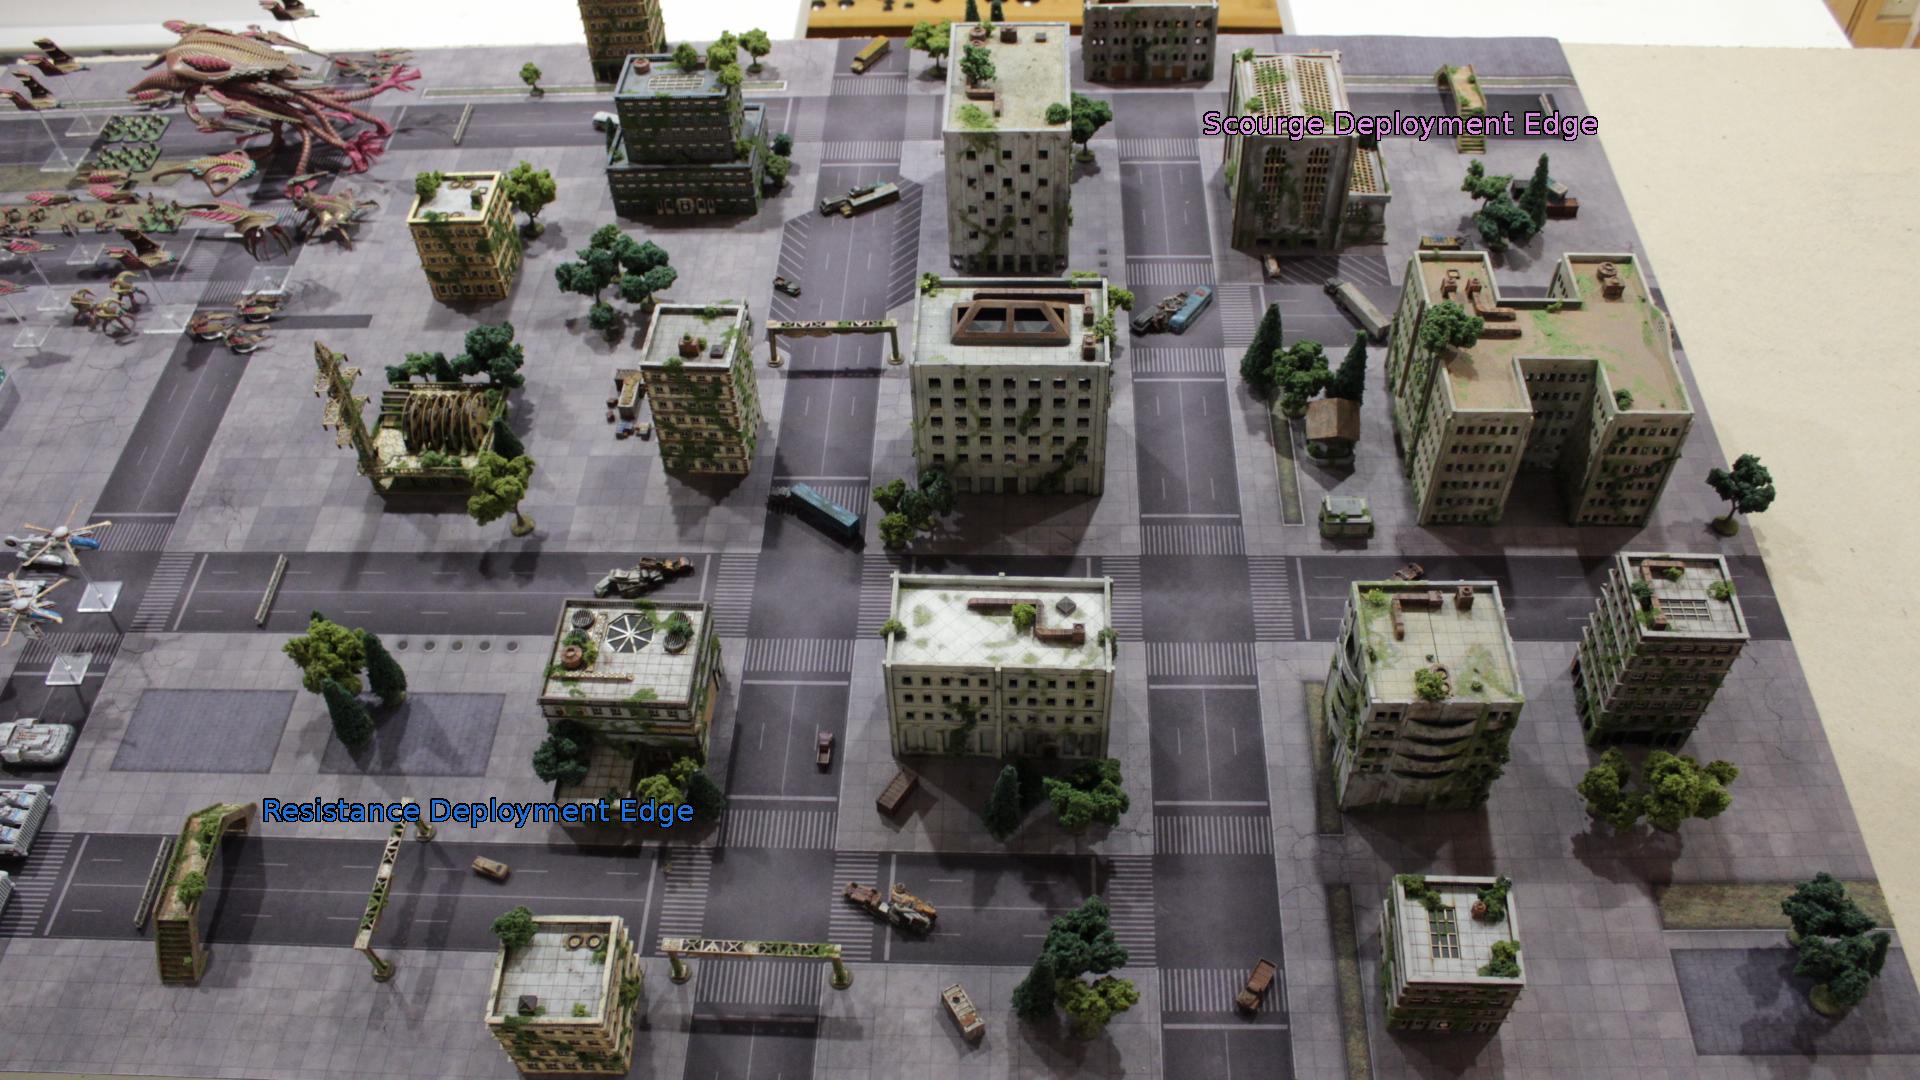
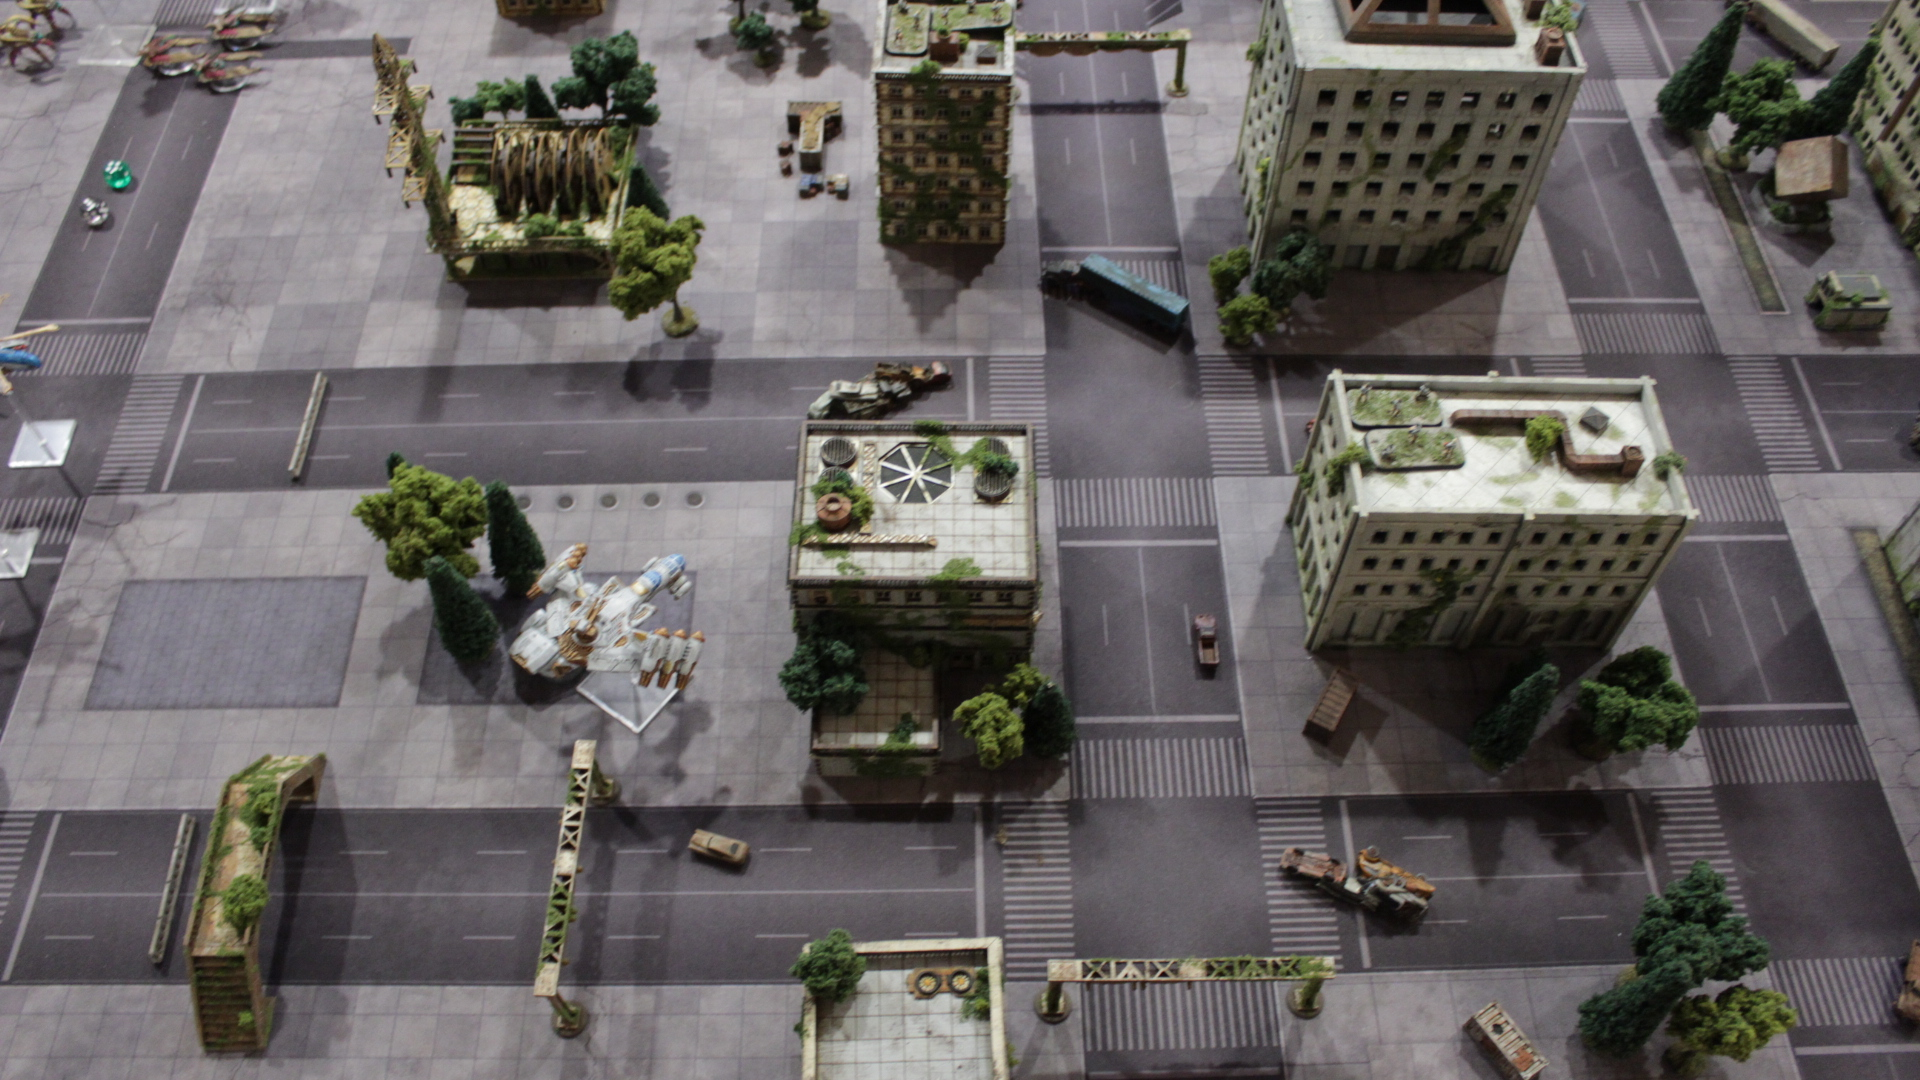
Cell Extraction, 2000 points.
Game impact:
Scourge victory: One sector on friendly table side gains All The Detonators Are Here.
Resistance victory: One sector on friendly table side gains Resistance Command Post.
Cell extraction, 2000 points. One thing to discuss is that I believe we completely misinterpreted the scoring on this scenario. Reading it again, I think (but am still not 100% on this) the number of successes while searching equals the number of operatives you get from that objective. Instead, we played it as the number you roll equals the number of operatives.
So while it seems like, for example, if you roll two 5s on the second turn, you’d get two operatives. We played it as you got 10. Obviously a tad different. I think reading the extra box underneath about how this could be a “high-scoring game” while we did an apparently far too quick read over of the scenario rules threw us off and made us think we should be finding buckets of operatives.
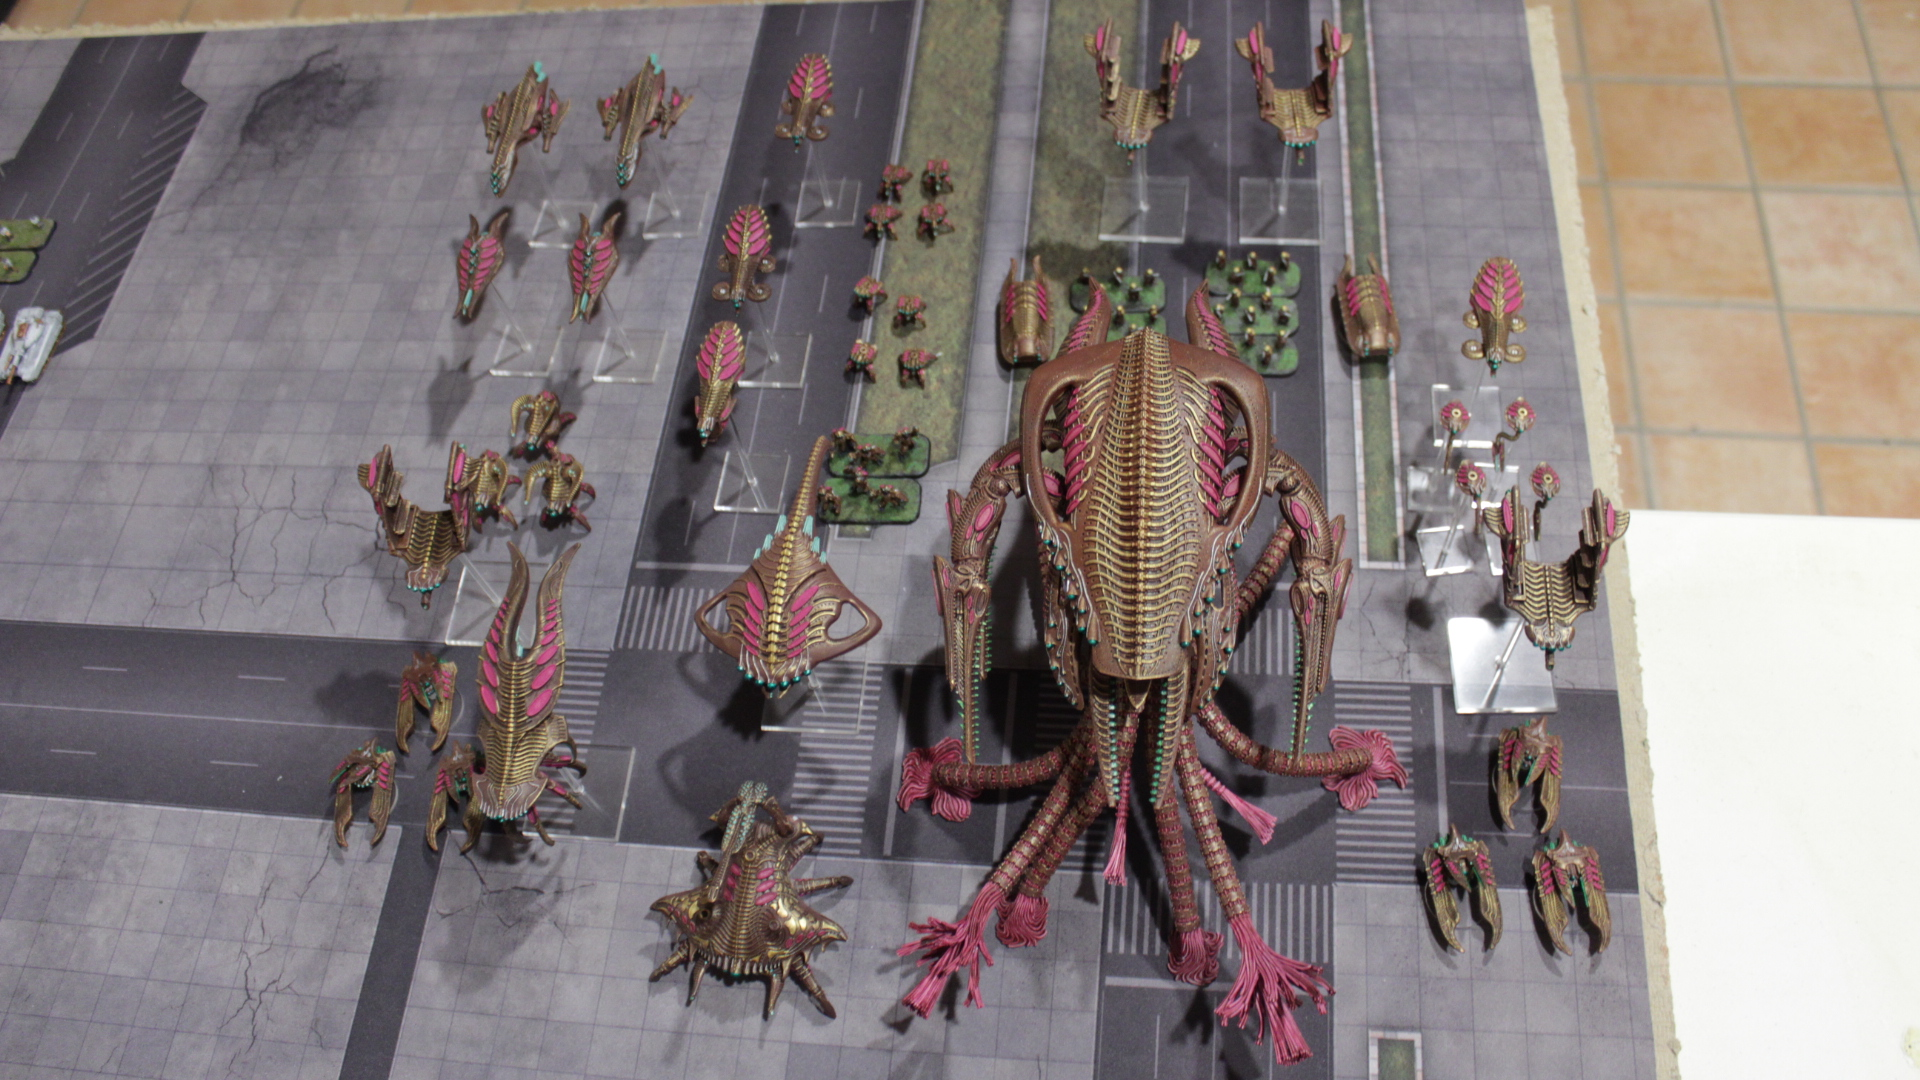
Scourge list:
HQ:
Desolator: CV 4
Frontline 1:
3x Warriors
3x Warriors
2x Invader
Marauder
Frontline 2:
2x Demolisher
4x Prowler
4x Raptor
Intruder Troopship
2x Intruder Dropship
Armor 1:
3x Stalker
Vanguard 1:
Eradicator
4x Minder
3x Reaper
Harbinger Dropship
Intruder Dropship
Marauder
Vanguard 2:
3x Reaper
2x Reaver
Marauder
War Engine:
Dictator
Auxiliary:
2x Corsair w/ Plasma Cannon
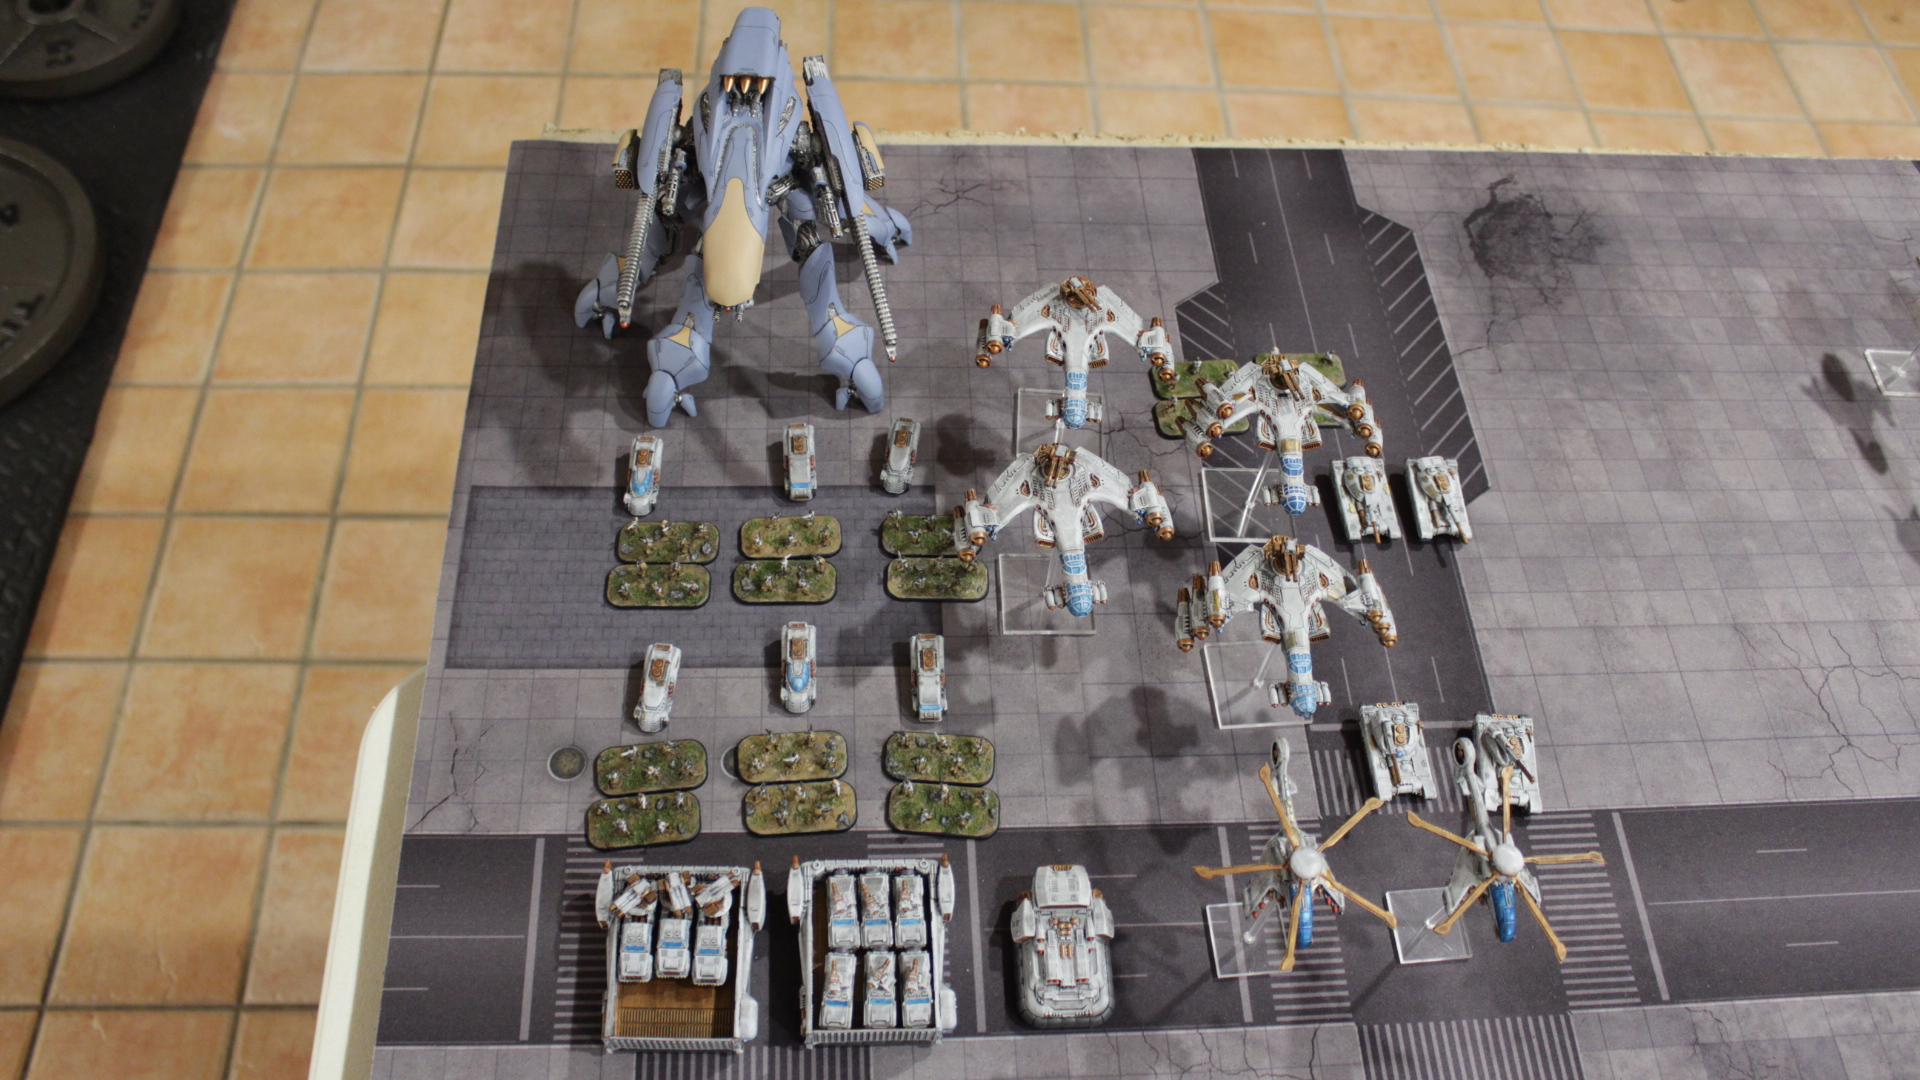
Resistance/PHR list:
HQ:
Hydra, CV 5
2x Hannibal
2x Sapper
2x Sapper
Lifthawk Dropship w/ AA Cannon
Frontline 1:
2x Resistance Fighters
2x Resistance Fighters
2x Resistance Fighters
Jackson
Jackson
Jackson
Lifthawk Dropship w/ AA Cannon
Frontline 2:
2x Resistance Fighters
2x Resistance Fighters
2x Resistance Fighters
Jackson
Jackson
Jackson
Lifthawk Dropship w/ AA Cannon
Armor 1:
6x Rocket Technical
Kraken
Armor 2:
3x AA Gun Wagon
Kraken
Vanguard 1:
2x Zhukov
2x Cyclone w/ Beowulf and Tornado Missiles
Lifthawk Dropship w/ AA Cannon
War Engine:
Chronus
Round 1:
Initiative goes to Scourge.

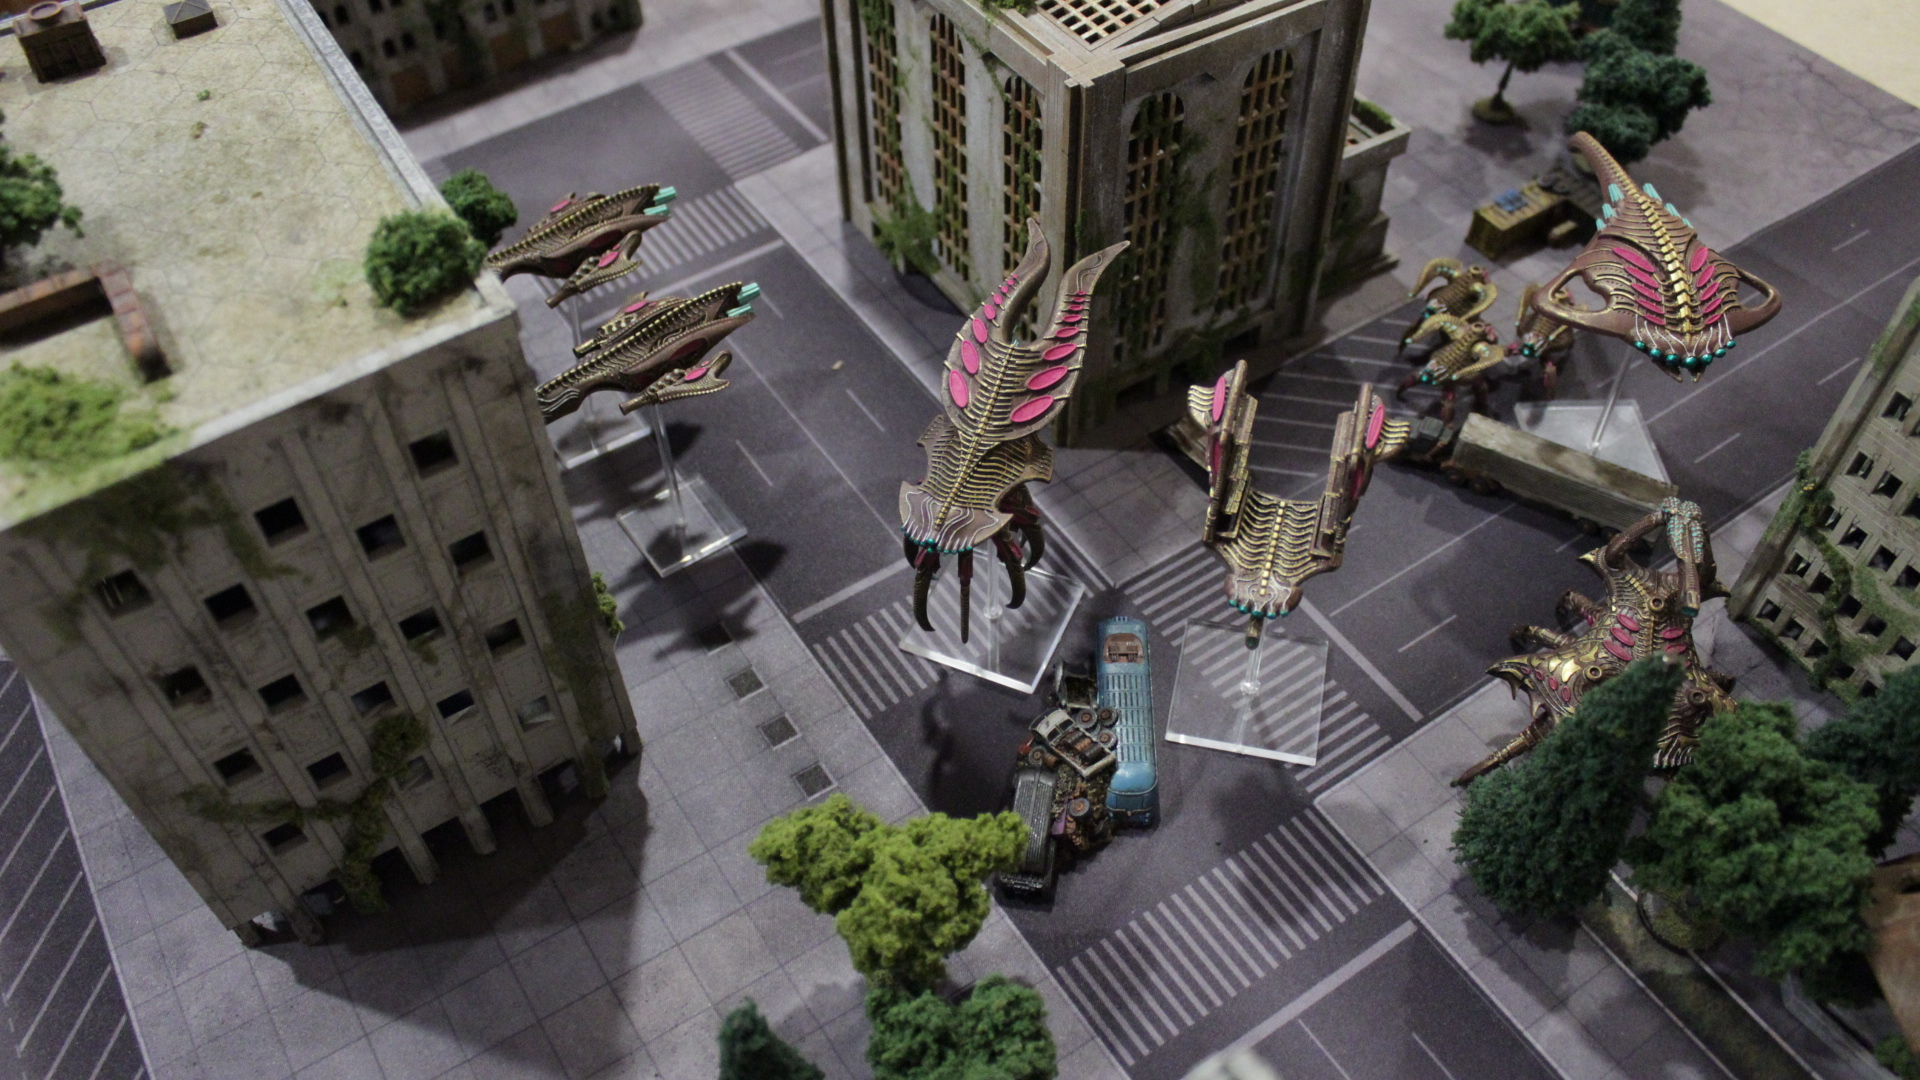
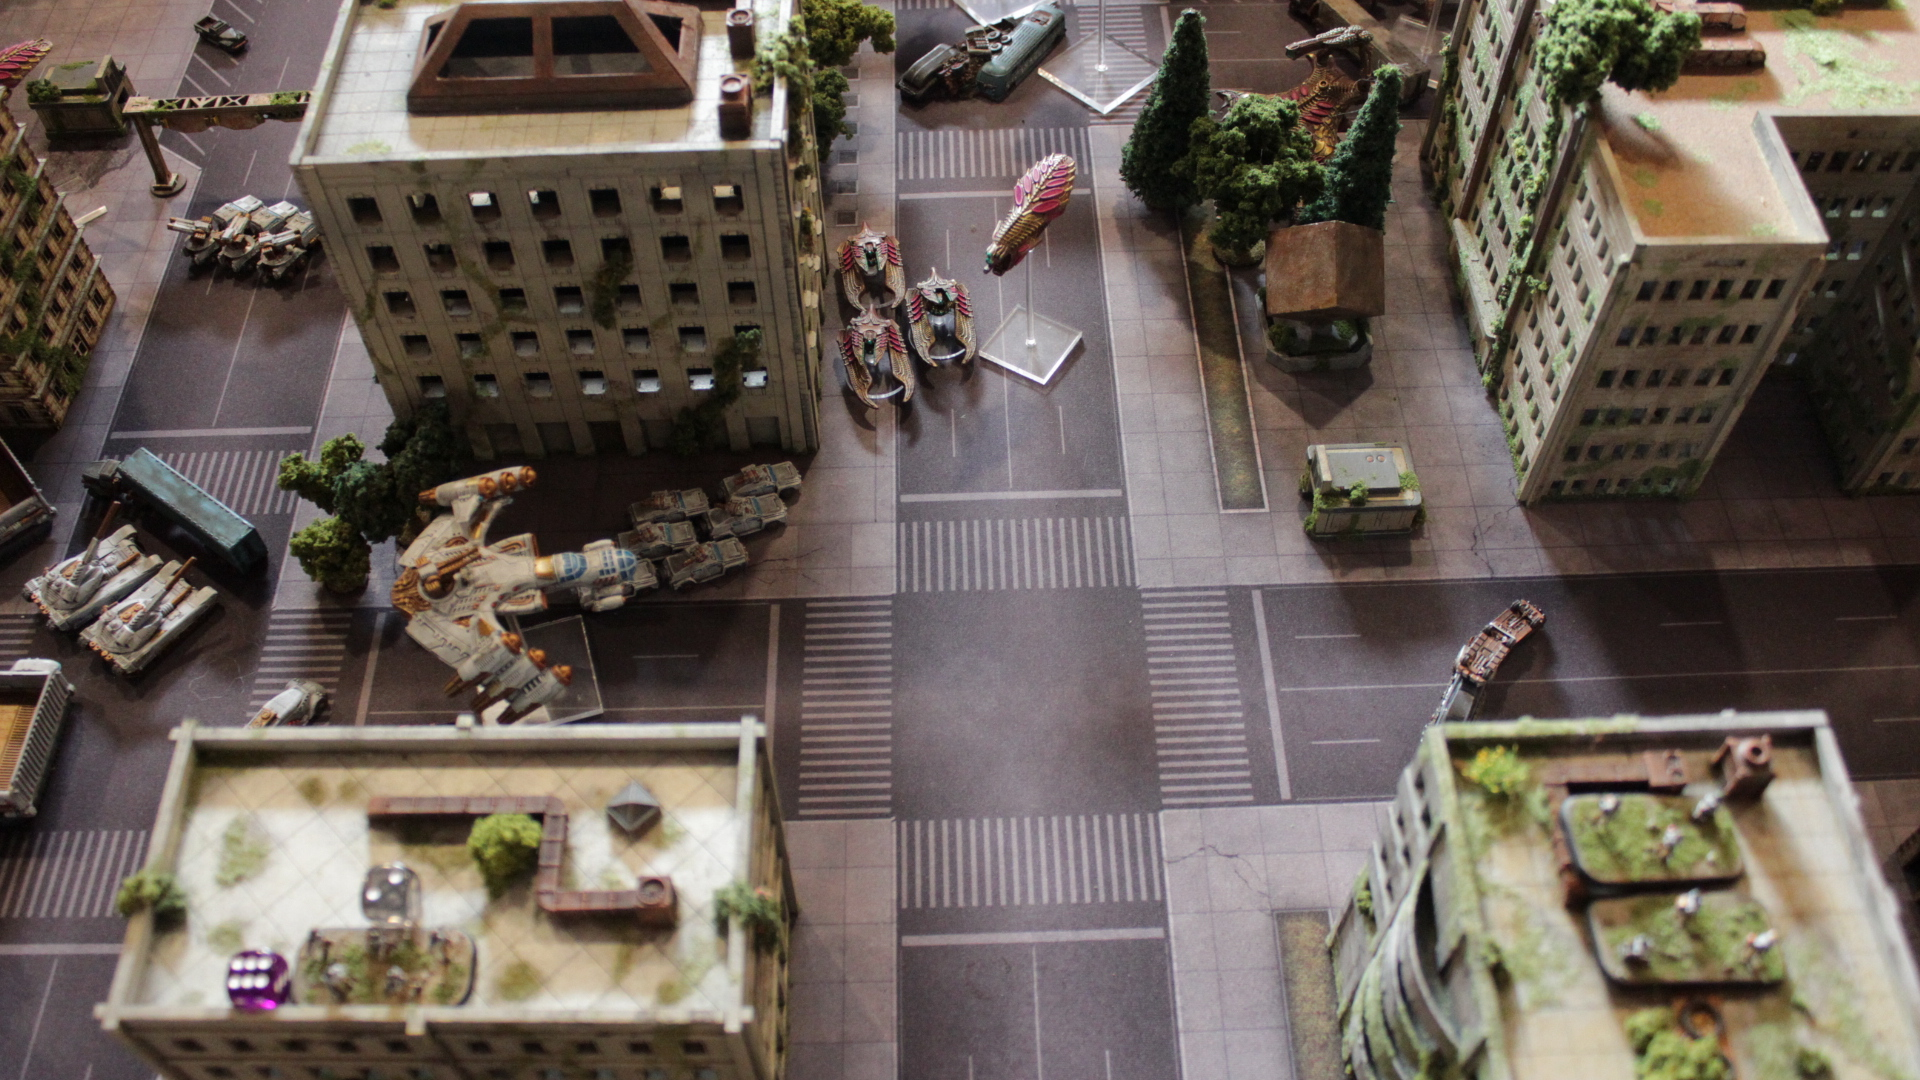
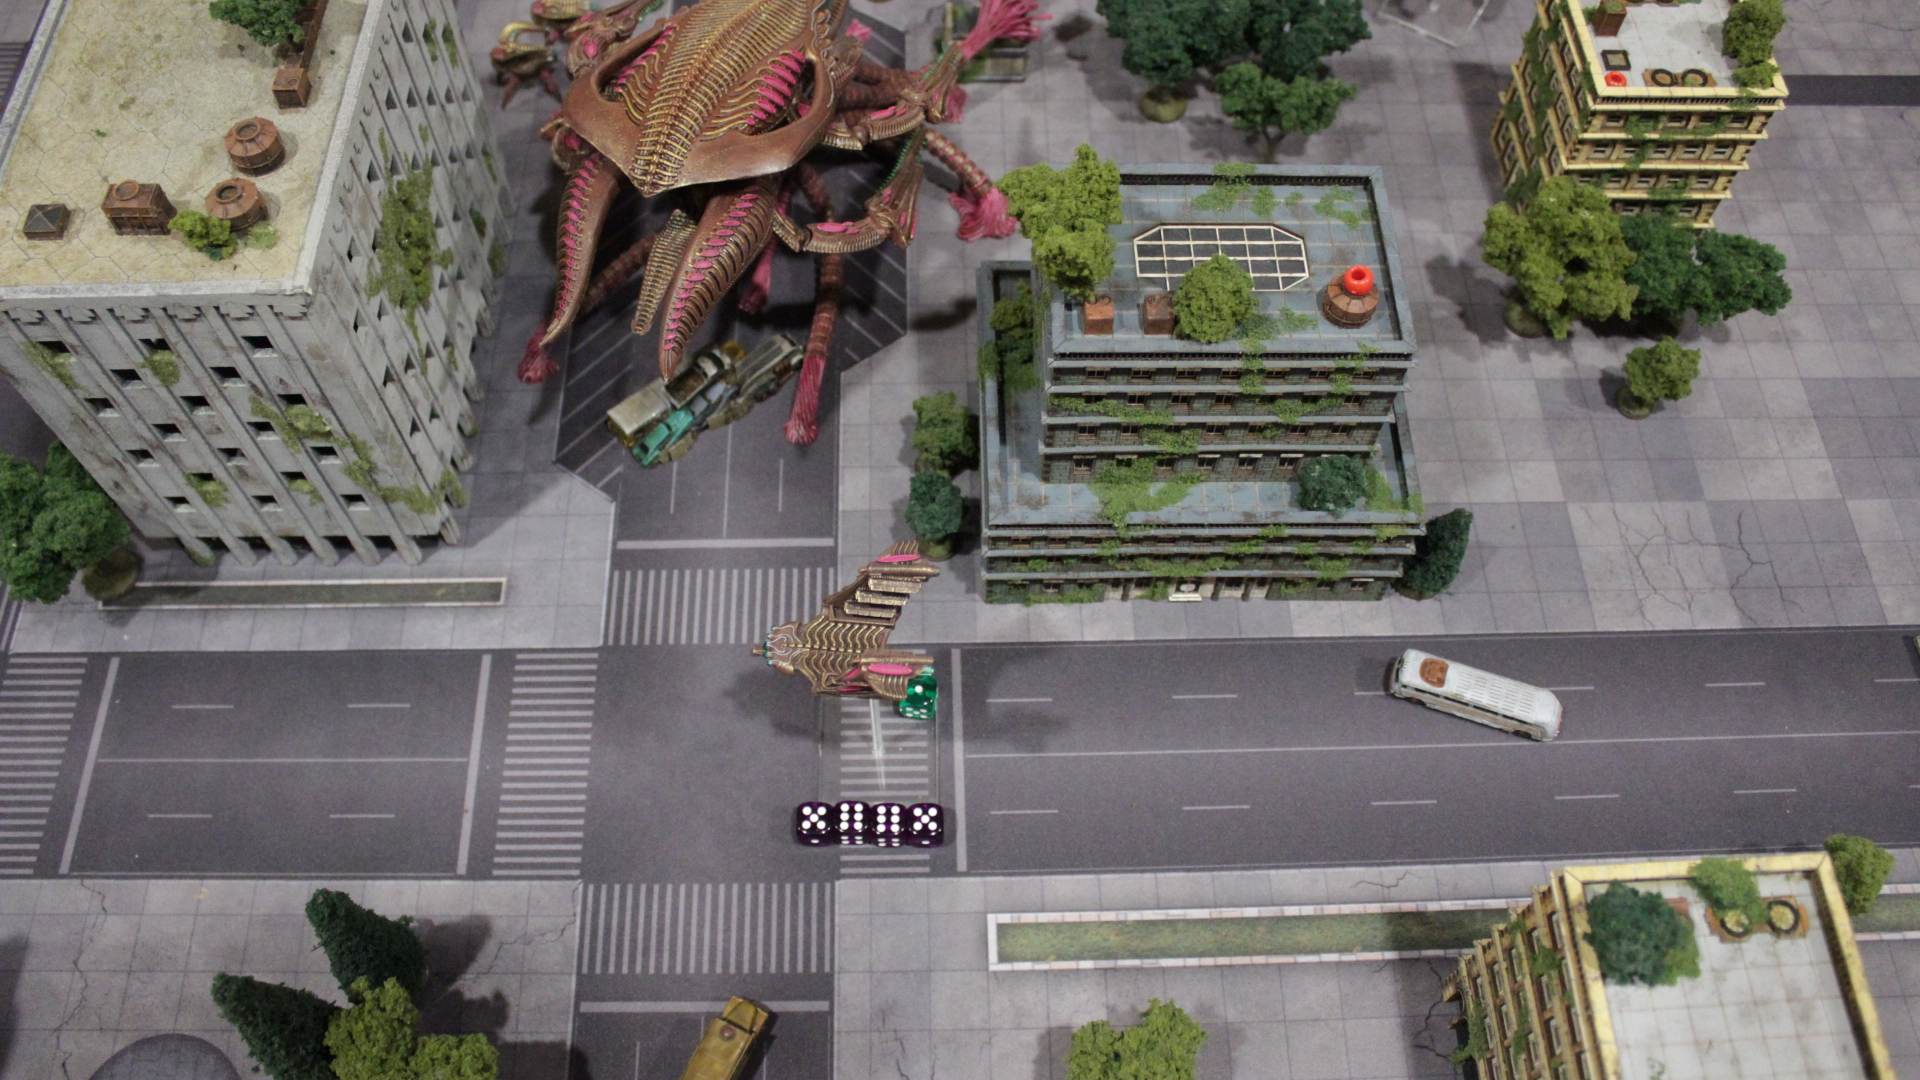
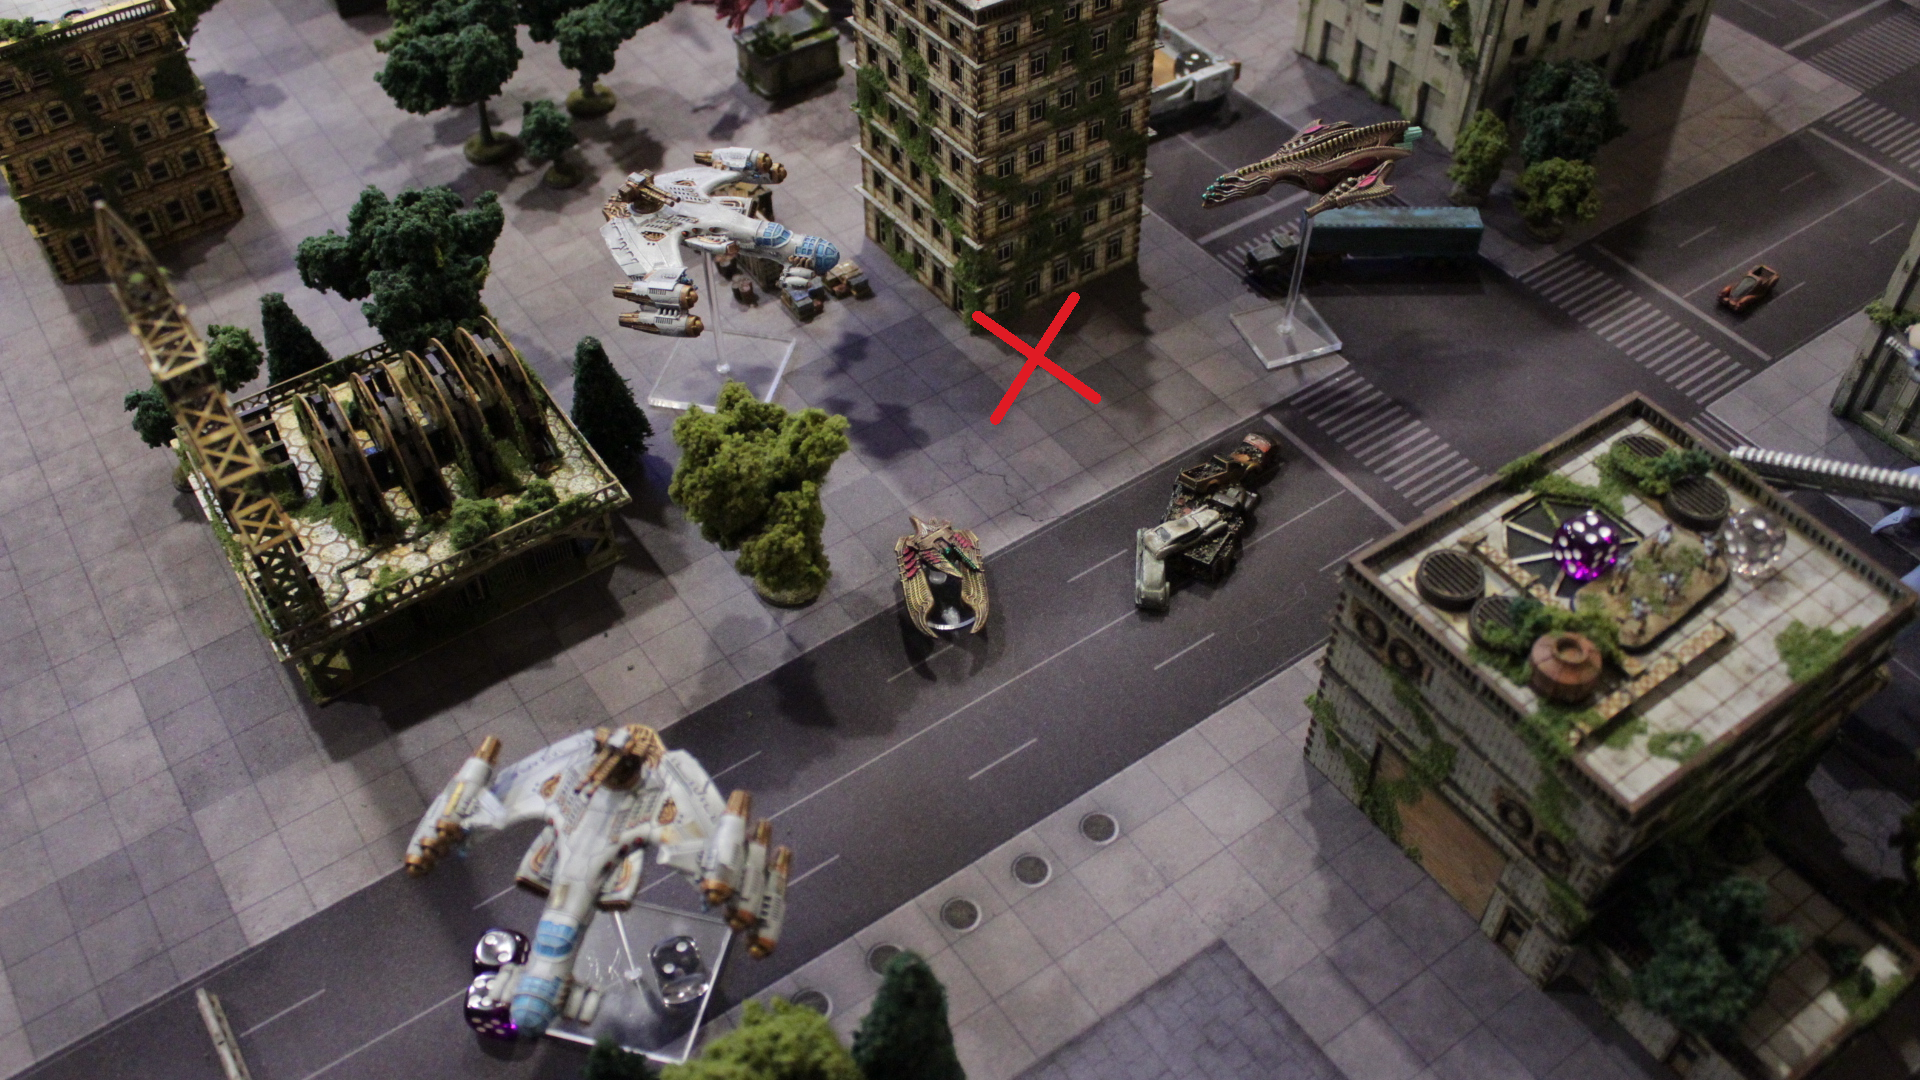
Scourge directly deploy Frontline 1, the Warrior groups. A rather dumb mistake to start the game off; when we were grabbing the models, for whatever reason I thought the group had two Marauders, each having Warriors/Invaders in them. This doesn’t impact things in any significant way at least, and gets rectified at the end of the first round when we notice the problem.

Each Marauder goes the full move to opposite table corners.
Resistance activates the HQ group, directly deploying the Hydra and Hannibal Lifthawk, while infiltrating the Sappers.

Hydra and Lifthawk make full moves towards the center, and the Sappers get a first round search off.
One Sapper gets a success off on a 6, nabbing 6 potential victory points.

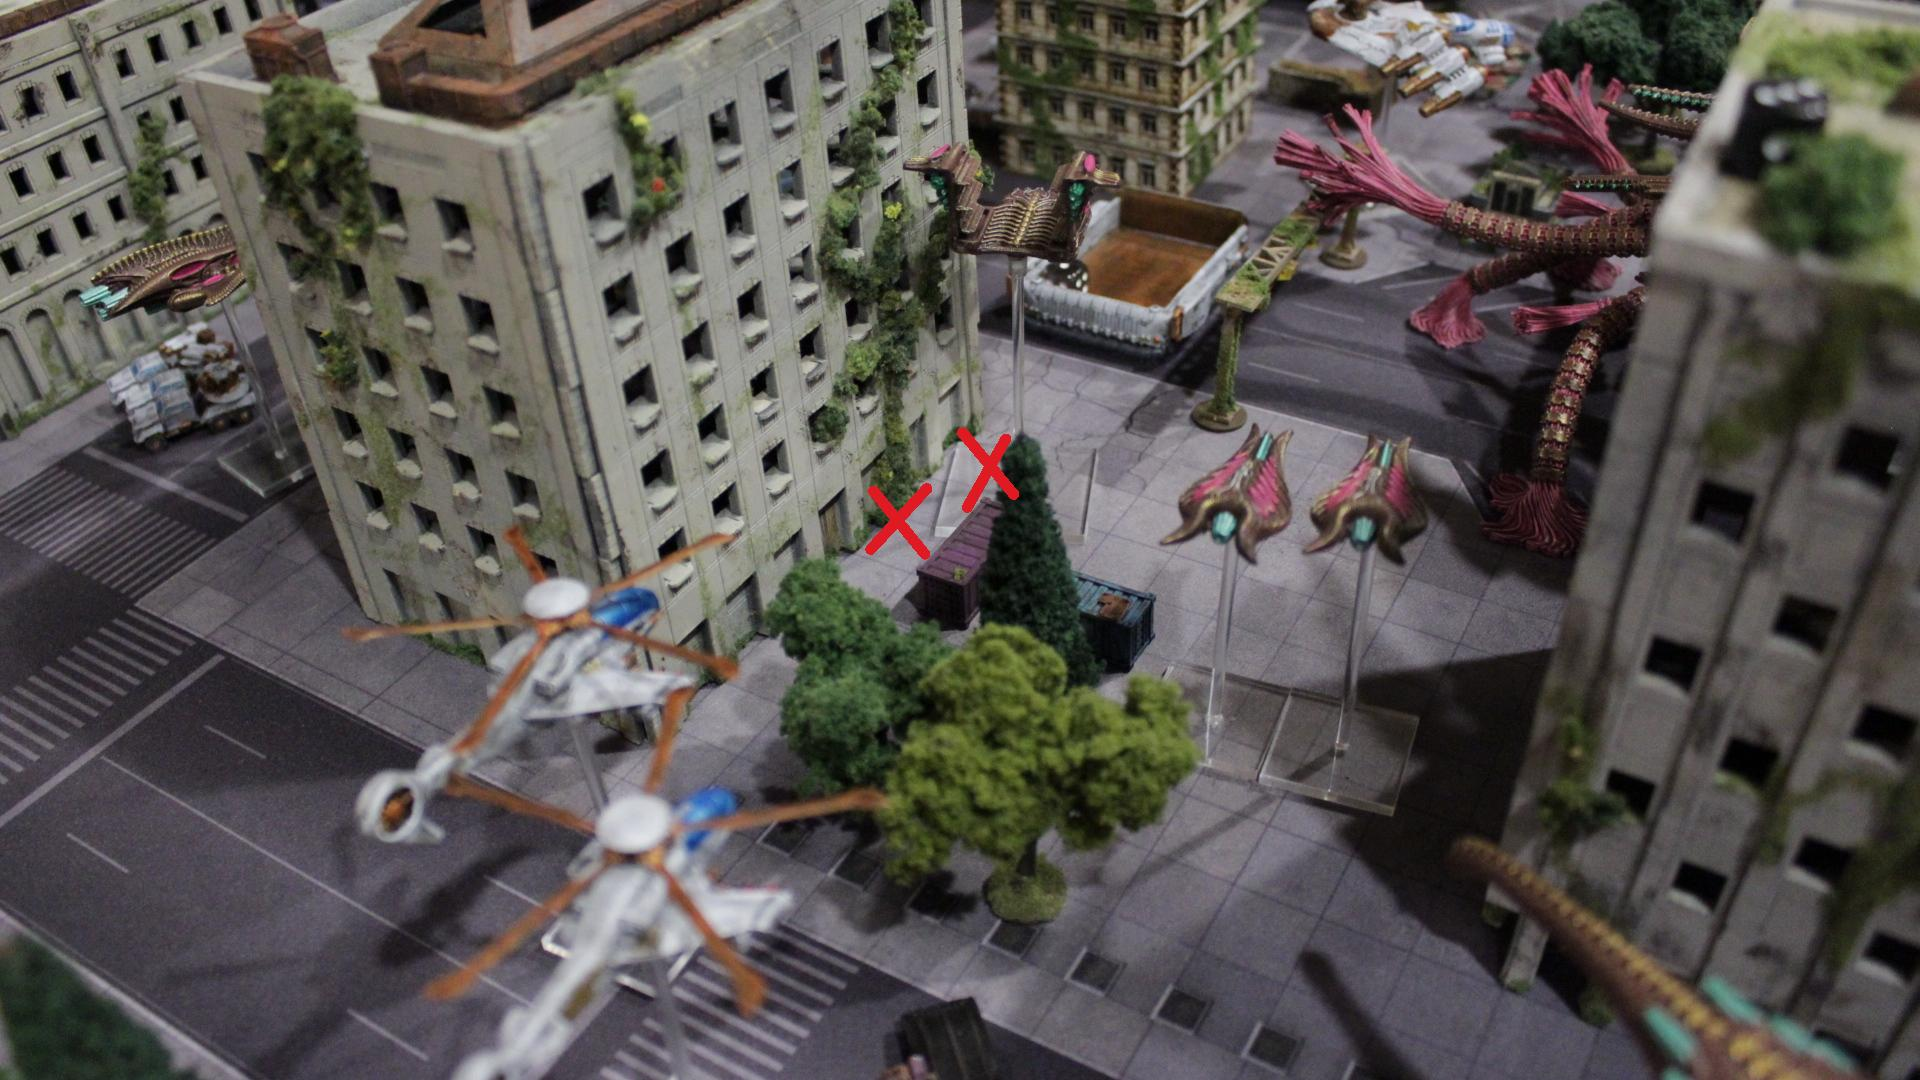
Scourge activate Vanguard 1, directly deploying three transports.

The Eradicator deploys behind tree cover, Reapers shelter against a building, and the Minder containing Intruder waits in the center of the table.

Vanguard group activates, directly deploying.

Cyclones move up the side and stay behind building cover, while Zhukovs are dropped behind scatter with two open lanes of fire.

Scourge Vanguard 2 activates and directly deploys.
Reavers move up and hide behind a building, while Reapers are dropped and move against scatter for cover.

Armor group 1, the rocket technicals, activates and directly deploys. Kraken moves up, and technicals disembark, waiting to pounce next round.

Stalkers activate, infiltrating and trundling up the road.

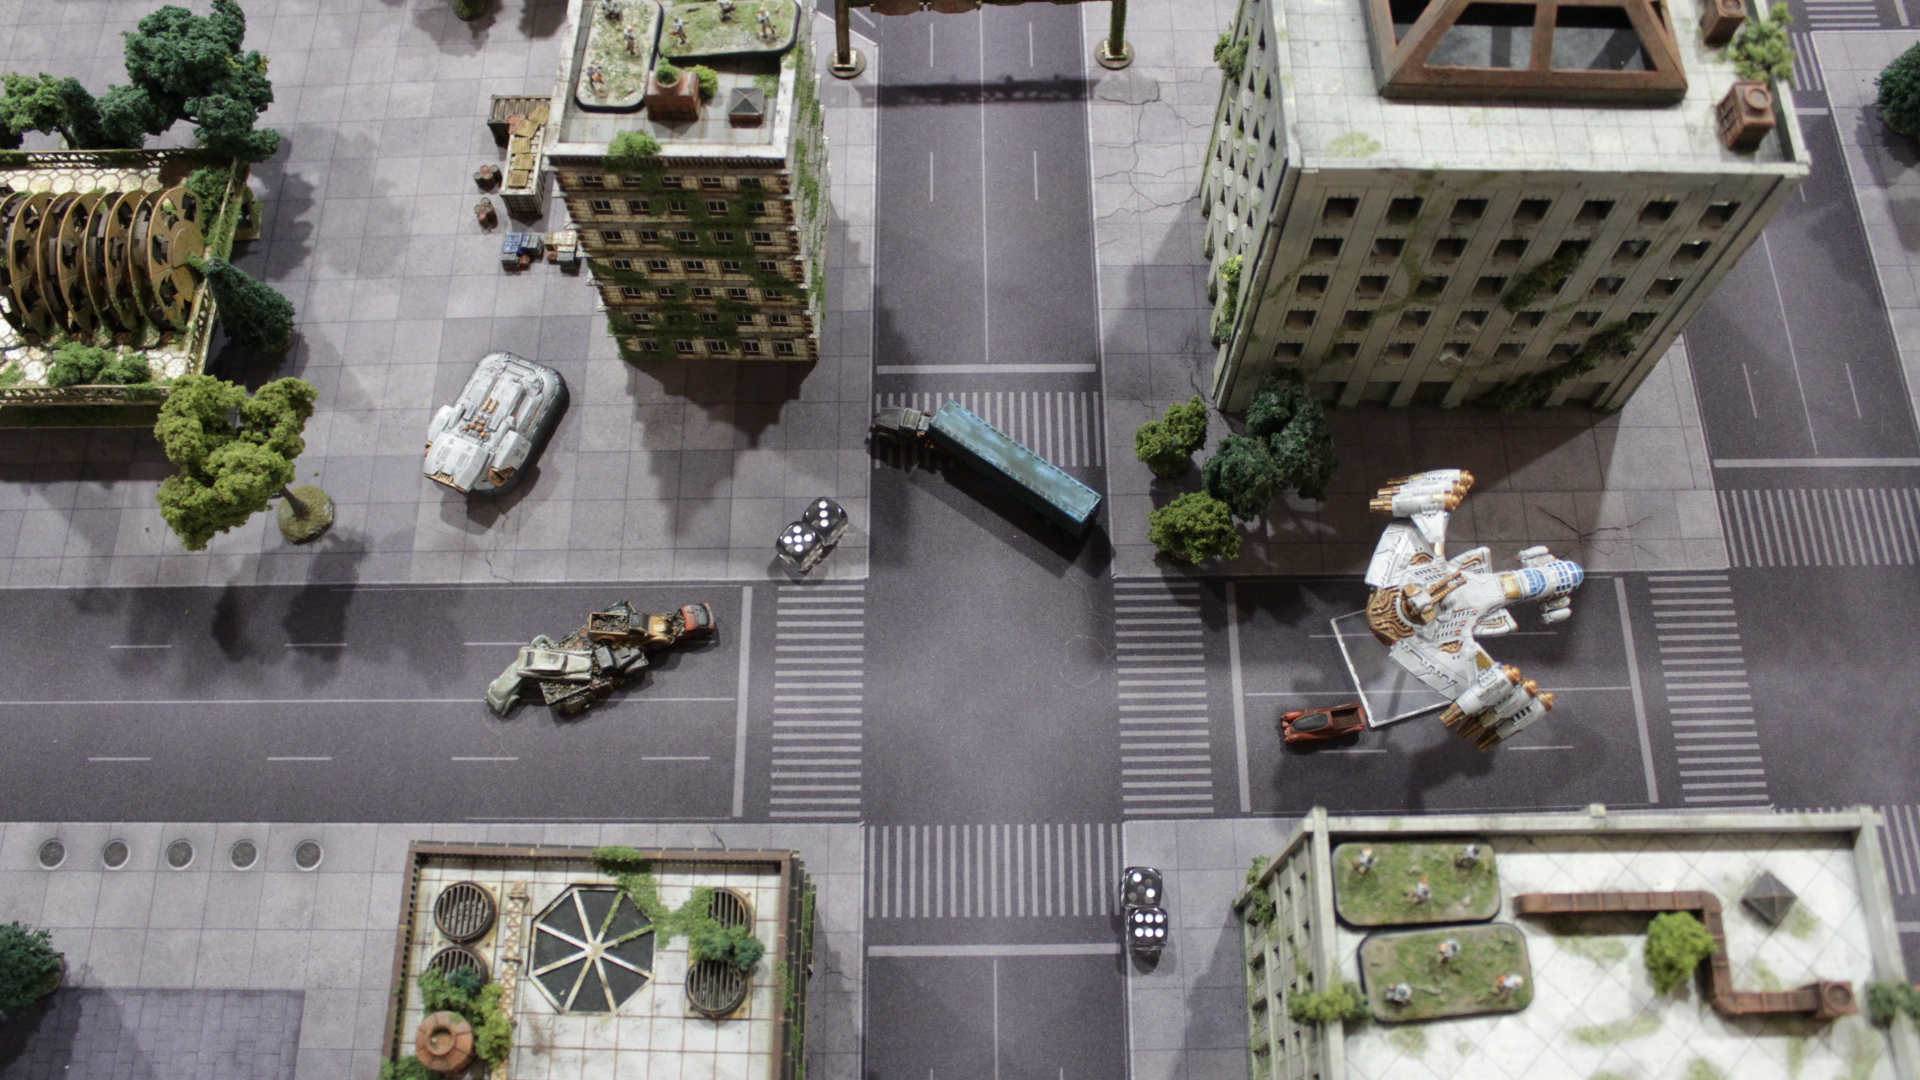
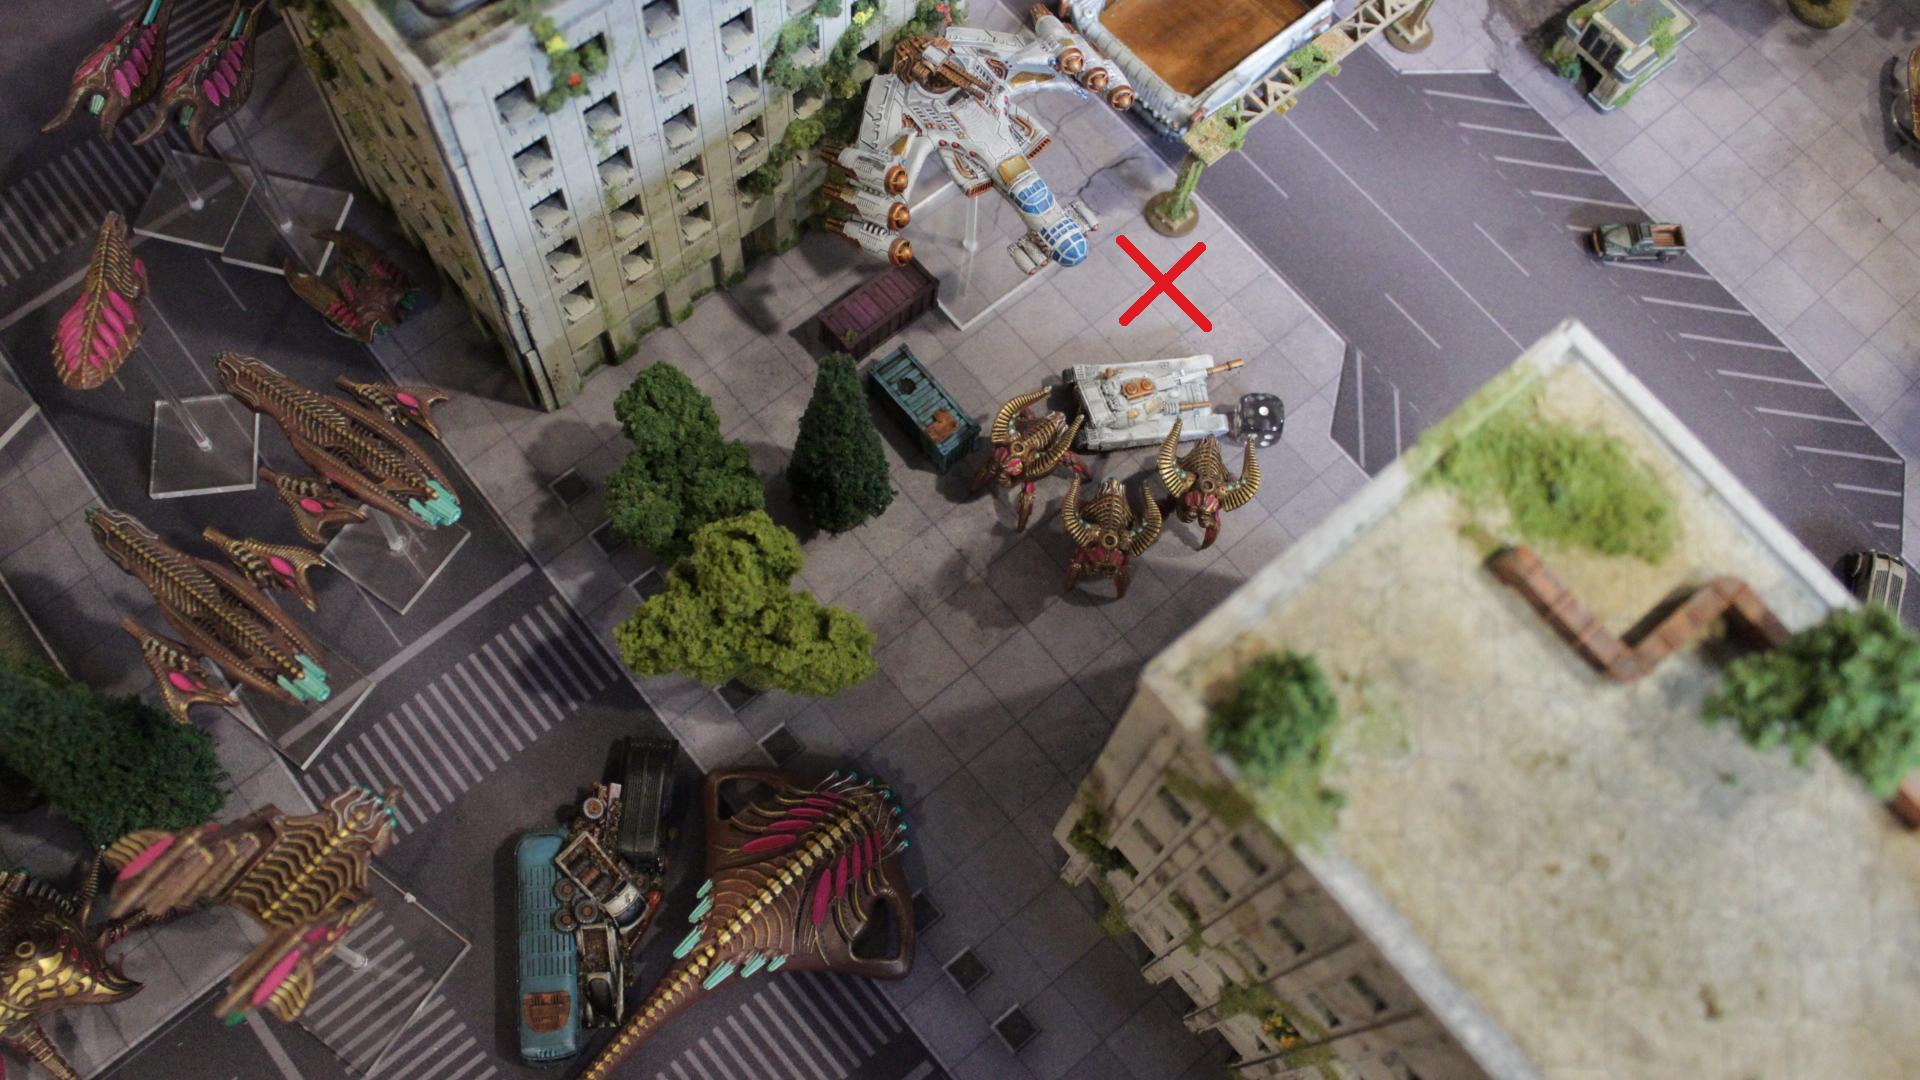
Armor group 1 activates for Resistance, and an angle to get a shot off is found. The three gun wagons disembark, and fire at the Minder-carrying Intruder, hoping to deny plans to use them as spotters for the Eradicator.
Three shots hit, and two damage, taking it out of the sky. The Minders are destroyed in the explosion.
Scourge HQ group activates, and the Desolater moves up to join the jellyfish bloom.

A Frontline group activates now, and Jacksons spread out, with one depositing fighters into the power station, while the other two prepare to enter separate buildings next turn.
The second Scourge Frontline activates, and each Intruder dives up the board, preparing to wipe out the Resistance infantry.
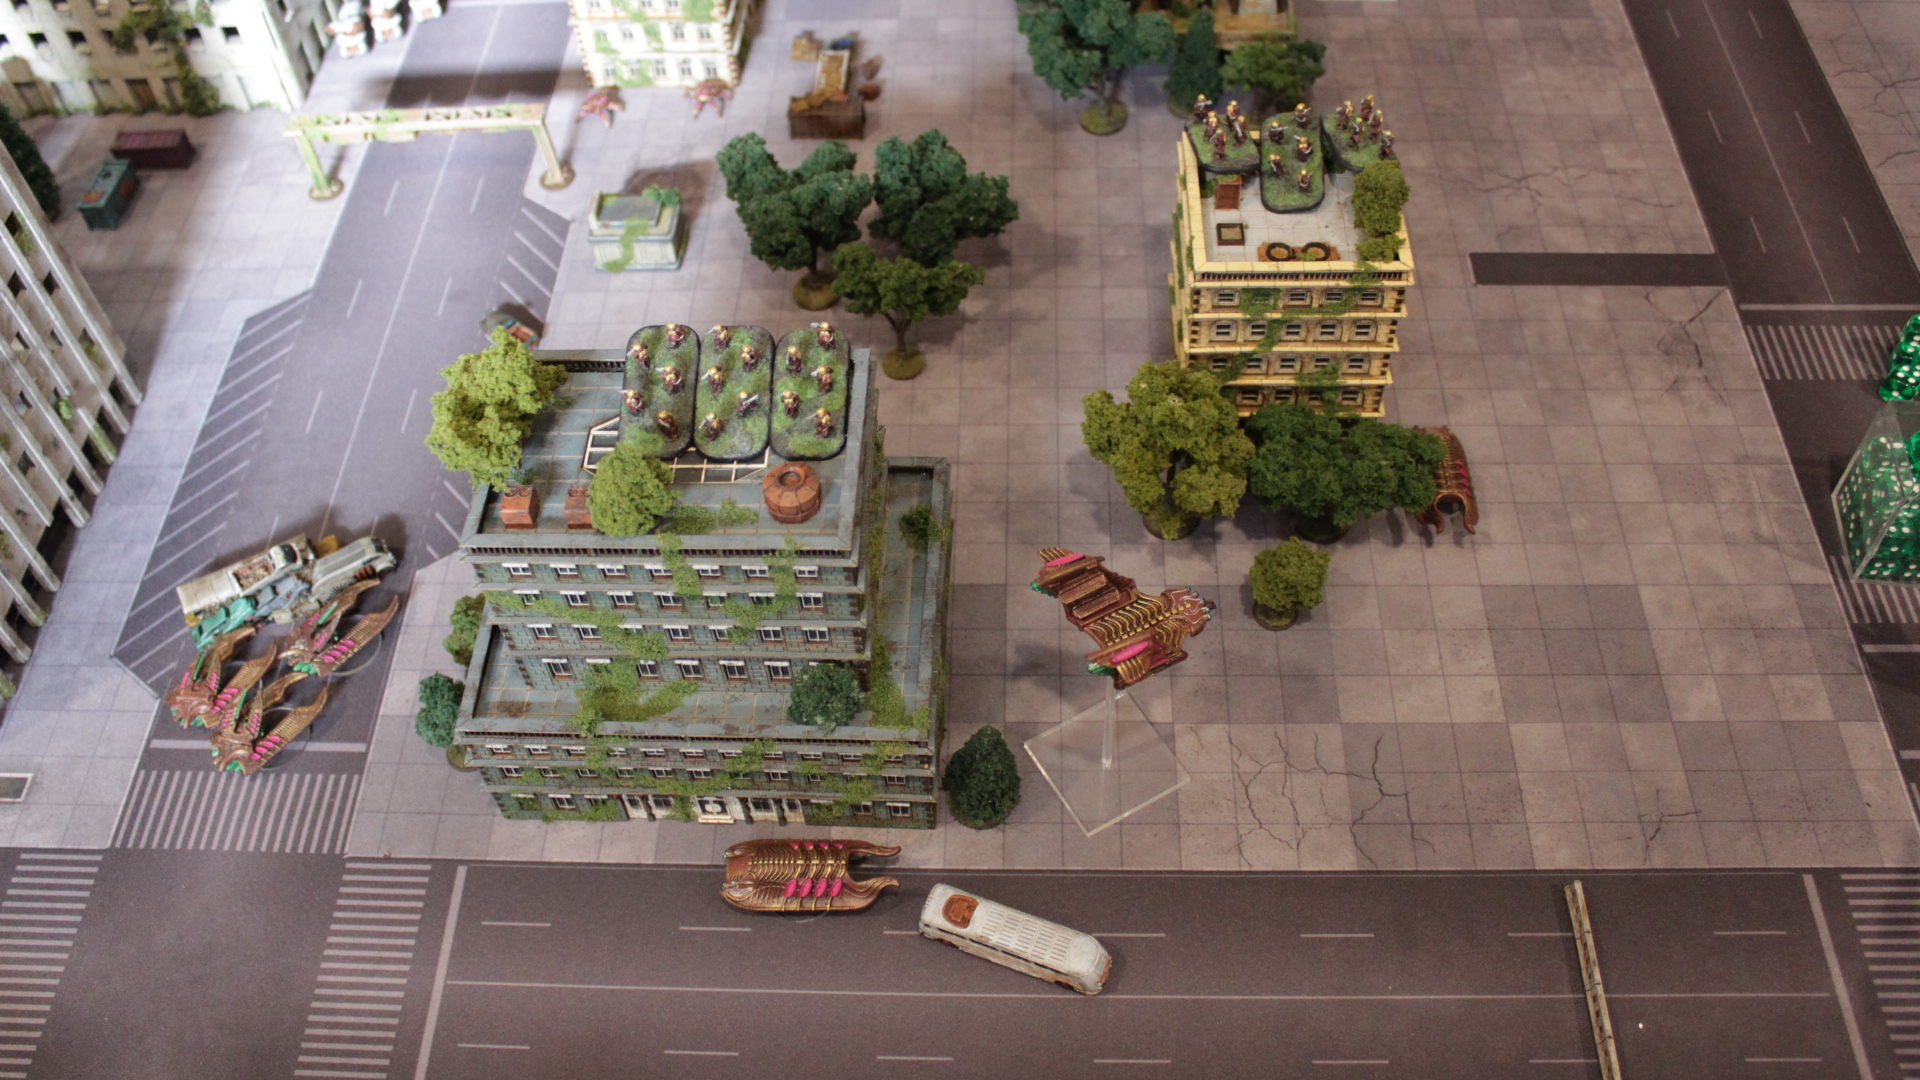
The other Resistance Frontline group of fighters activates, and Jacksons spread out once more. One group of Fighters heads towards the middle building, one enters the building with the Sappers in hopes of being handed off the objectives, and the other enters a building to search next round.
End of Round 1:

Resistance has drawn first blood, and found an objective potentially worth 6 points. Scourge is poised to pounce next round, with all their infantry ready to deploy, and an Eradicator in position to bombard all the center buildings the Resistance is looking to act in.
Round 2:
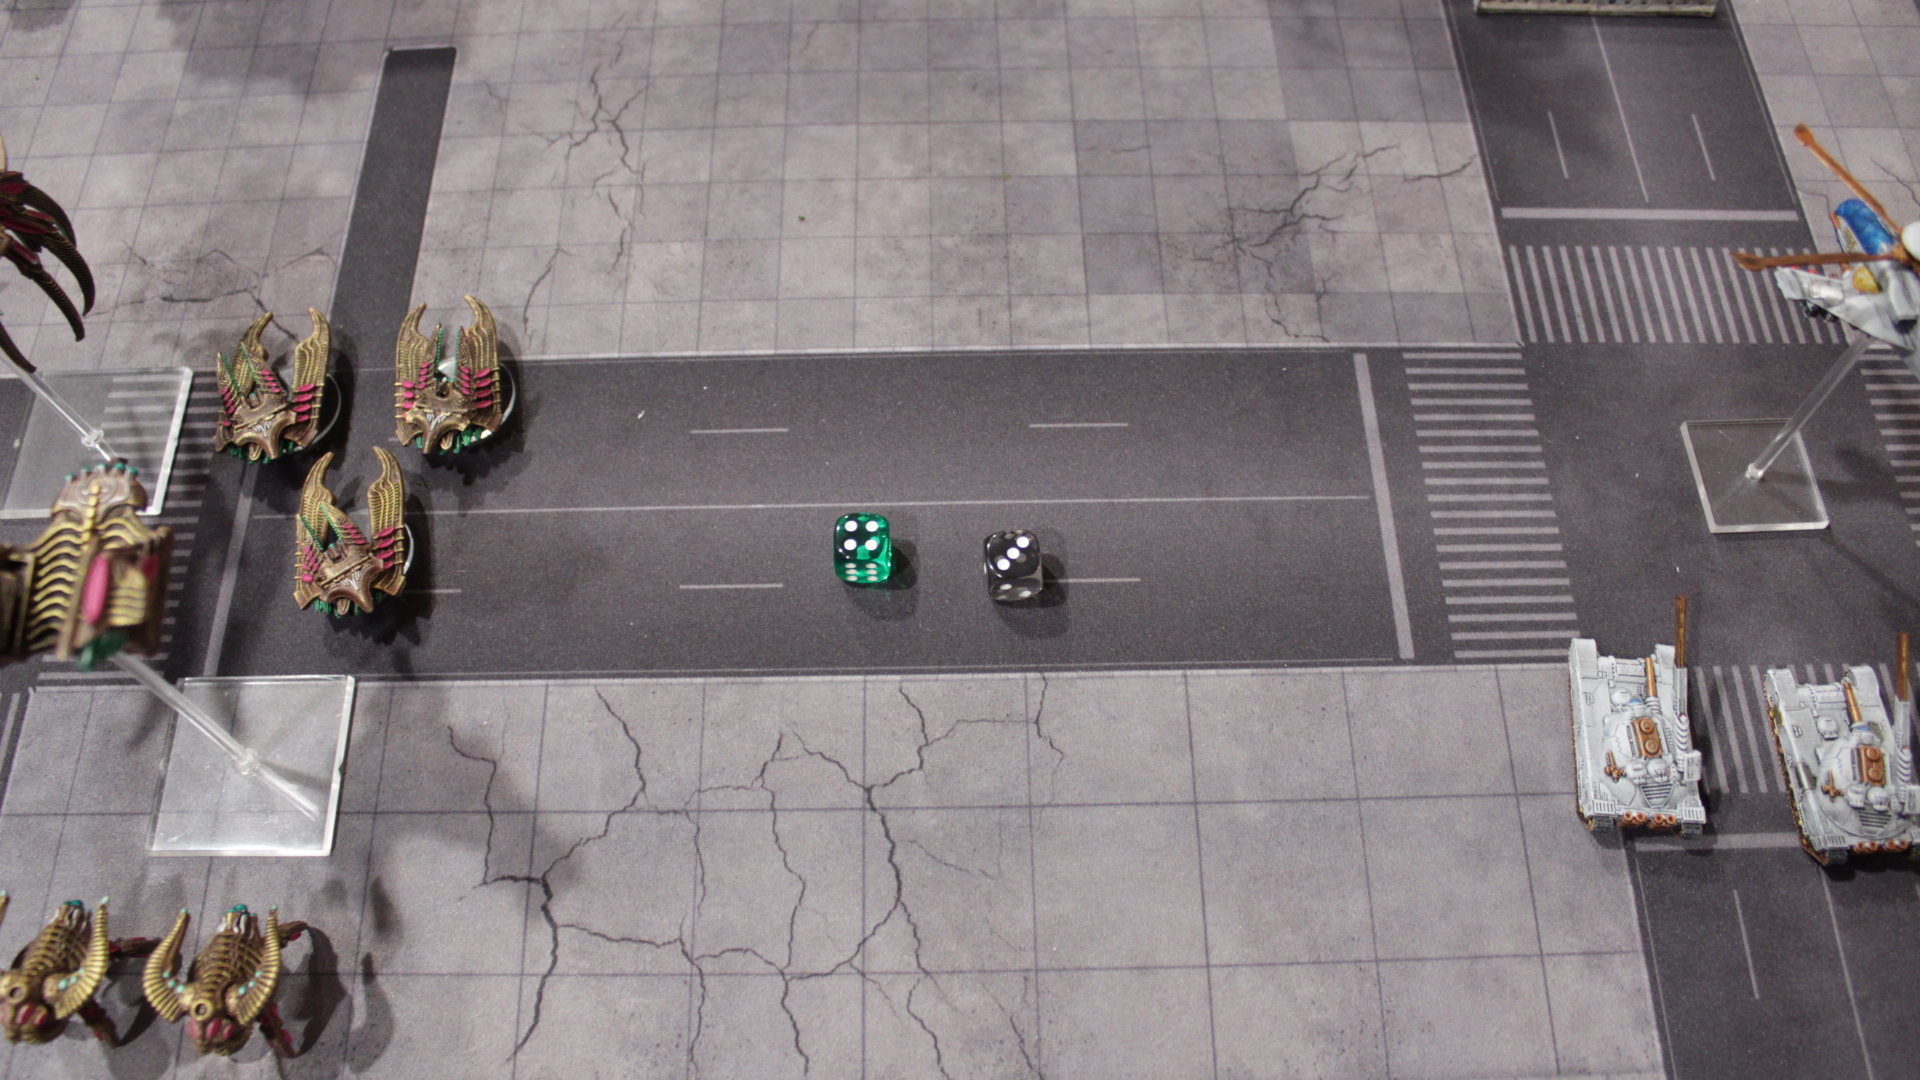
The first thing that’s done is to select which of the two Marauders is the real one, and which is just an illusion. We decide to do it randomly with a dice, assigning each Marauder to even or odds, and remove the loser before beginning the turn proper.

Resistance wins initiative this round, and command cards are drawn.

Scourge plays a shock assault, and Resistance counters with their own shock assault.

Resistance goes first, activating the Sappers with the objective. They hand it off to the Fighters, and use the underground passage card to move up the table into another building.
Scourge activates the Eradicator, targeting the now objective holding fighters. All but two of the Fighters are wiped out, being saved by collateral failing to damage them.

Resistance Frontline 1 activates, first going through infantry. The Fighters with the objective jump into the Jackson, who is picked up by the Lifthawk and taken off the board for 6 VP. The second Fighter group enters the center building, and the third has the nearby Jackson get a scan token for them to use. A success nets another 6 operative objective.

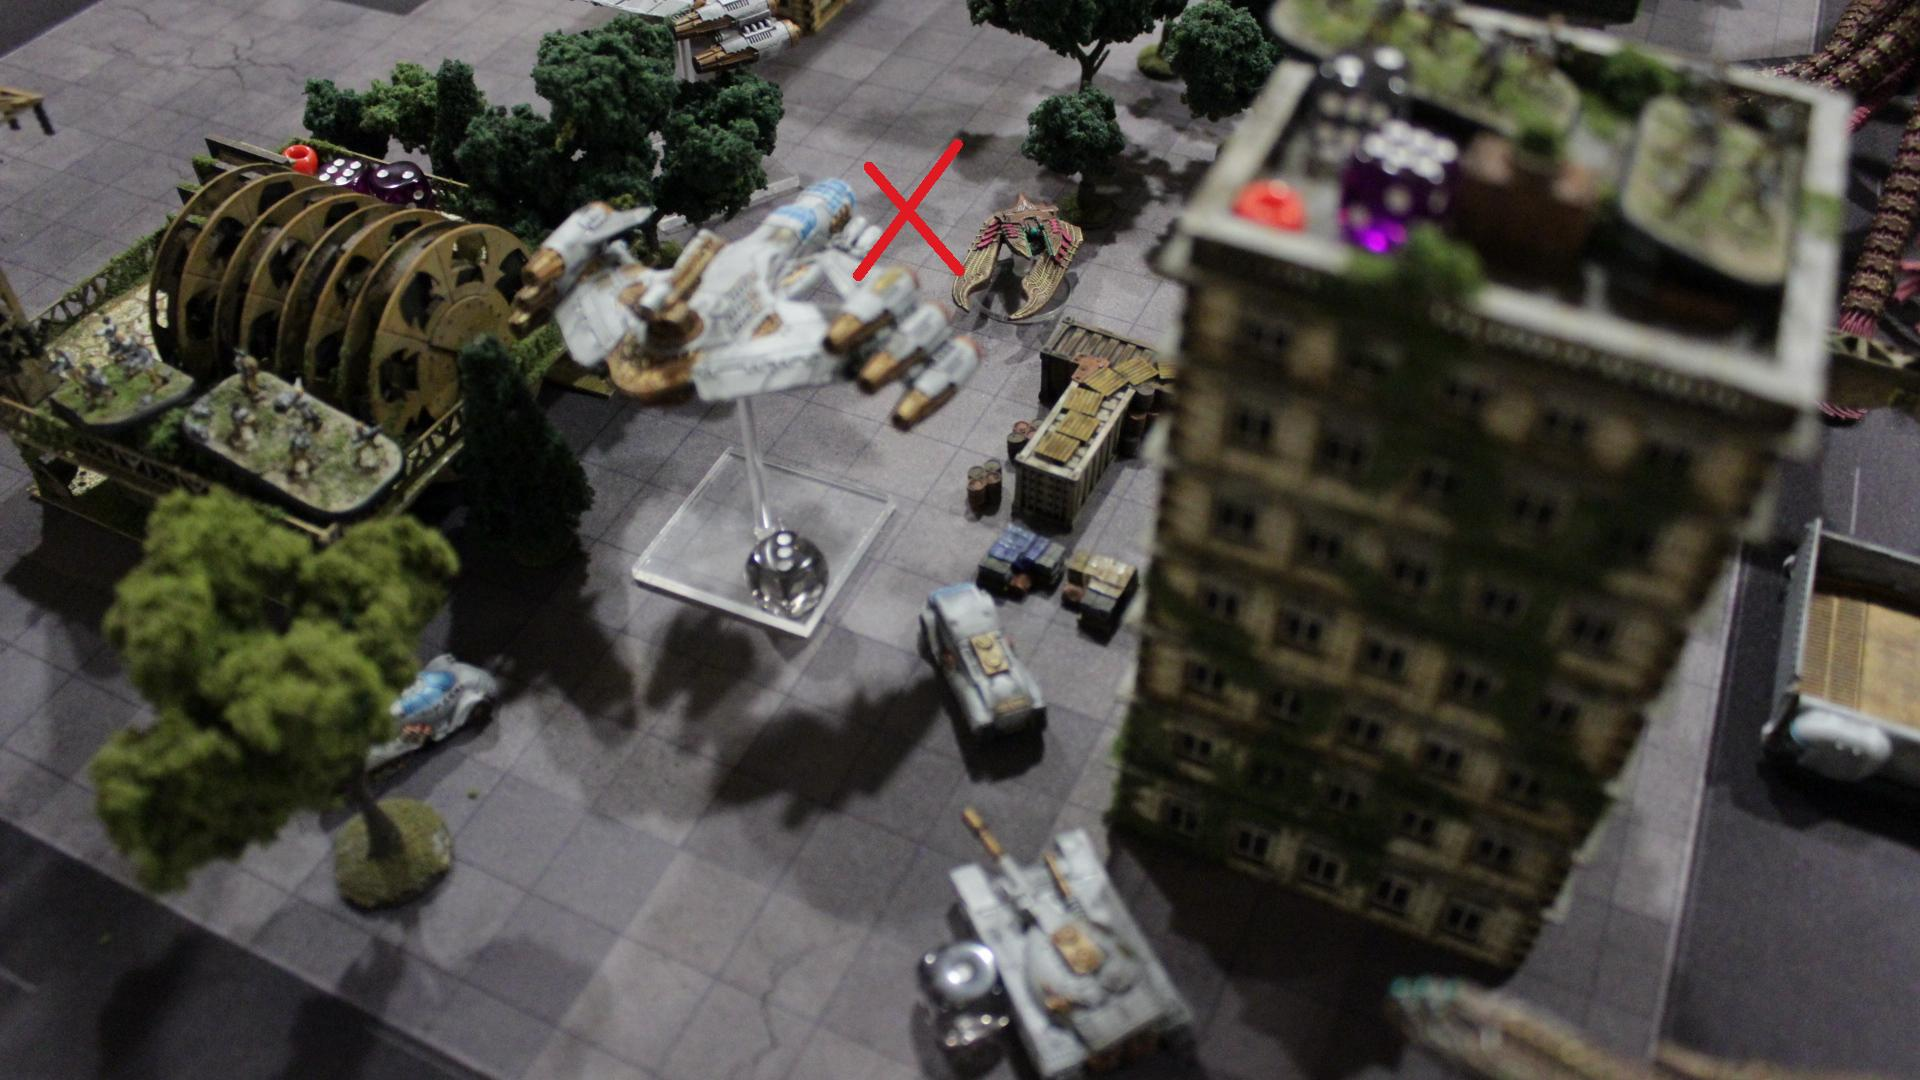
Two of the other Lifthawks activate with the group, looking to shoot down the nearby Intruders. One fails to damage the Raptor-holding Intruder, but the Prowler one is shot down and all units lost in the crash.

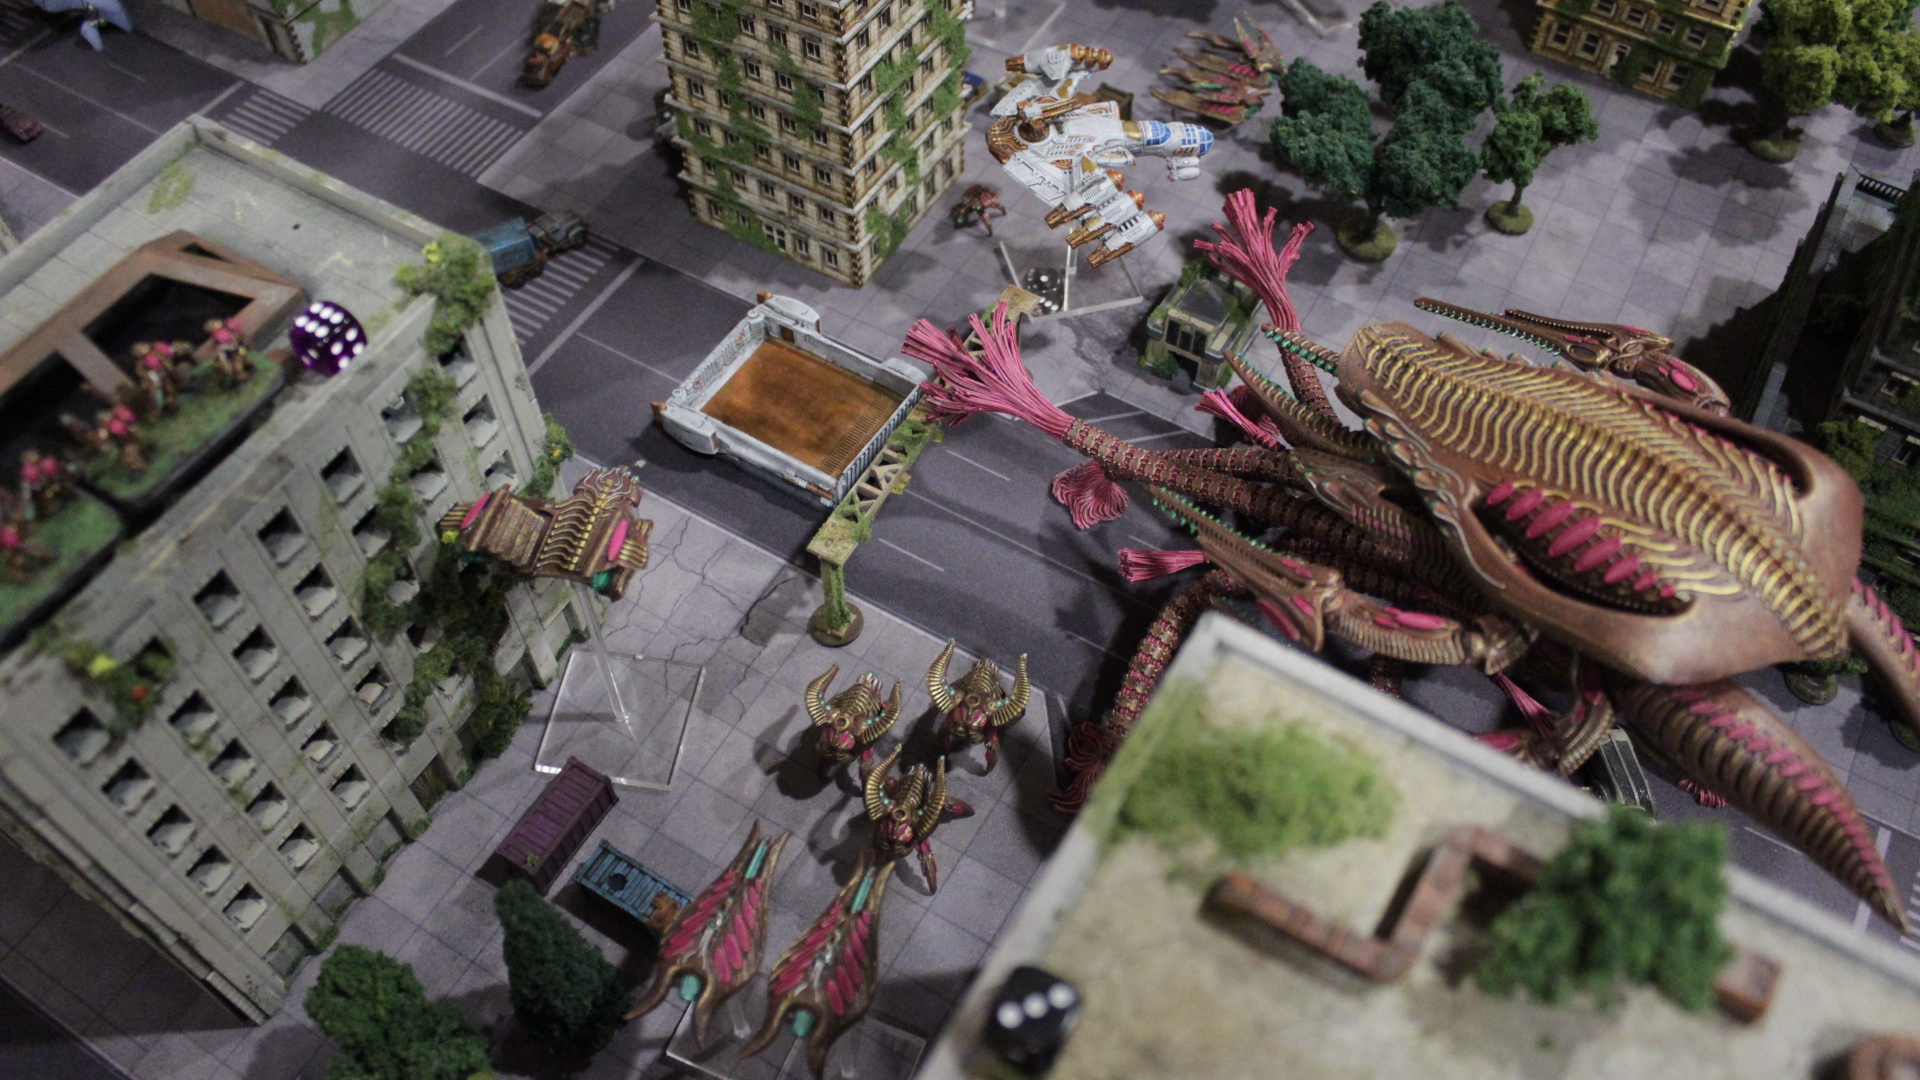
Seeing how vulnerable the heavy infantry is while being transported, Frontline 2 activates for Scourge. Raptors fire at the Sappers inside, not wanting to risk suicide via IED by entering the building, and wipe the building clean of them. Demolishers enter the center building, looking to address the issue of Fighters existing there. We’re playing with the experimental CQB rules, and so the Demolishers will have to wait until next turn to fight.

Resistance Armor 2 goes up, and aims at the nearby Intruder. It’s knocked out of the sky, and the crash takes out two of the four Raptors underneath. The wagons then move back behind the center building for cover.
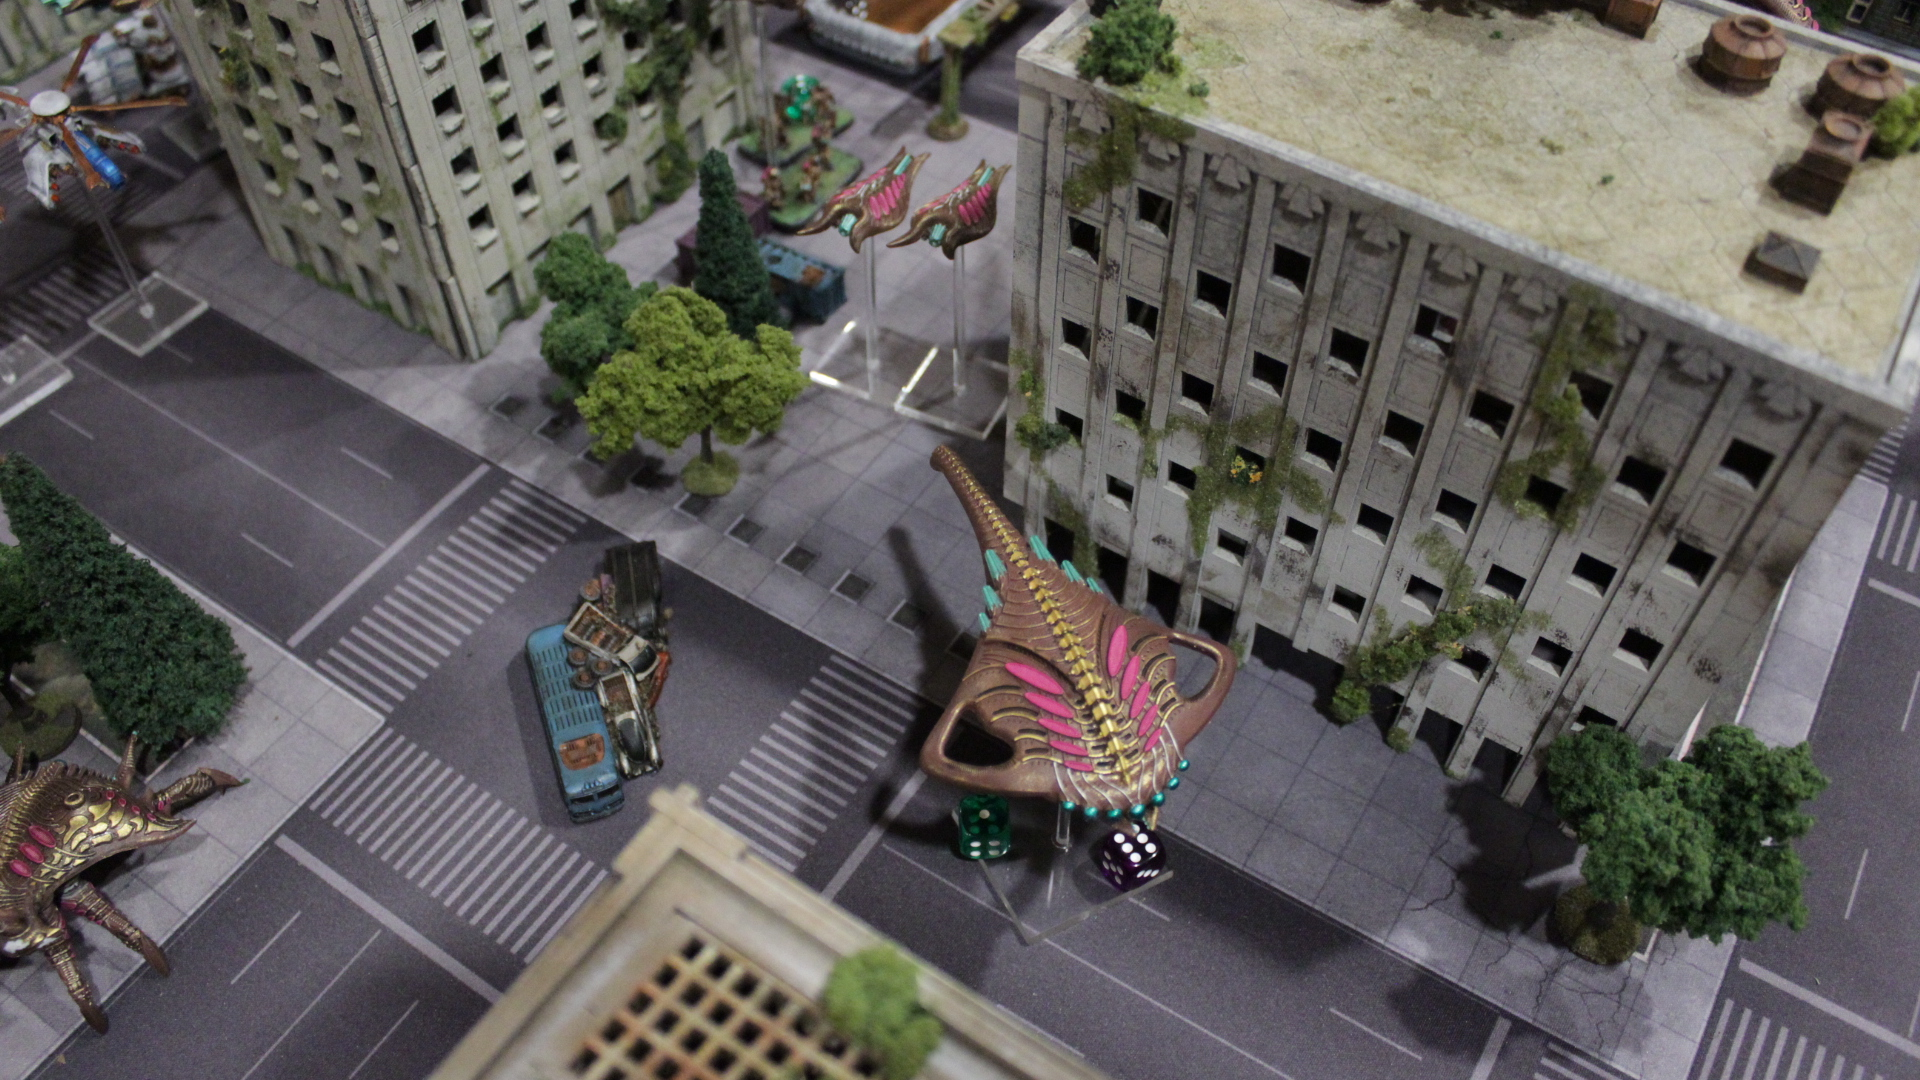
Scourge Frontline 1 is active, and moves Warriors into two buildings, entering one the Fighters were aiming for.

Rocket Technicals activate, and target two of the Reapers, taking one out and failing to damage the other. Both Krakens activate as well with them, and one gets a lucky shot off on a Reaper, while the other blasts a Raptor.
Scourge Vanguard 2 is up to bat, and the Reavers make all their shots, eliminating the Rocket Technicals.

Reapers move up, with no targets in range yet, and a Marauder activates as well, moving up towards the Warriors to support any extraction needs later. The Zhukovs reaction fire against it, inflicting two damage.

Resistance Frontline 2 goes. The Fighters in the power station search, but even with the scan token fail to find anything. The group that was heading towards the now Warrior-occupied building gets a command card played on it, allowing the Jackson to move far enough to dump Fighters into the building the Sappers were previously in. The third group of Fighters enters their target building.
The Desolator targets the Sappers, wiping out one base and inflicting a point of damage to the other. The Corsairs hope to drop the Hannibal-carrying Lifthawk, but an unlucky miss means only 2 damage inflicted to it.

Time for the Resistance HQ to activate. Hydra moves first, and tags one of the Reapers with the reroll ability, and fails to damage with its missile pods. The Lifthawk can just barely make it over the center building and drops off the Hannibals, who fire on the Reapers, managing to make the 6 to hit on a reroll and eliminating one of the hovertanks.
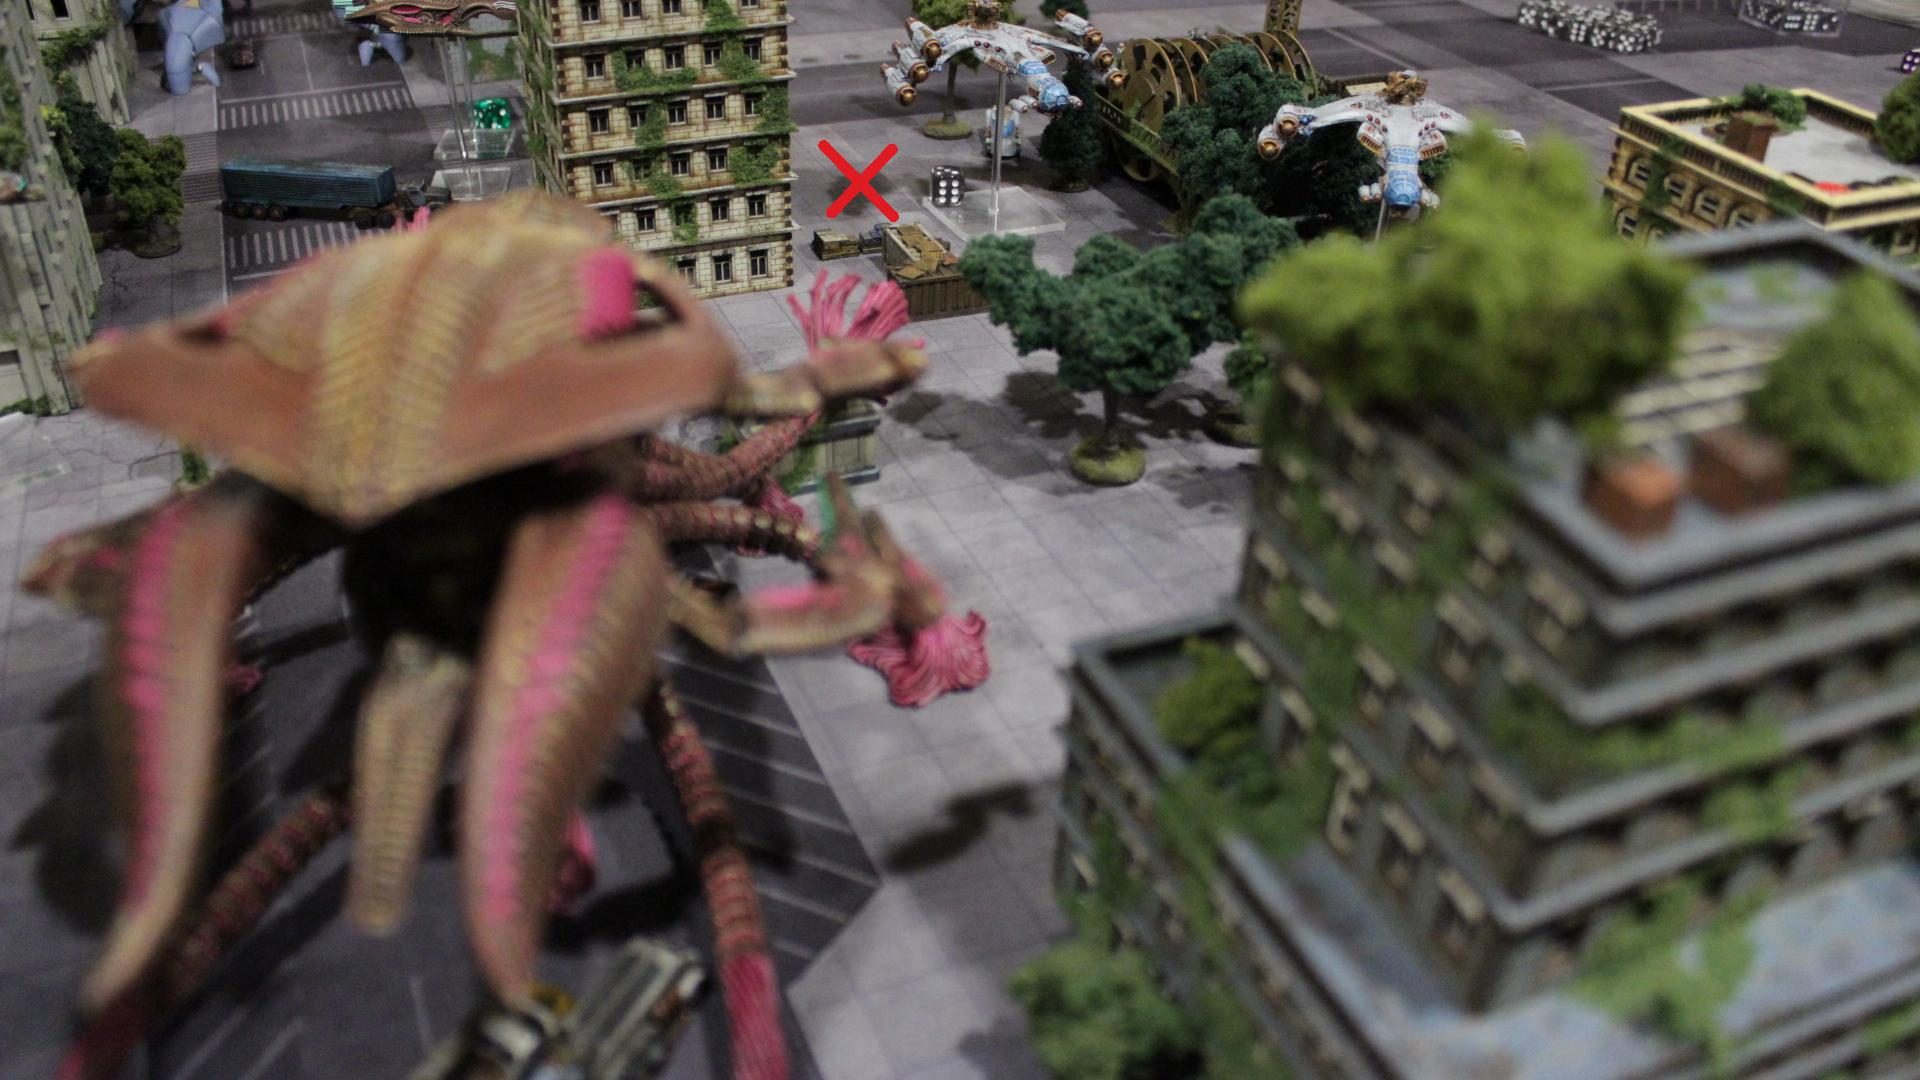
Scourge Armor group goes, and the Stalkers activate with the Harbinger. It picks them up and ends its activation landed, so the Stalkers can disembark and pounce on the Hannibals. The claws inflict a point of damage on one Hannibal, while the electrowebs crit and destroy the other.

The Resistance Vanguard is at bat, with the Zhukovs remaining where they are, having fired the reaction shots earlier. Cyclones move into the active area and fire off their tornado missiles at the landed Harbinger, hitting once and glancing with the other, inflicting two points of damage to it.
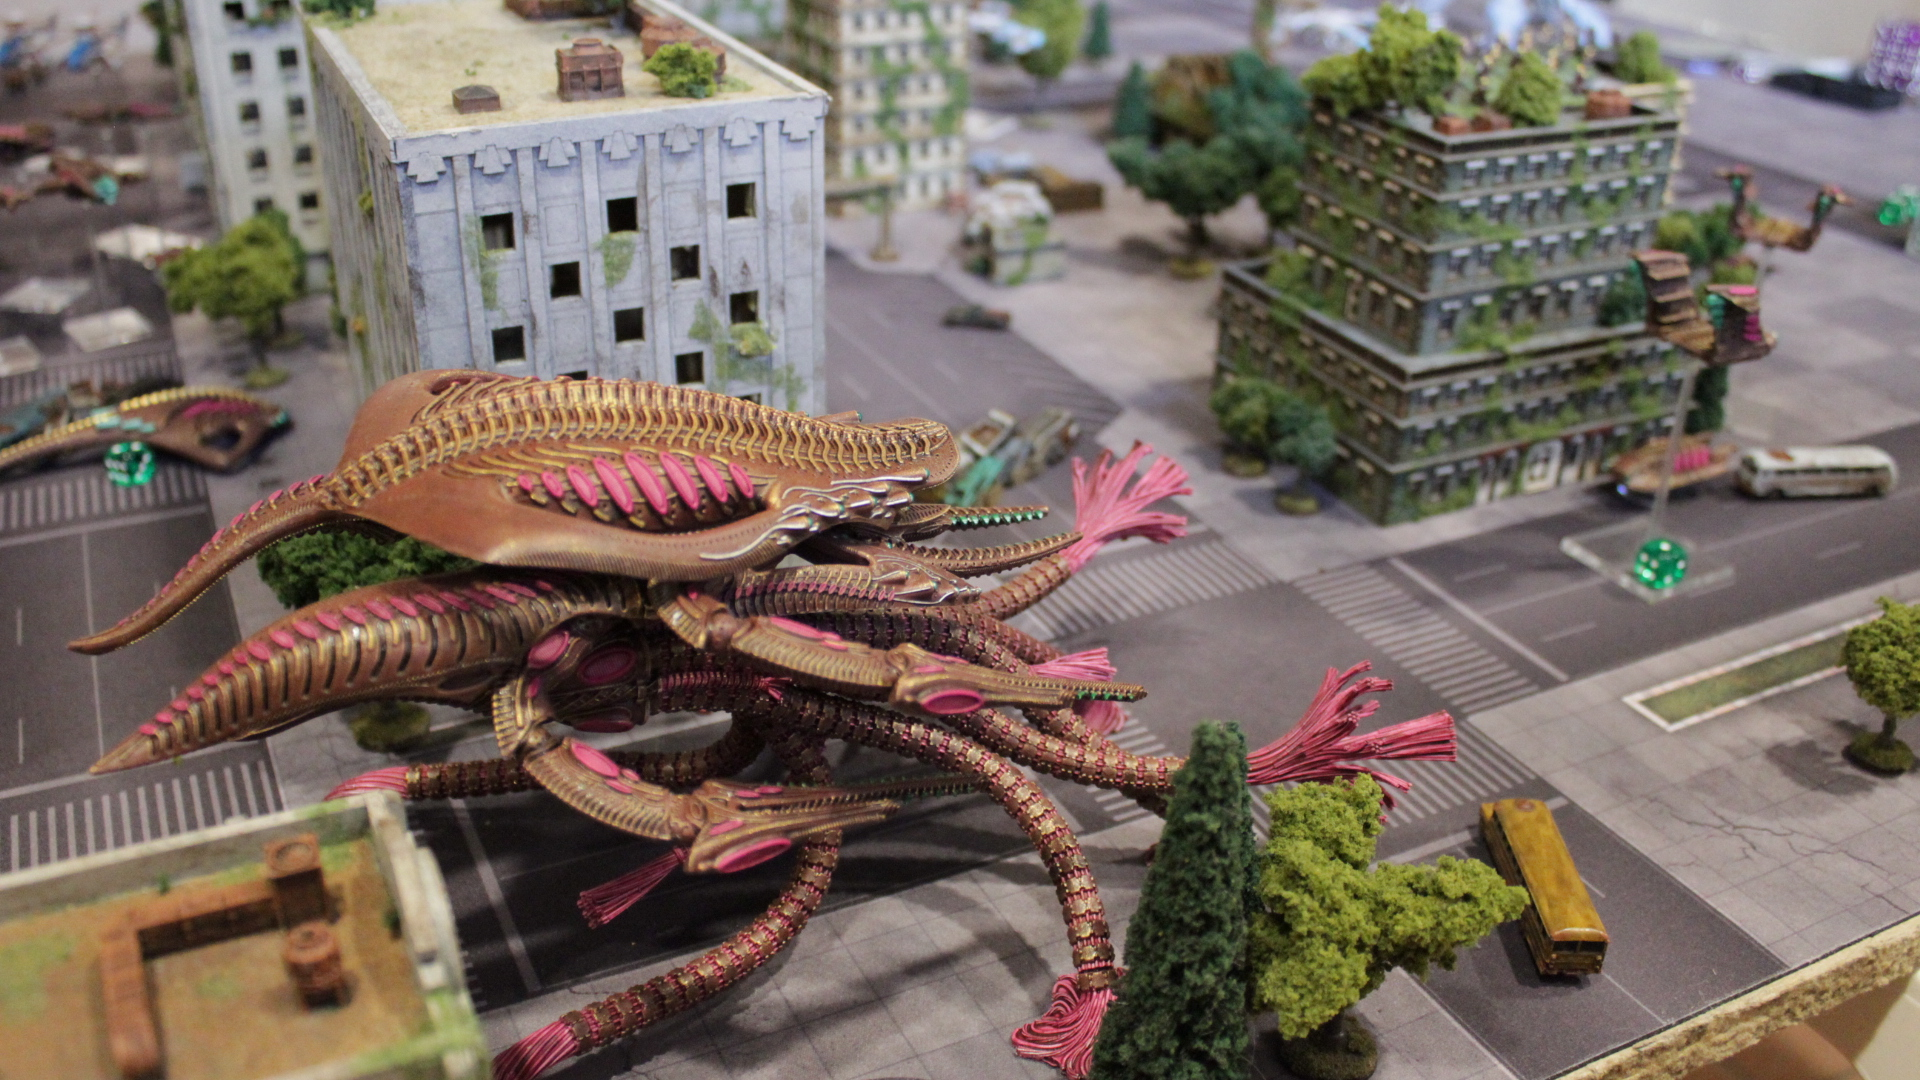
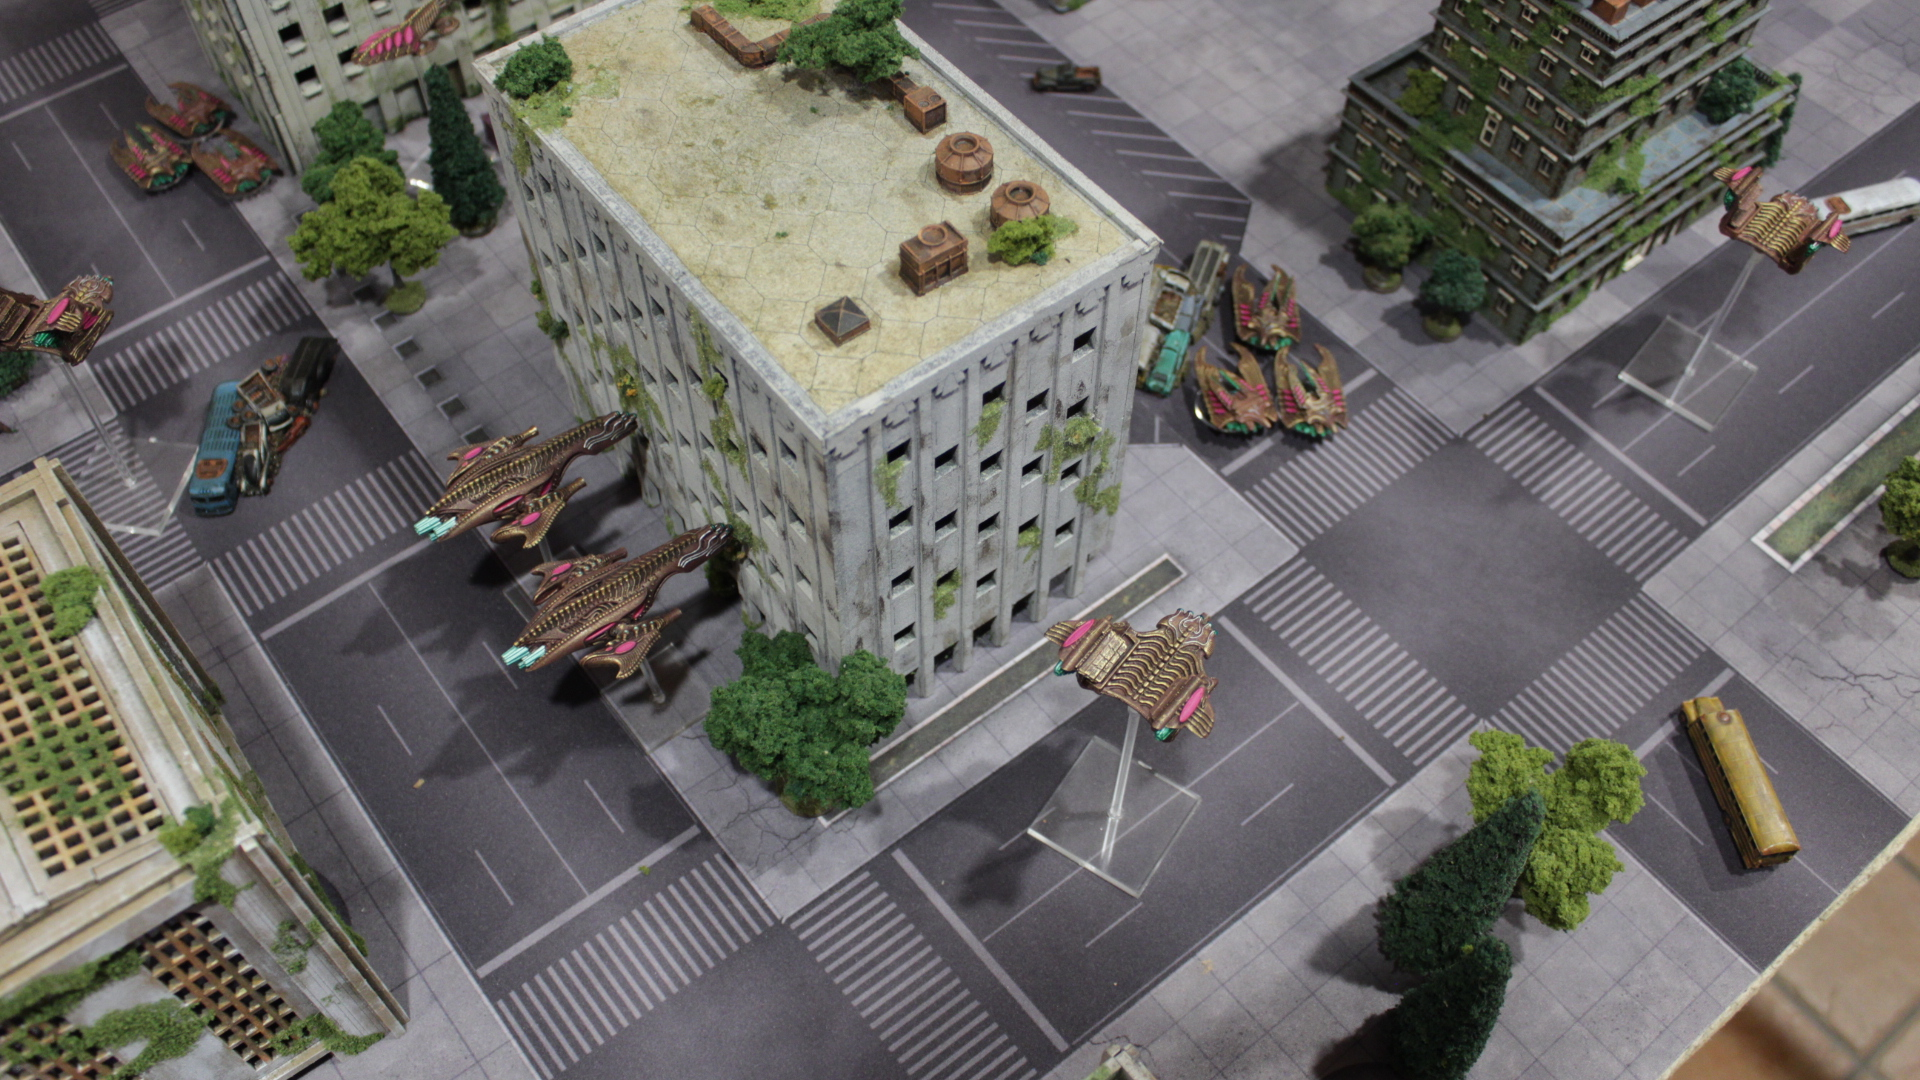
At last, the game of behemoth chicken is forced to an end. The Dictator is directly deployed, and tentacle-hovers its way up the side of the table. With no particularly good angles available, it settles for firing off one set of static accelerators at the Hydra, only managing a single hit that failed to damage.

The Chronus stomps on the board, but has nothing in range/LOS to fire at.

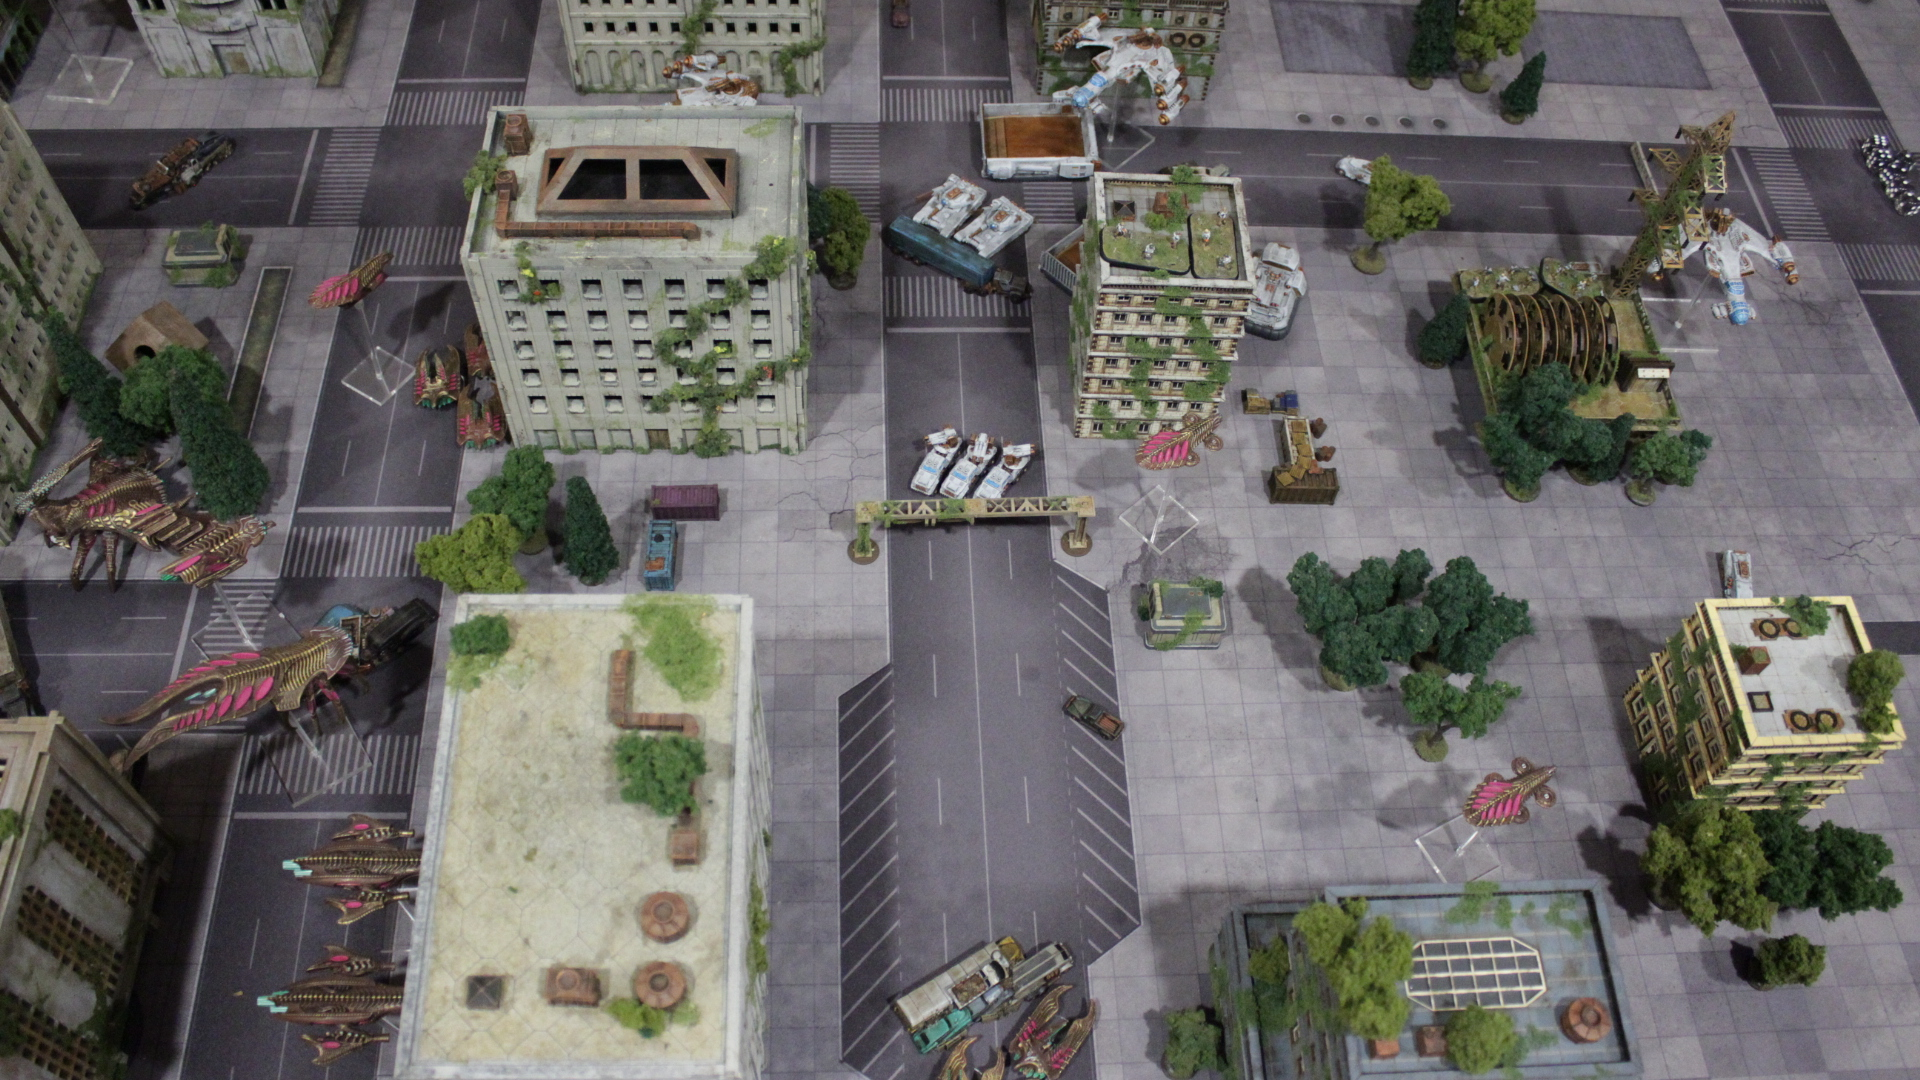
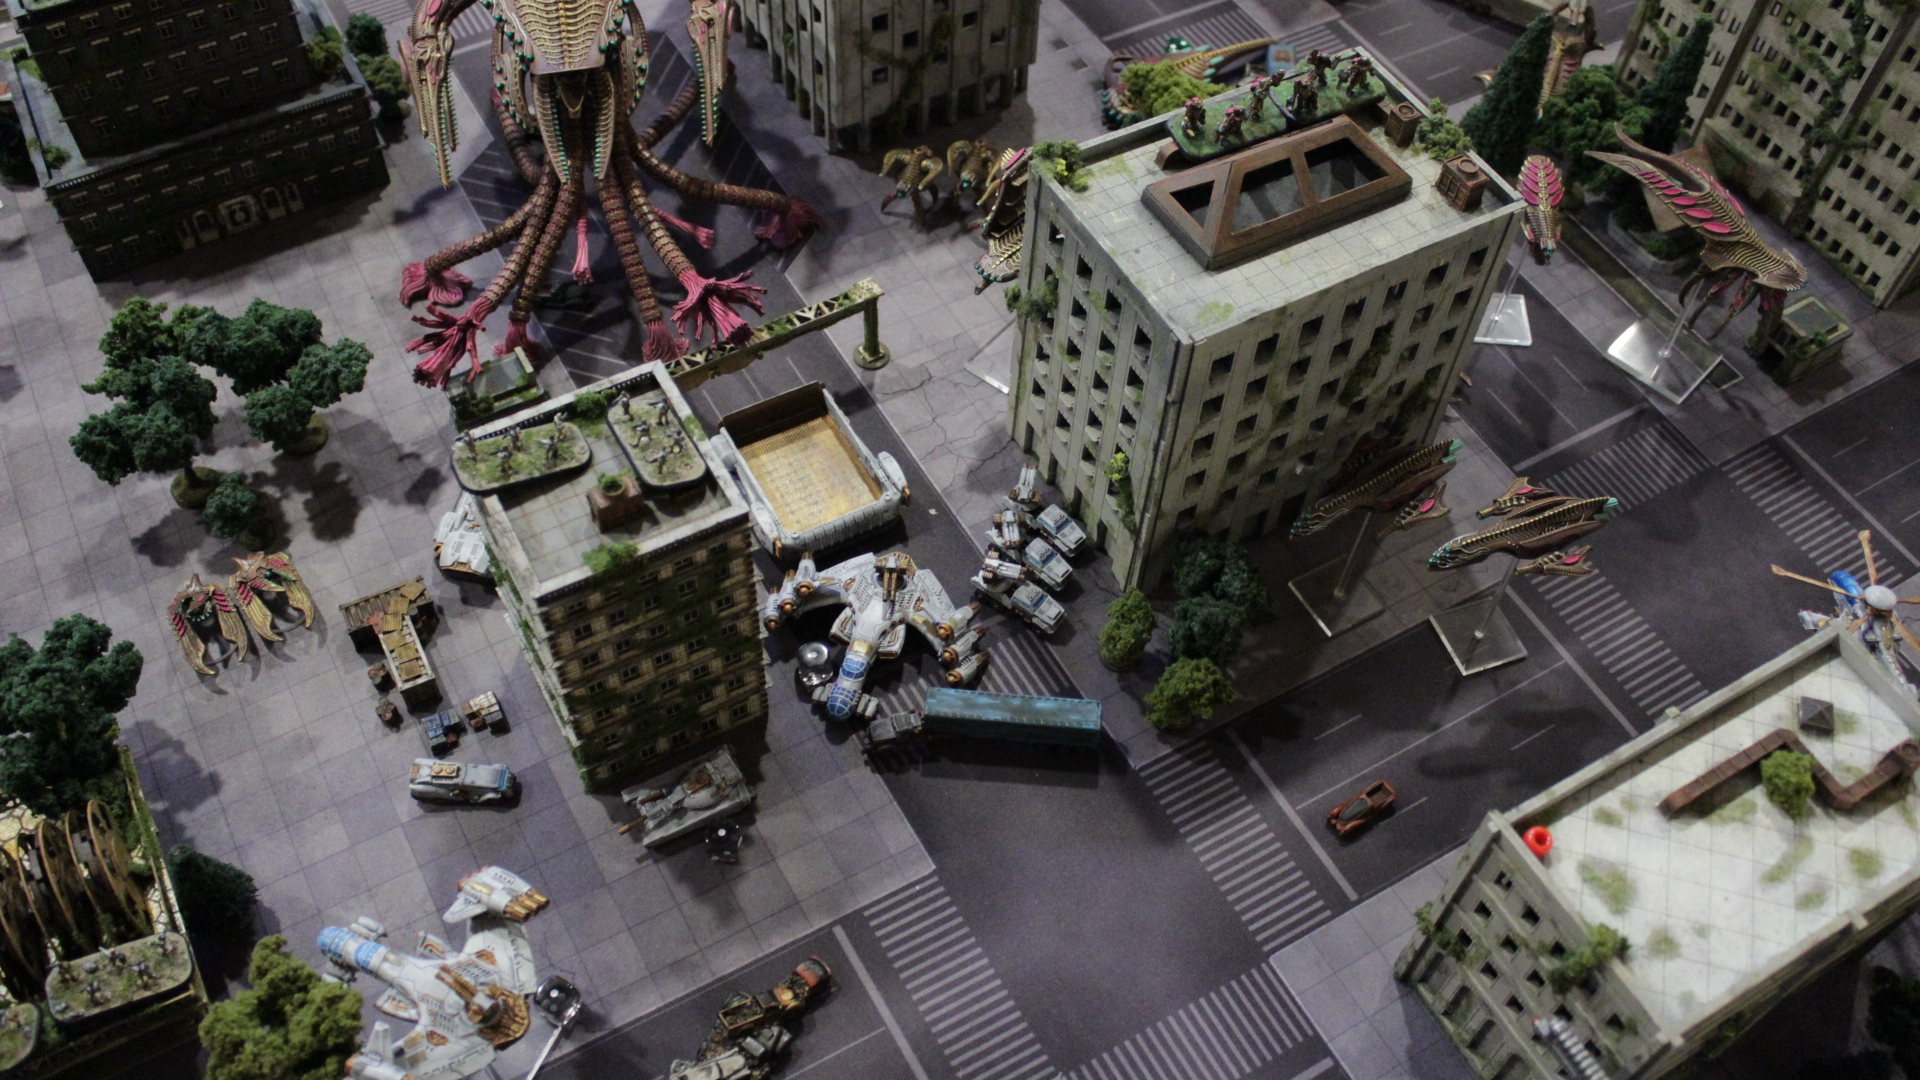
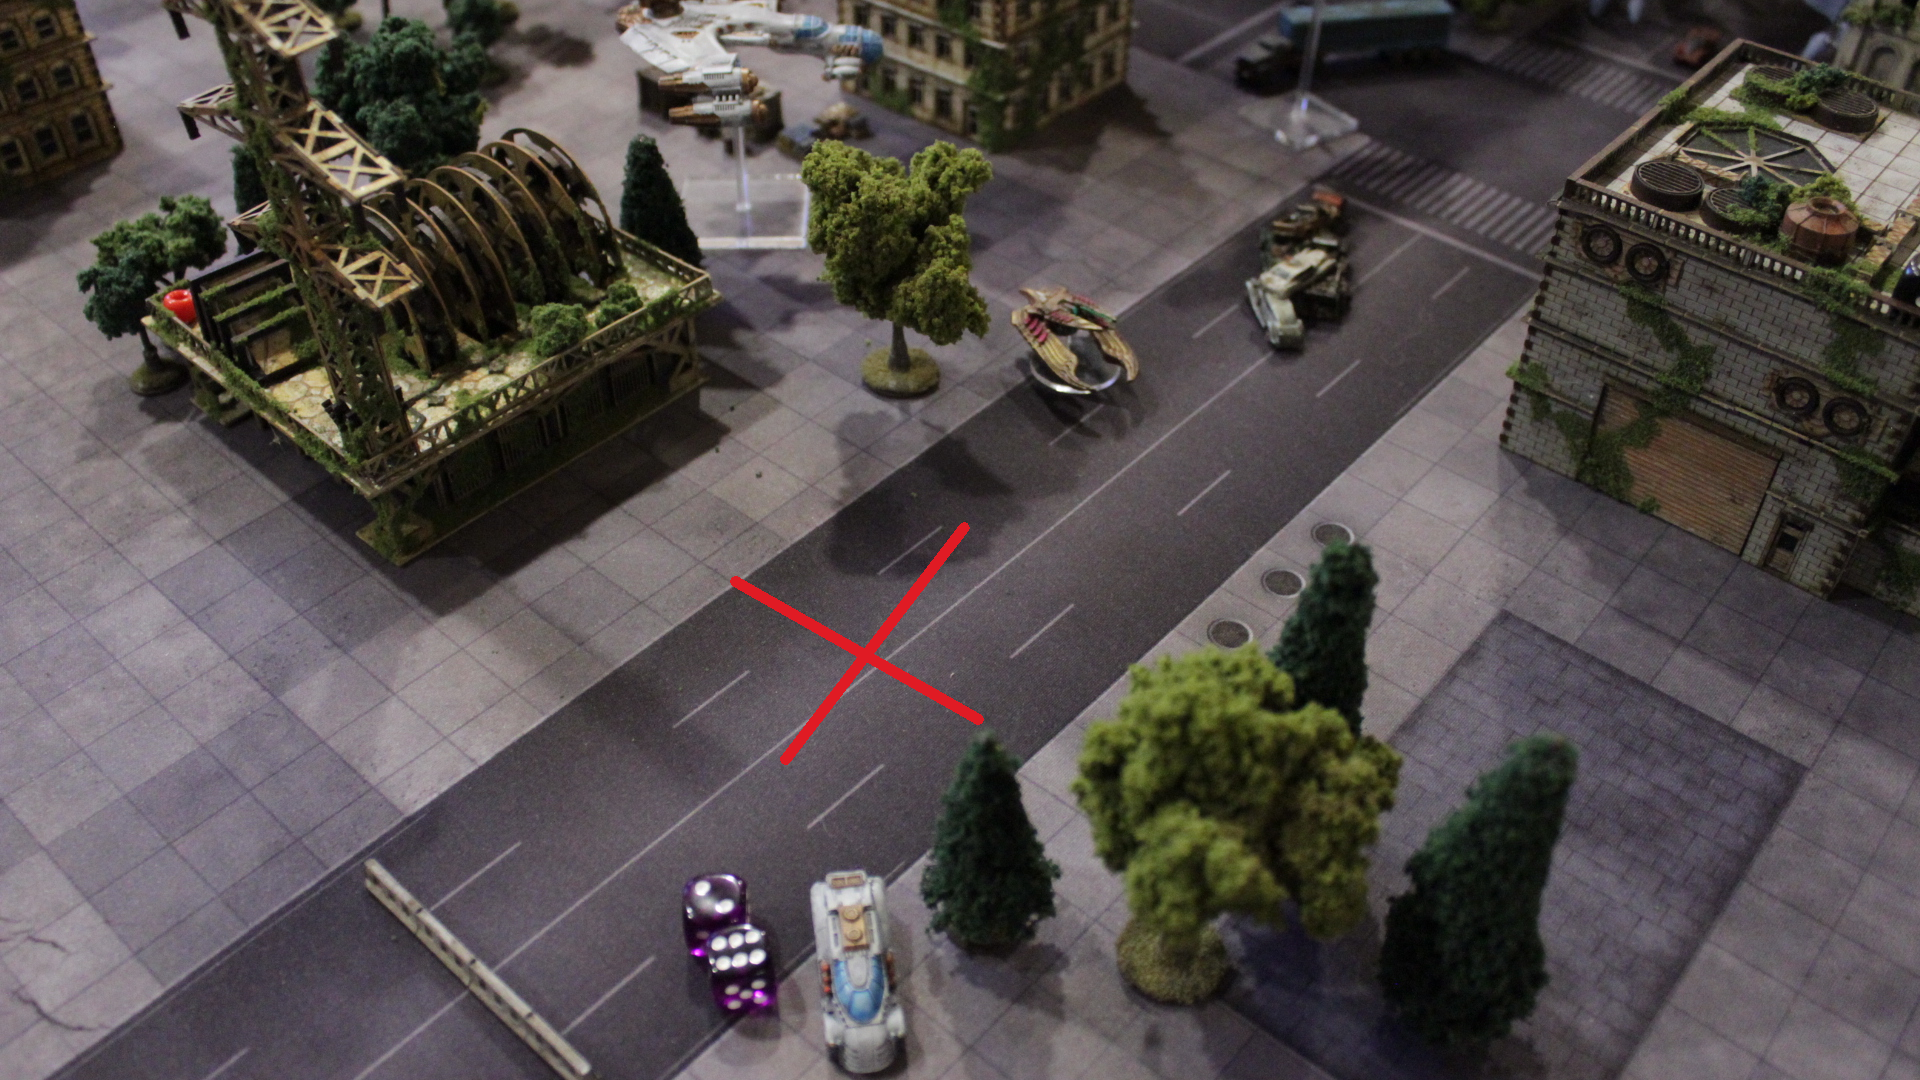
The state of the table at the end of round 2. Behemoths are in play now, although it remains to be seen how impactful they’ll be. Resistance has had more success at searching and scoring, while Scourge has lost a large portion of their infantry forces due to the consequences of over-aggression.
Resistance: 6
Scourge: 0
Round 3

Resistance wins initiative thanks to a command card!

Resistance also plays Inspiring Presence after drawing cards, because no reason not to.
Frontline 1 for Resistance activates first, and Fighters shuffle about the board. The ones in the center building evacuate in the face of the Demolishers, embark into a Jackson, which then embarks onto a Kraken which ferries them towards a corner. The Fighters with the second found objective hop into their nearby Jackson, which is then scooped up by the Lifthawk that took the first objective off the table last round, and which also contains the other Jackson/Fighters.

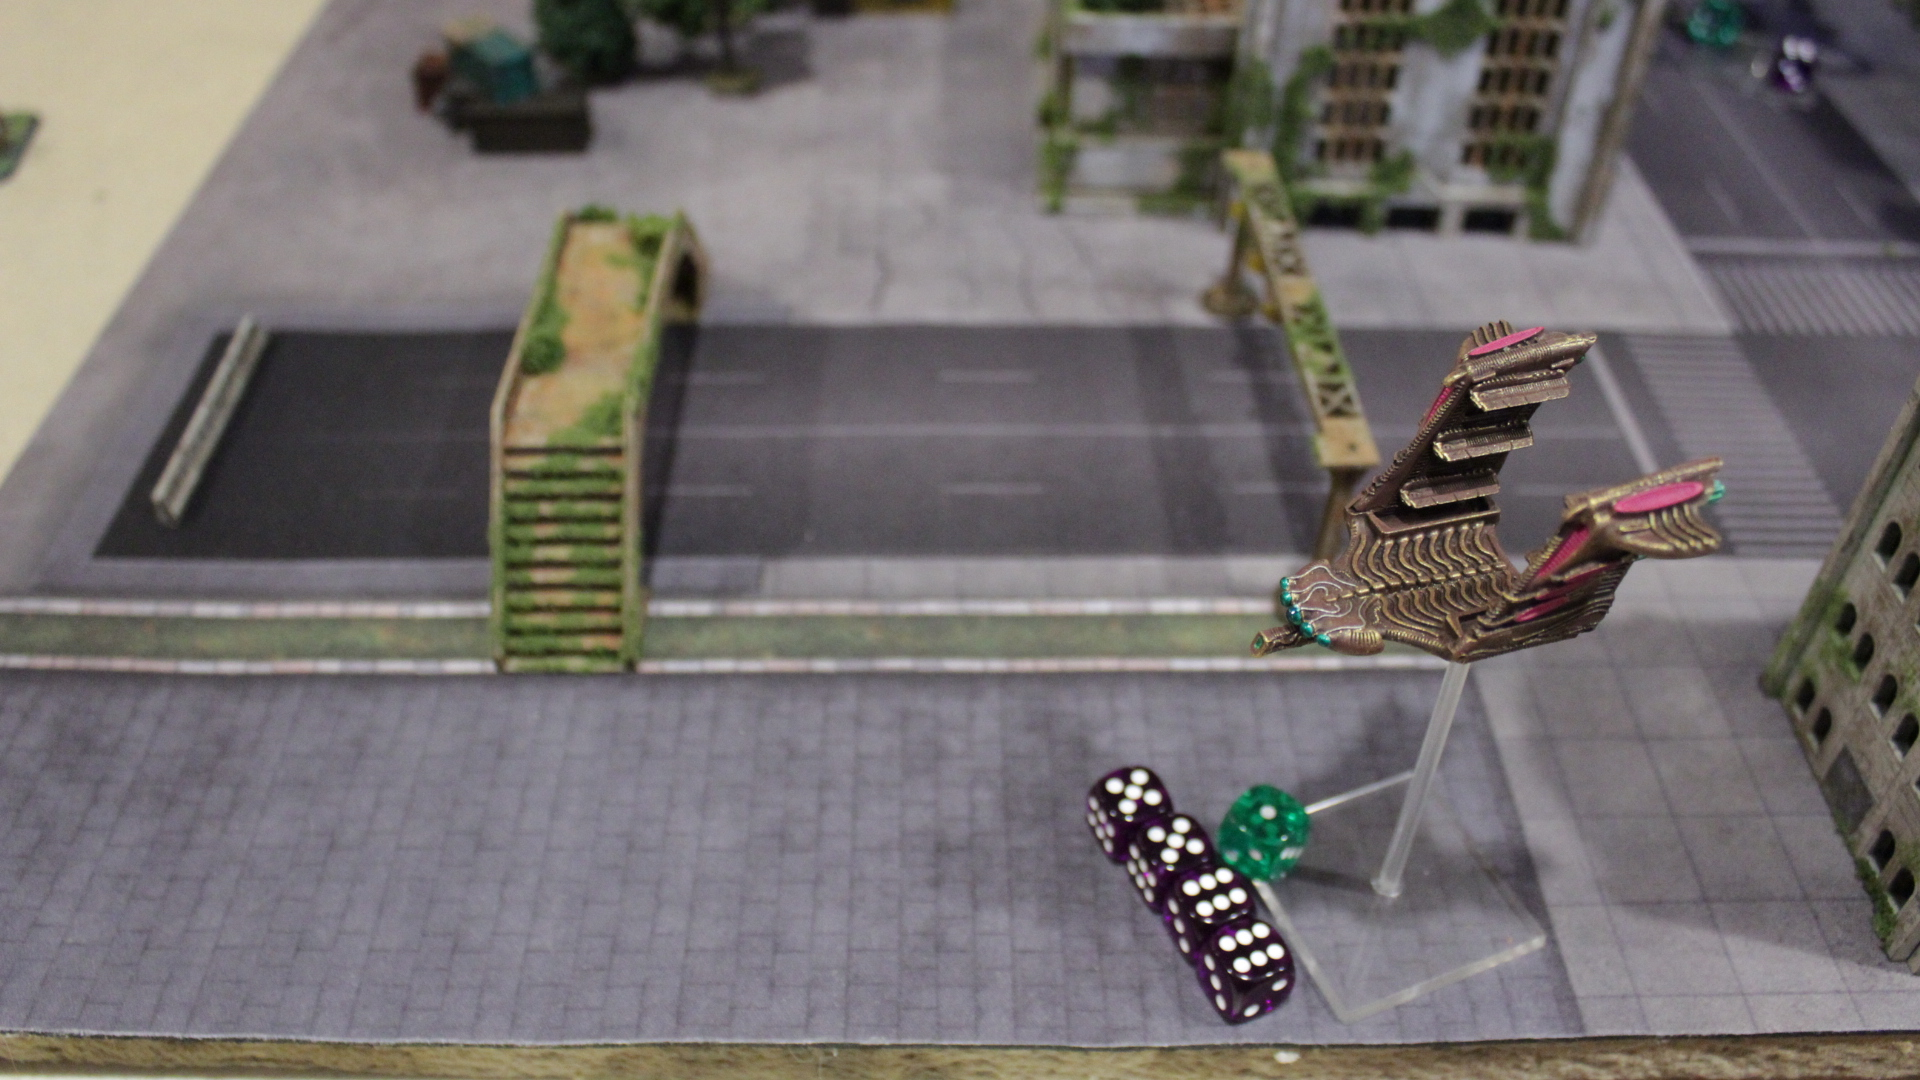
Scourge decides to continue the aggression regardless, and activates the War Engine group along with the Corsairs. The Corsairs move straight off the board with no targets, ready for another run next round. The Dictator makes a full move towards the center of the board, inflicting 3 damage on a building in the process. Unable to use the seeker lashes or arc maw, it fires off one set of static accelerators at each Zhukov, cleanly destroying each.

Rising to the challenge, Resistance kindly ask the Chronus to address their behemoth issue. A nova missile and both railguns fire at the leg section, guessing the goal is to stop any more objective claims with the seeker lashes. 9 damage goes through, knocking out one seeker lash, with the crippling damage also inflicting 1 point to the weapons. She realized a blunder in that none of the secondary weapons were fired for seeming lack of a target, when they should have been dumped into the center building with the Demolishers!

Scourge activates Vanguard 1 and has the Eradicator fire off a bio-mortar at one of the Resistance-occupied buildings just barely in range. The squad is annihilated by multiple critical hits, emptying the building. The remaining Reaper fires at a Cyclone, and hits but fails to damage.

The Resistance HQ group starts moving, with the Hydra activating first. It gets a point of damage through the leg zone of the Dictator, triggering another crippling result and a second point of damage to the weapons. the Field Repairs card is played on the damaged Lifthawk, healing it to full. It scoops up the damaged Hannibal, and ends the turn landed so the Hannibal can activate, disembark, and move behind the building. The nearby Kraken joins the activations and tries shooting at the legs as well, but fails to damage.
Scourge Vanguard 2 is up, and the Reavers move to take out the Hannibal and landed Lifthawk. All hits land on the Hannibal, but it shrugs off the damage, while only 1 point of damage makes it through to the Lifthawk. The Reapers move out from behind the forest and strike at another Lifthawk, but also only get 1 damage through. A Marauder activates for good measure and attempts to give the landed Lifthawk an acid bath, but only lands a single hit.

Resistance activates Armor 2, and the wagons move out to take down the Reavers. They manage to get a single point of damage through one of two. The Lifthawk joins the group activation, and fails to damage anything.

Scourge Frontline 2 activates, and the Demolishers snag a 6 objective find in the middle building. The lone Raptor fires into the adjacent building, inflicting 3 damage to the Fighters inside.

The Cyclones activate, firing tornado missiles at the landed Harbinger, and each firing one beowulf missle at the Reaper. Only one point of damage goes through to the Harbinger, but a beowulf missile manages to get through and take out the Reaper.

Scourge Warriors make their move, searching their respective buildings with the aid of scan tokens from nearby Invaders. Each find a whopping 11 objectives!

Resistance Frontline 2 activates, but Scourge plays the Interference card and rolls a 2, effectively negating the entire activation as their goal was to search and they’ve been cut down to a single action now.

Scourge HQ goes, and the ion cyclone eliminates the last of the Sappers.

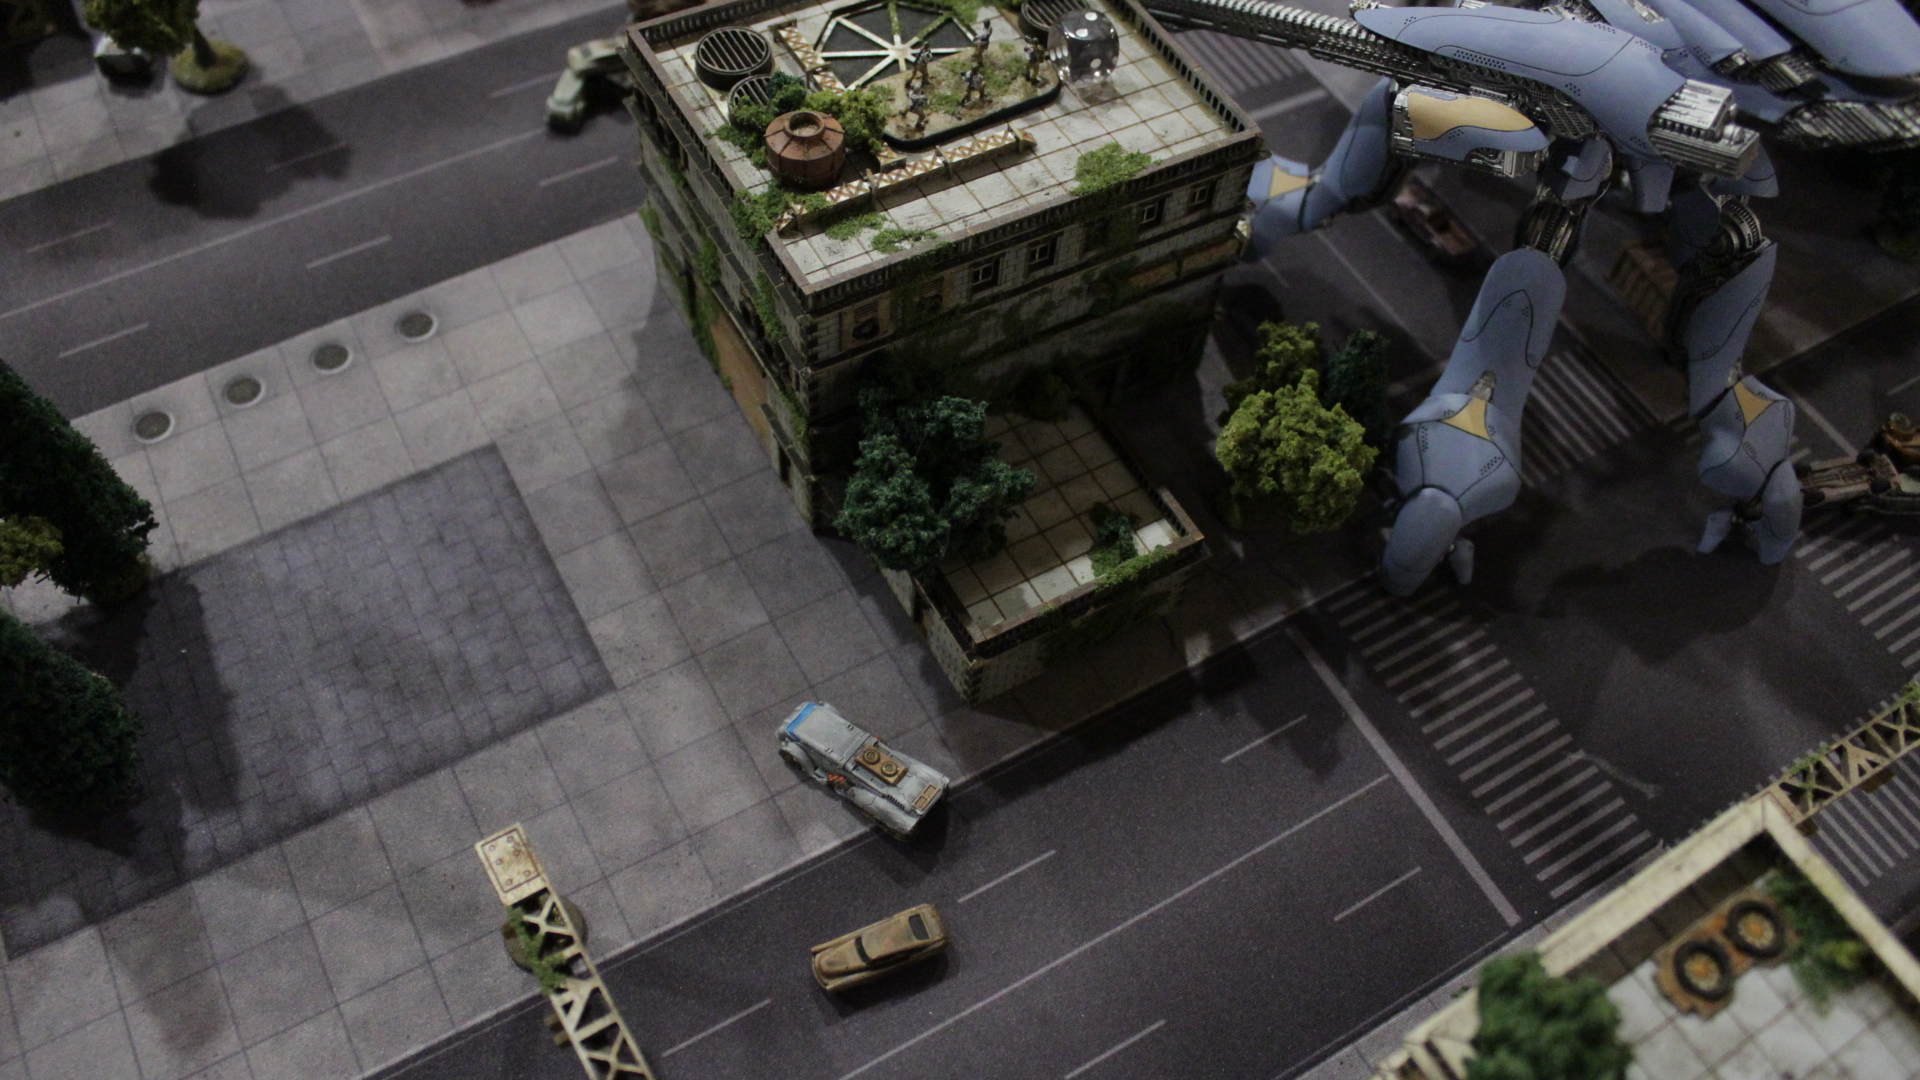
Resistance is out of battlegroups, and so Scourge activates their Stalkers in the Armor group. The medium-sized crabs shuffle forward and take out the Hydra, while the Harbinger activates as well and takes to the air to try and avoid any more damage.

End of Round 3, and Scourge has a lot of potential points on the table that it seems the Resistance is going to have a hard time keeping from being extracted!
Resistance: 6
Scourge: 0
Round 4

Despite no commander, Resistance manages to nab the initiative this round.

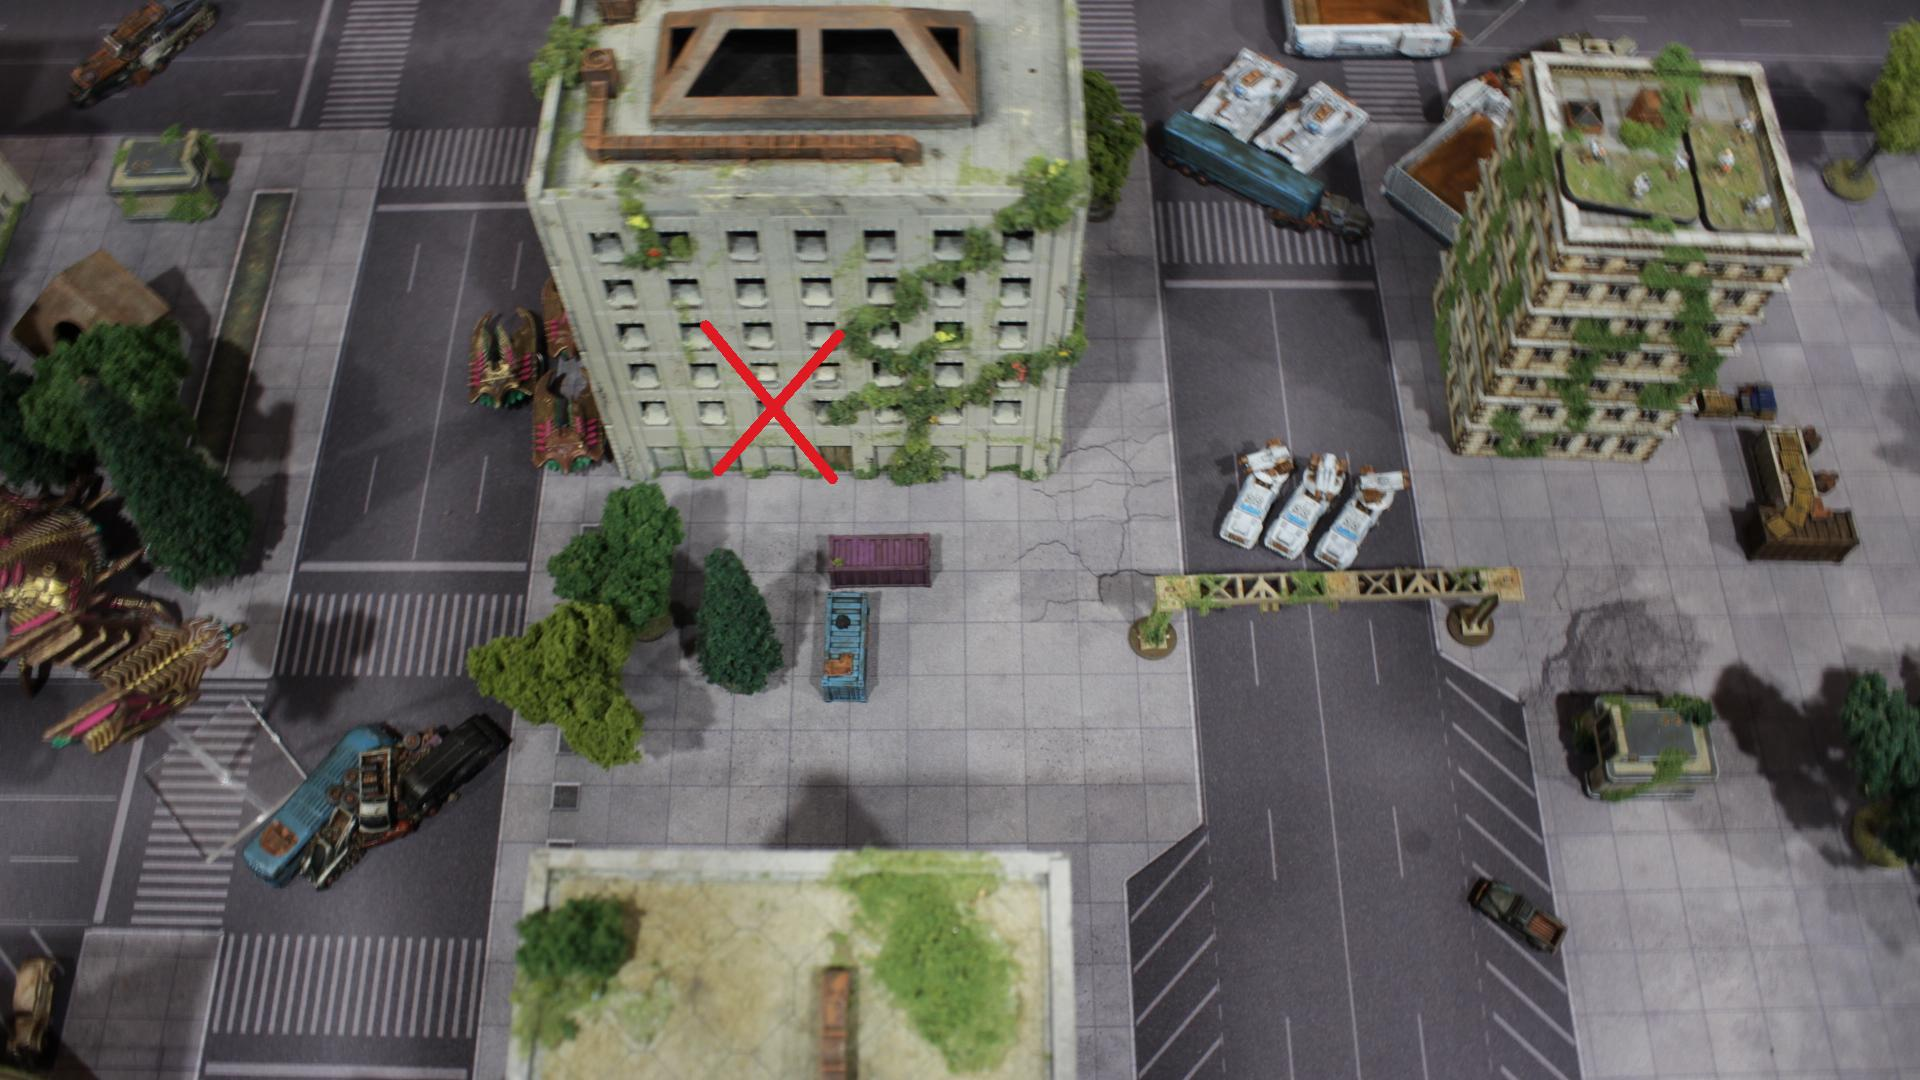
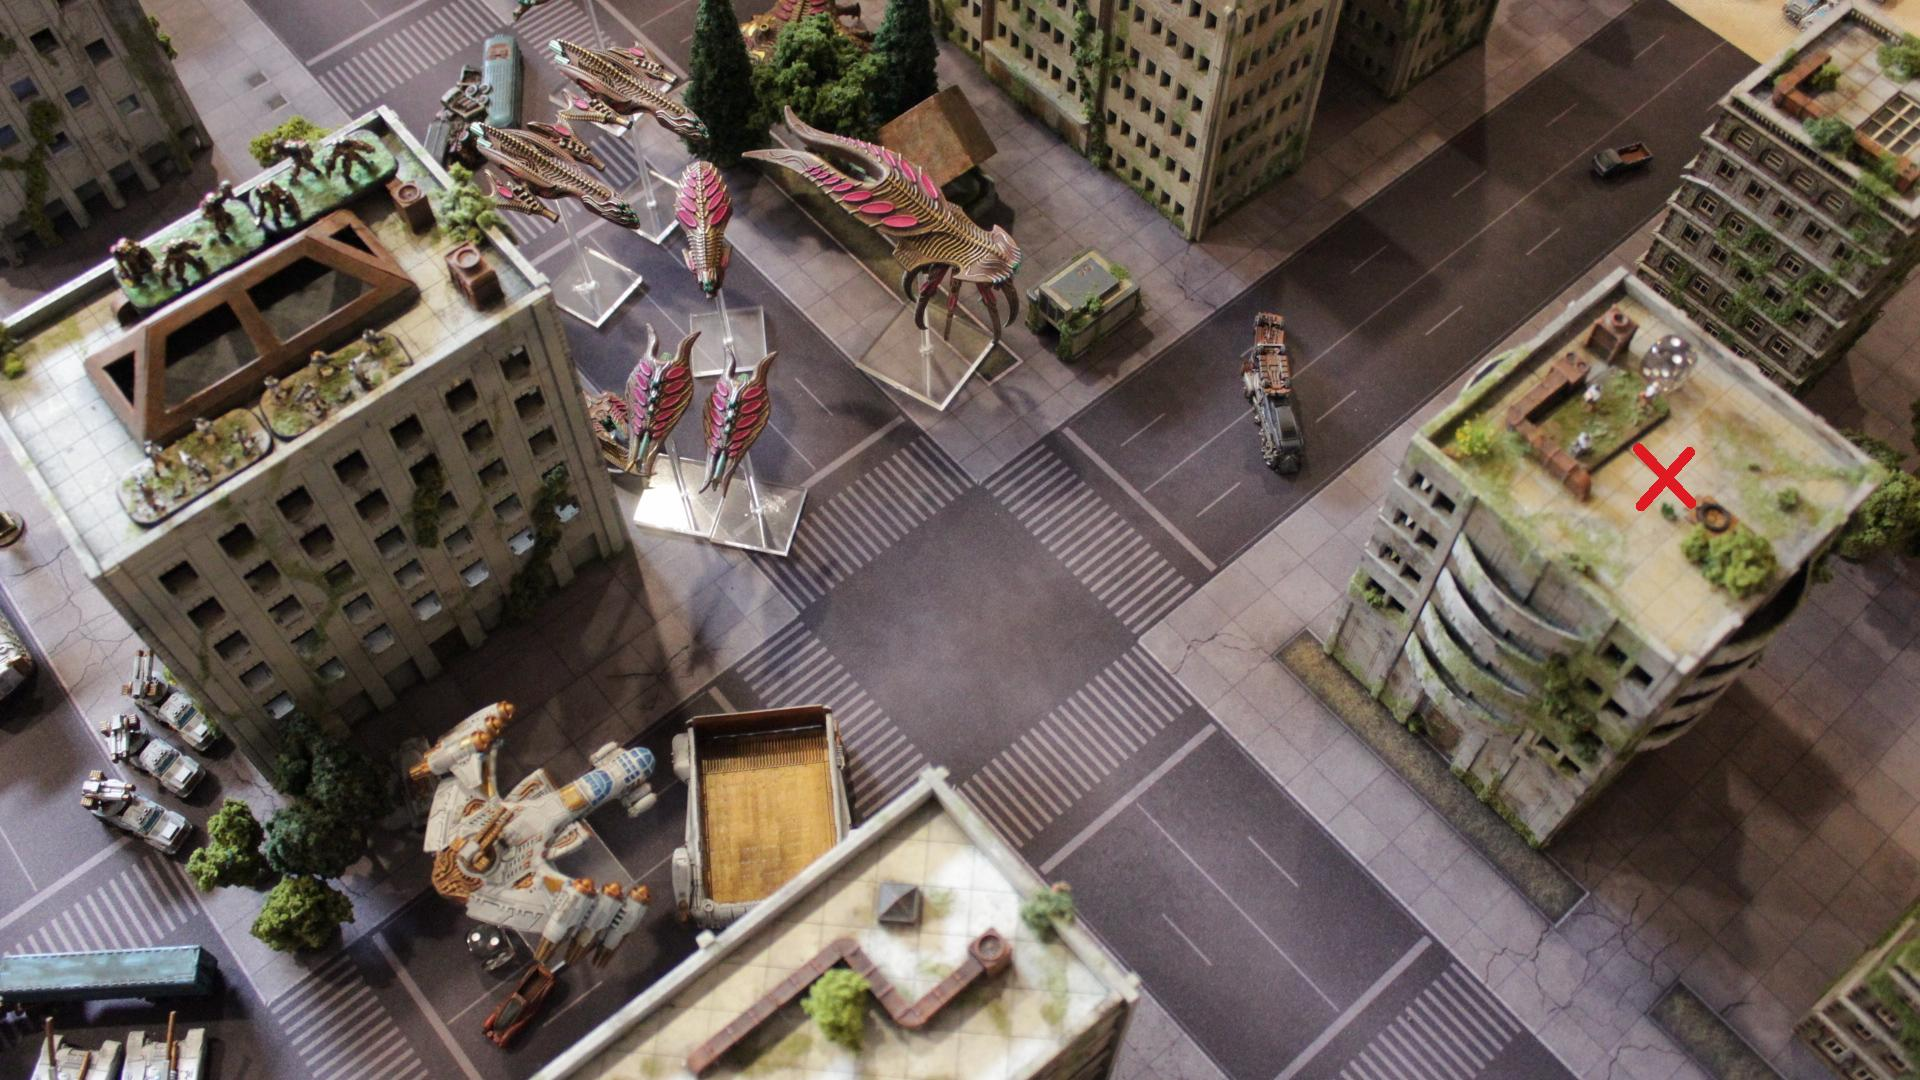
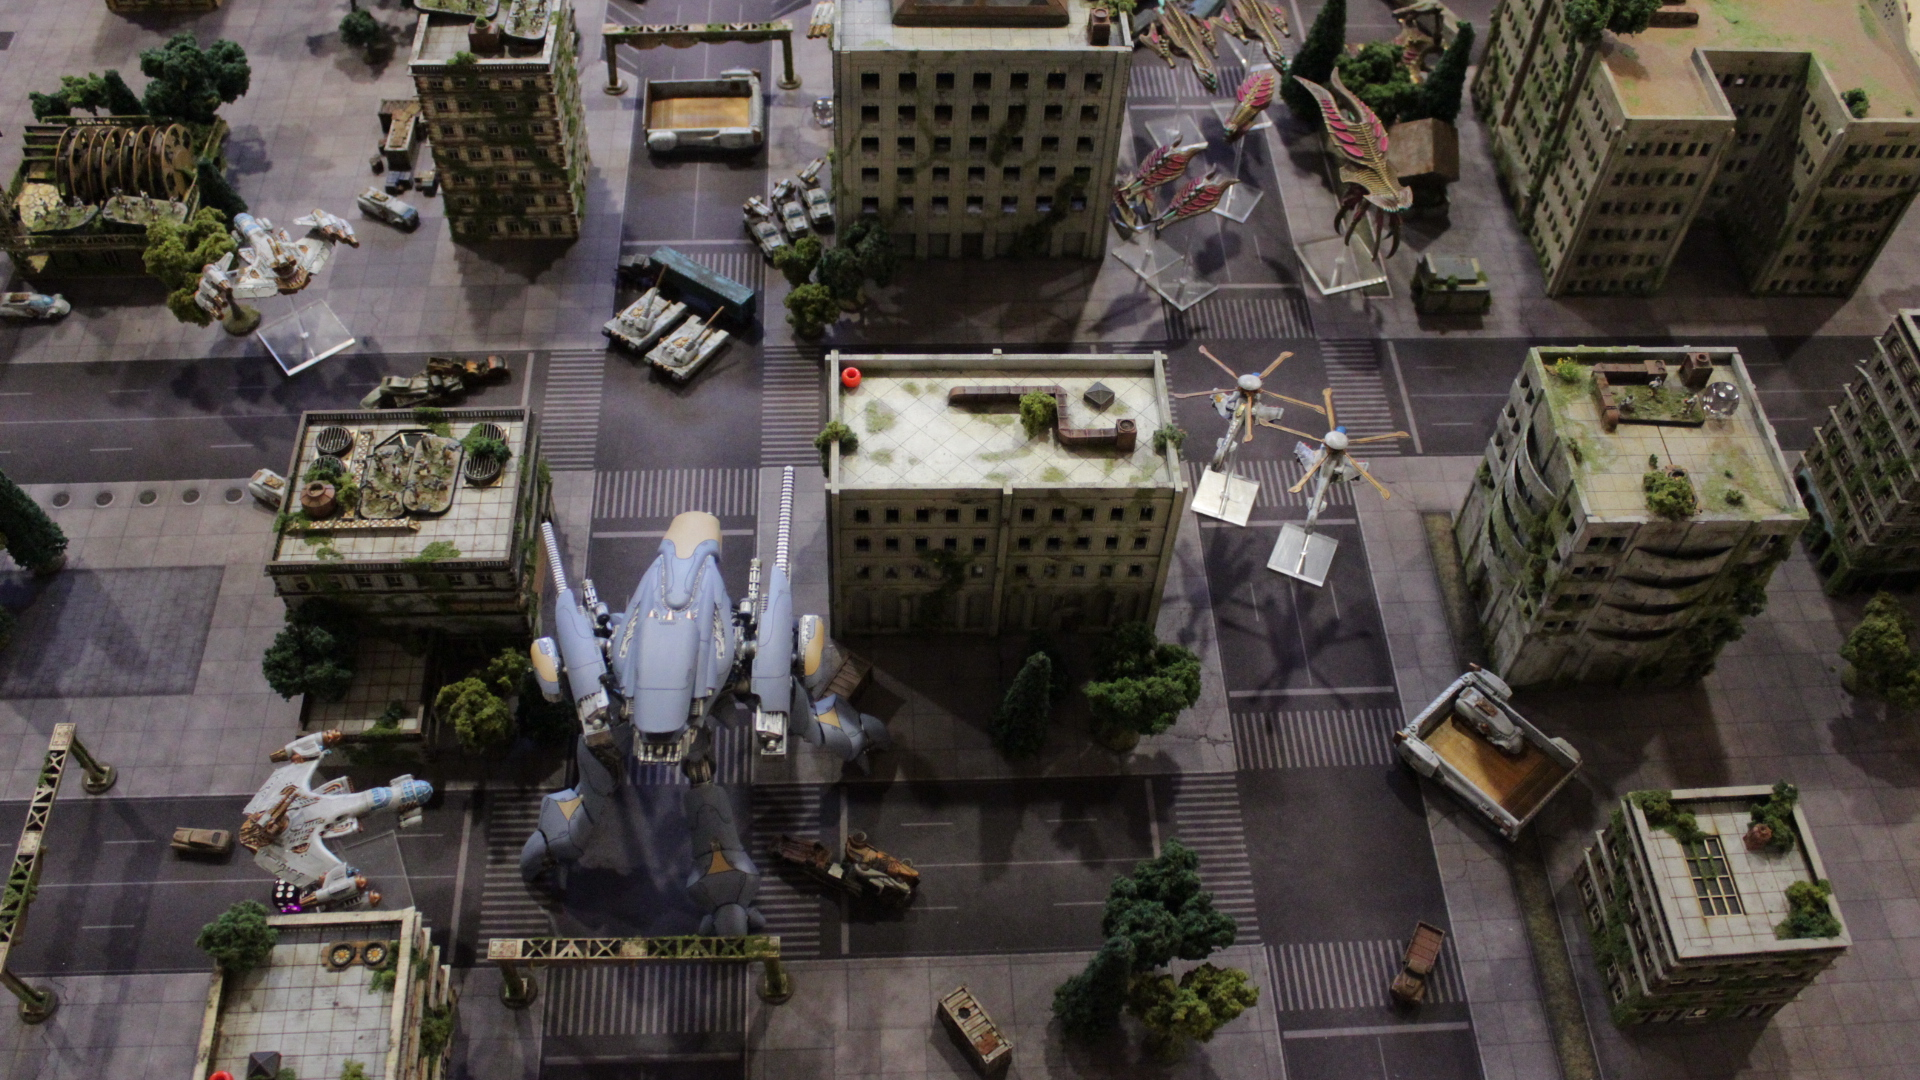
The Armor 2 group activates, along with nearly all the Lifthawks. The AA Gun Wagons take down the Intruder Troopship, looking to keep the Demolishers from ferrying their operatives off the table.

The Lifthawks manage to inflict 1 damage each, enough to take out a Marauder. They also fail to hit the Reapers with any of their missile pod shots.
The Warrior containing Frontline group activates, and despite taking down one of the Marauders, the Invader has just enough movement to get into embark range with the other APC. The Marauder does have to move up a few inches to do so though, meaning it doesn’t get to move that far back towards the friendly table edge. With a single point of damage remaining, it’s something of a piñata.
The Corsairs were activated with the group as well, looking to take down the primary threat to all those points. Unfortunately, one misses the Lifthawk while the other crits, taking off two points of damage but still leaving it in the air.

The Chronus activates, moving up 1″ and firing both railguns at the leg zone of the Dictator, while the nova missile goes for the weapons. The legs are finished, with another crippling result and the nova missile knocking out one weapon and inflicting 2 damage to the next zone. The arc maw is selected as the weapon to be disabled, as the Dictator was looking to finally be in a position to utilize it. This time, all the secondary weapons fire on the Demolisher building, inflicting 12 out of 20 damage, with all 12 resulting collateral damage rolls failing to do more. Between collateral reroll and their passive saves, the Demolishers make it out with one point of damage taken. A Kraken activates as well, turning to the side and firing a shot off at the lone Raptor, killing it.

With their Troopship shot down, the Demolishers activate as the lone survivors of Frontline 2, and bring their objective out of the building, handing it off to the nearby Stalkers, then firing off plasma charger shots at the Kraken, inflicting 3 damage.

A Frontline group activates, and the Fighters find 6 and 8 operatives. The Jacksons all fire their grenades at a Reaper, and all roll 1s to hit.
The Armor group for Scourge snips into action, and Stalkers scuttle back towards the Harbinger, who picks them up and begins to head towards the scoring table edge.
The other Resistance Frontline group is up, and the Lifthawk carrying the objective holding Fighters drops off the Jackson with the other Fighters, who enter the adjacent building, and flies off the board with the operatives, scoring another 6 for Resistance.

The other Fighters have their Jackson hop off the Kraken and enter a building.

The Desolator moves up and between the ion cyclone and collateral, gets 3 damage on a Fighter.
Cyclones activate, and the tornado missiles and heavy machine guns make good work of the Demolishers.

Scourge Vanguard 2 goes, and the Reavers target some Jacksons. One is eliminated, while the other is hit twice but withstands the damage. The two Reapers target the near-death Lifthawk, finishing the job.
The remaining Hannibal activates with the HQ group, inching up and taking down one of the Reapers.

The Eradicator looks to spew some more ‘bio’-juice, and sanitizes one of the buildings of Fighters.
The remaining activation is the quite crippled, but still functional Dictator. It stays in position and fires a static accelerator at each of the Jacksons in front of it, obliterating one, but rolling poorly to damage the other.

The last Marauder activates as well, and moves towards the damaged one ferrying the Invaders in case assistance is needed.

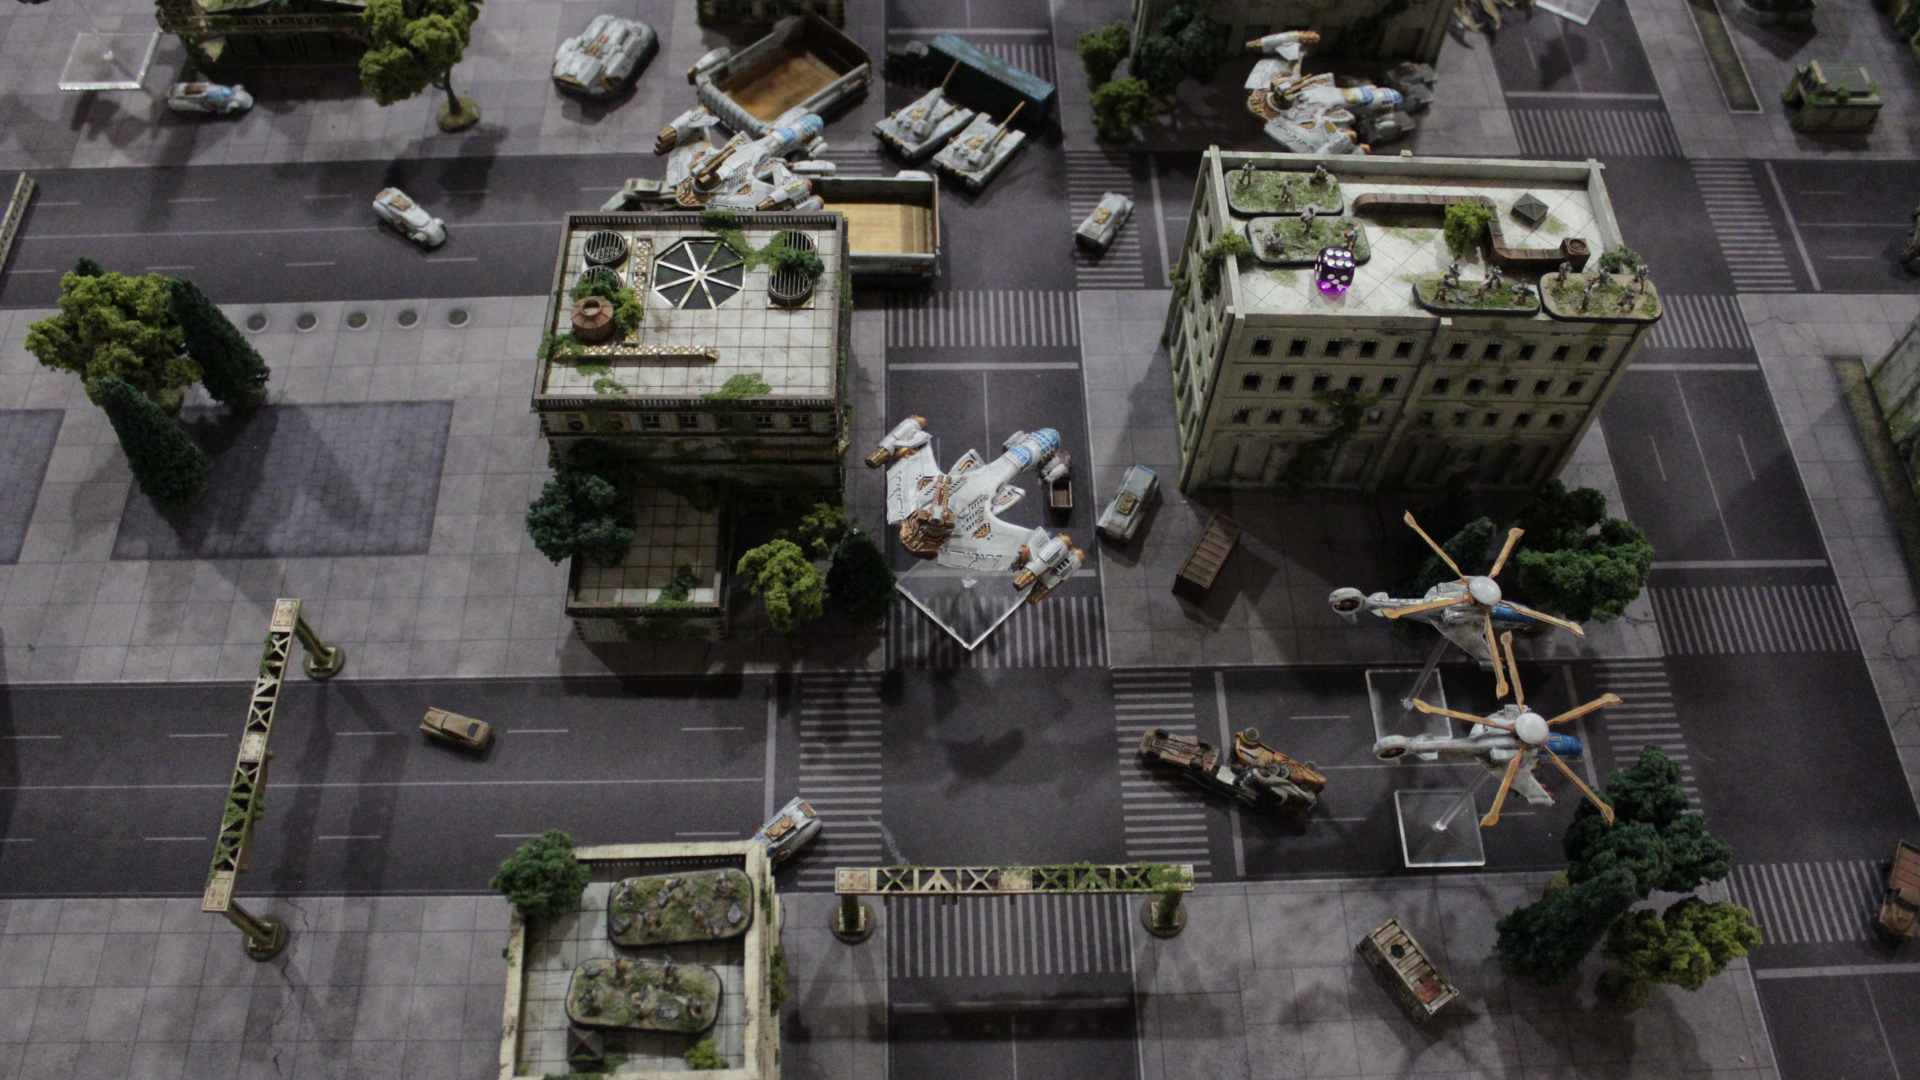
State of the game at the end of round 4. Resistance is still leading, but things are looking like they could take a turn very soon.
Resistance: 12
Scourge: 0
Round 5

Thanks to the lack of commander for the Resistance, Scourge wins initiative this round.
Frontline group with the Warriors activates, and dives directly off the table, scoring 22 VP for the Scourge.

One of the Frontline groups for Resistance activates, and the Fighters in the power station attempt to extract with their operatives. The Lifthawk is a few inches short of the table edge, however. The other Lifthawk activates as well to get out of LOS of the incoming Corsairs, and shoots down the damaged Reaver as well.

Armor group is up for Scourge, and the Harbinger carrying the operative-holding Stalkers gets to the table edge, scoring another 6 VP for Scourge.

The other Frontline Resistance group makes their move, with searches finding 6 and 4 operatives in two buildings. The Lifthawk in readiness reenters the board and the Fighters disembark into the building with the 4 operative objective.

The Eradicator makes a shot, and completely wipes out the Fighters who just entered the garrison, and reduces the other unit to a single survivor.

The AA Gun Wagon Armor group fires off at the Desolator, getting 4 damage through.

Scourge HQ group activates, and the Desolater makes a move towards the lone Fighter. The Lifthawk reaction fires, inflicting 1 damage. The Desolater fires, missing every shot, and so plays a command card to reroll hits. Missing every shot again.

Cyclones activate and clear the trees out from in front of the Eradicator with their heavy machine guns. We treat lone trees as armor 7, 1 damage per tree. Tornado and beowulf missiles get 3 damage through to it.
Scourge’s Vanguard 2 activates, with the Reaver finishing off the Hannibal and the Reaper knocking a point off the objective carrying Lifthawk.

The Chronus is up, and looks to have the Eradicator finally dealt with. With it just barely in range of the secondary weapons, everything opens up on it. One of the railgun shots misses, but with a single damage from the stealth missiles and some good focus rolls on the rotary cannons despite the chameleonic scales, just enough damage goes through to cook the crab.

The Dictator activates, firing the static accelerators at the building with the lone Fighter, and inflicts 3 damage, but collateral fails to wound the Fighter.

End of Round 5. It doesn’t look like Resistance will be able to make up the point gap, but the next few activations will decide just how big that gap is going to be. One mistake that I made was forgetting the activate the Corsairs and having them fly off the board into readiness; they could have been used next turn, although I don’t believe they would have been enough to change the final results.
Resistance: 12
Scourge: 28
Round 6

Resistance doesn’t have to hope for another set of unlucky rolls from the Desolator, and instead manages to snag initiative once more.
The lone survivor extracts off the board with their operatives. +4 VP for Resistance.

Even though they won’t make it to the edge in time, the other Fighters with their 6 operatives embark onto the Kraken and make their way towards the friendly corner.
There’s only really one more activation that matters. Scourge moves their Reaper out, looking to bring down the Lifthawk, and does so with a critical hit, but the Jackson survives the crash.

The Reaver destroys the Jackson, and the embarked Fighters take 4 damage in the explosion. But with the crash disembarkment movement and their own 2″ move, they are safely able to extract from the friendly table edge, bringing their 8 VP to score.

And so the game is called here. Resistance scores an additional VP off holding the objective in the Kraken still on the table.
Resistance: 25
Scourge: 28