
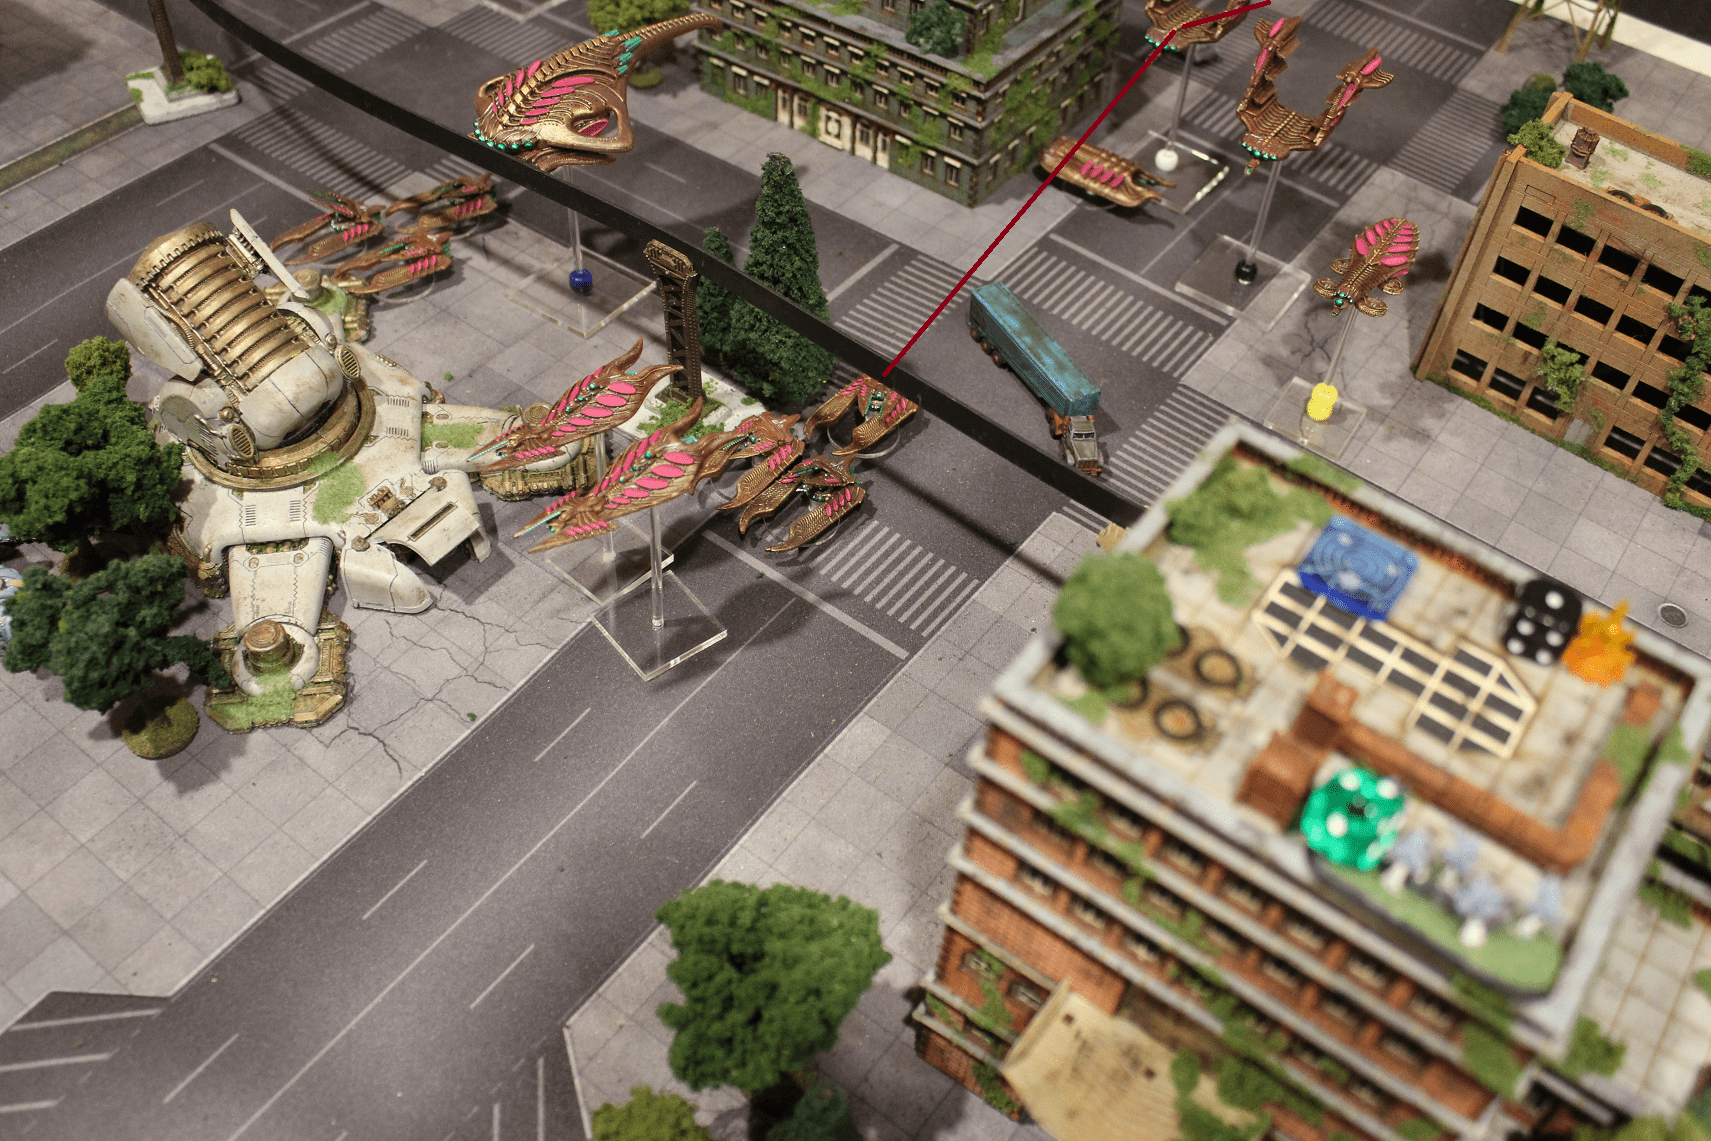
Crucible, 2000 points. Board was set up for 6×4, but going to stick with the standard 4×4, so the terrain on the top edge is just there because I can’t be bothered to put it away. We also decide to make the table rather open, both for the sake of moving the behemoths around but also just to encourage more destruction around the open center objective. I’m playing PHR this game, and we’re trying out behemoth vs behemoth.

PHR:
HQ Battlegroup 1
2 X Hera Command Walker
CV3 Commander
Frontline Battlegroup 1
2 X Immortals
2 X Immortals
1 X Juno APC
Huntsman Cannon
1 X Juno APC
Huntsman Cannon
1 X Neptune Dropship
Frontline Battlegroup 2
2 X Longreach Snipers
1 X Triton Light Troopship
Aether Hive Nanomachines
Armour Battlegroup 1
2 X Phobos AA Walker
2 X Apollo Strike Walker
1 X Neptune Dropship
1 X Neptune Dropship
Armour Battlegroup 2
2 X Phobos AA Walker
1 X Neptune Dropship
Vanguard Battlegroup 1
2 X Valkyrie Assault Troops
2 X Siren Corps
1 X Triton Light Troopship
1 X Triton Light Troopship
Vanguard Battlegroup 2
2 X Taranis Artillery Tank
Thor Bombard
2 X Mercury Scout Drone
1 X Neptune Dropship
1 X Triton Light Dropship
War Engine Battlegroup 1
1 X Tethys
Auxiliary Battlegroup
1 X Athena Air Superiority Fighter
Shooting Star Missiles

Scourge:
HQ Battlegroup 1
1 X Desolator Command Barge
CV3 Commander
Frontline Battlegroup 1
3 X Warriors
3 X Warriors
2 X Demolisher Shock Troops
1 X Invader APC
1 X Invader APC
1 X Marauder Dropship
1 X Intruder Light Troopship
Frontline Battlegroup 2
4 X Prowler Spider Drone
4 X Raptor Spider Drone
1 X Intruder Light Dropship
1 X Intruder Light Dropship
Armour Battlegroup 1
3 X Hunter Tank
1 X Marauder Dropship
Armour Battlegroup 2
3 X Hunter Tank
1 X Marauder Dropship
Vanguard Battlegroup 1
3 X Reaper AA Tank
1 X Screamer
1 X Marauder Dropship
1 X Harbinger Troopship
Mini Arc Caster
Vanguard Battlegroup 2
3 X Reaper AA Tank
1 X Marauder Dropship
War Engine Battlegroup 1
1 X Dictator
Auxiliary Battlegroup
2 X Corsair Interceptor
Arc Caster
Round 1:

Scourge wins initiative and activates frontline group 1, getting Warriors into two objective buildings and sending the Intruder lurking behind a building up the board, ready to drop the Destroyers next turn.

I go with the elite infantry in vanguard group 1, as well as activating the Athena. The Intruder is blown out of the sky, but the Destroyers take no damage from the crash. The Sirens get ready to make a rapid insertion into the opposing board side objective building, and the Valkyries devastate the Warriors. I play the Experimental Firepower card to help counteract the damage rerolls, and roll a 6, resulting in a 2+ to damage. One base with 3 Warriors remains.

She activates frontline group 2 as well as Corsairs, putting the Prowlers in the unoccupied side objective building. The Corsairs only hit a single shot on the Athena, but crit with it, taking down the fighter and knocking a point of damage off the nearby building in the crash.
The real carnage comes from the Raptors, who give up the Warriors for lost and fire their flame weapons at the Valkyries, and between the weapon and collateral damage I lose one base and take two damage on the other. The three Warriors are wiped out, expected considering the Raptors were hitting on a 5+.

I decide it’s time to put some non-infantry on the board, and try to inflict some damage to the exposed Destroyers, activating armor group 1. Between the disembark penalty and their passive saves, all of 1 damage makes it through. The Apollos are at least poised to claim the center objective at the moment.

She responds by activating vanguard group 1 and contesting the center, as well as getting the Screamer ready to respond where needed next turn.

Between the Raptors and the Destroyers, I decide to try and take advantage of my area weapons and get vanguard group 2 out. The Mercuries drop to spot, and the Thors target each bundle of infantry. With a 5+ to hit it was a gamble, but I roll double 6s, and then another double 6 for hits on each of the Destroyers.
The Raptors are obliterated, with ridiculous overkill since as infantry they each take d6 hits from the area attack, with the nearby Invader taking 2 damage from a crit. The Destroyers utterly refuse to die, with their passive save shrugging off nearly all the damage coming their way.
Vanguard group 2 activates, dumping more Reapers onto the center objective.

In a similarly uneventful activation, armor group 2 plops some Phobos down to cover the other firing lane.

Armor group 1 goes, and shoots up the board with a ship full of Hunters. I suspect she’s going to try and drop them on my Thors next turn.

Longreaches in frontline group 2 setup on the front edge, ready to shoot, search, or signal.

The other armor group of Hunters moves ahead in their Marauder just like the first.

I send the Immortals from frontline group 1 down the side to assist the last few Valkyries.

A commander finally shows their face on the board as the last Scourge activation.

I respond with my HQ group for the last activation of the turn, sending up the Heras, who with their 18″ move can get one unit just within the 6″ of the center objective to contribute to controlling that. They also fire off shots at the Destroyers, only getting one damage through thanks to the trees giving them soft cover. The Destroyers continue to flip me off, down to one on each base but still sticking around.

End of round 1. The center objective goes to Scourge; two of the Reapers are outside the 6″ range of the center of the objective (we decided to measure from the center, since 6″ from any edge seemed too large), and only one of my two Heras is within the radius, making 160 points of vehicles for both sides. Normally aircraft don’t contribute to an open objective, but the scenario itself only says “units” within 6″, so the Corsairs tip it to Scourge. There’s a small question as to if commanders count as part of the unit point value, but we decide they don’t.
Some mistakes noticed here, like the fast aircraft activating this round instead of round 2, but alas, such is life! Overall impact of these errors is a more aggressive and bloody time, which likely contributed to the end result of this game.
PHR 0 – Scourge 1
Round 2

She wins initiative again, and activates the Screamer/Reaper vanguard group. The System Jammer card is used, and I have to discard one card. I dump the collateral damage reroll card, not expecting to get much use out of it. The Harbinger activates first, and drops off the Screamer. Before the Screamer gets a chance to activate and move into the Longreach building, I play Reactionary Tactics and activate them, sniping it down with the intended prey.
Reapers go next, firing one off at the Siren carrying Triton and two at a Neptune. Neptune is failed to damage, but the Triton goes down, although I roll a 3 on the crash and so the Sirens make it out unscathed.

Although I planned to get the Tethys down at the end of the turn, I decide: fuck it, there’s a juicy blob of Scourge, let’s see how an offensive drop goes, and activate the Valkyrie/Siren group as well as a Triton troopship.
Between units, squads, and nearby AA, 18 dice get rolled, resulting in 5 damage on the behemoth. It ends up taking three hull damage and two leg damage. The Marauder, the two Corsairs, and two of the Reapers are crushed as the Tethys crashes down. Two of the Hunters die as the Marauder crashes, and one is placed on the table.
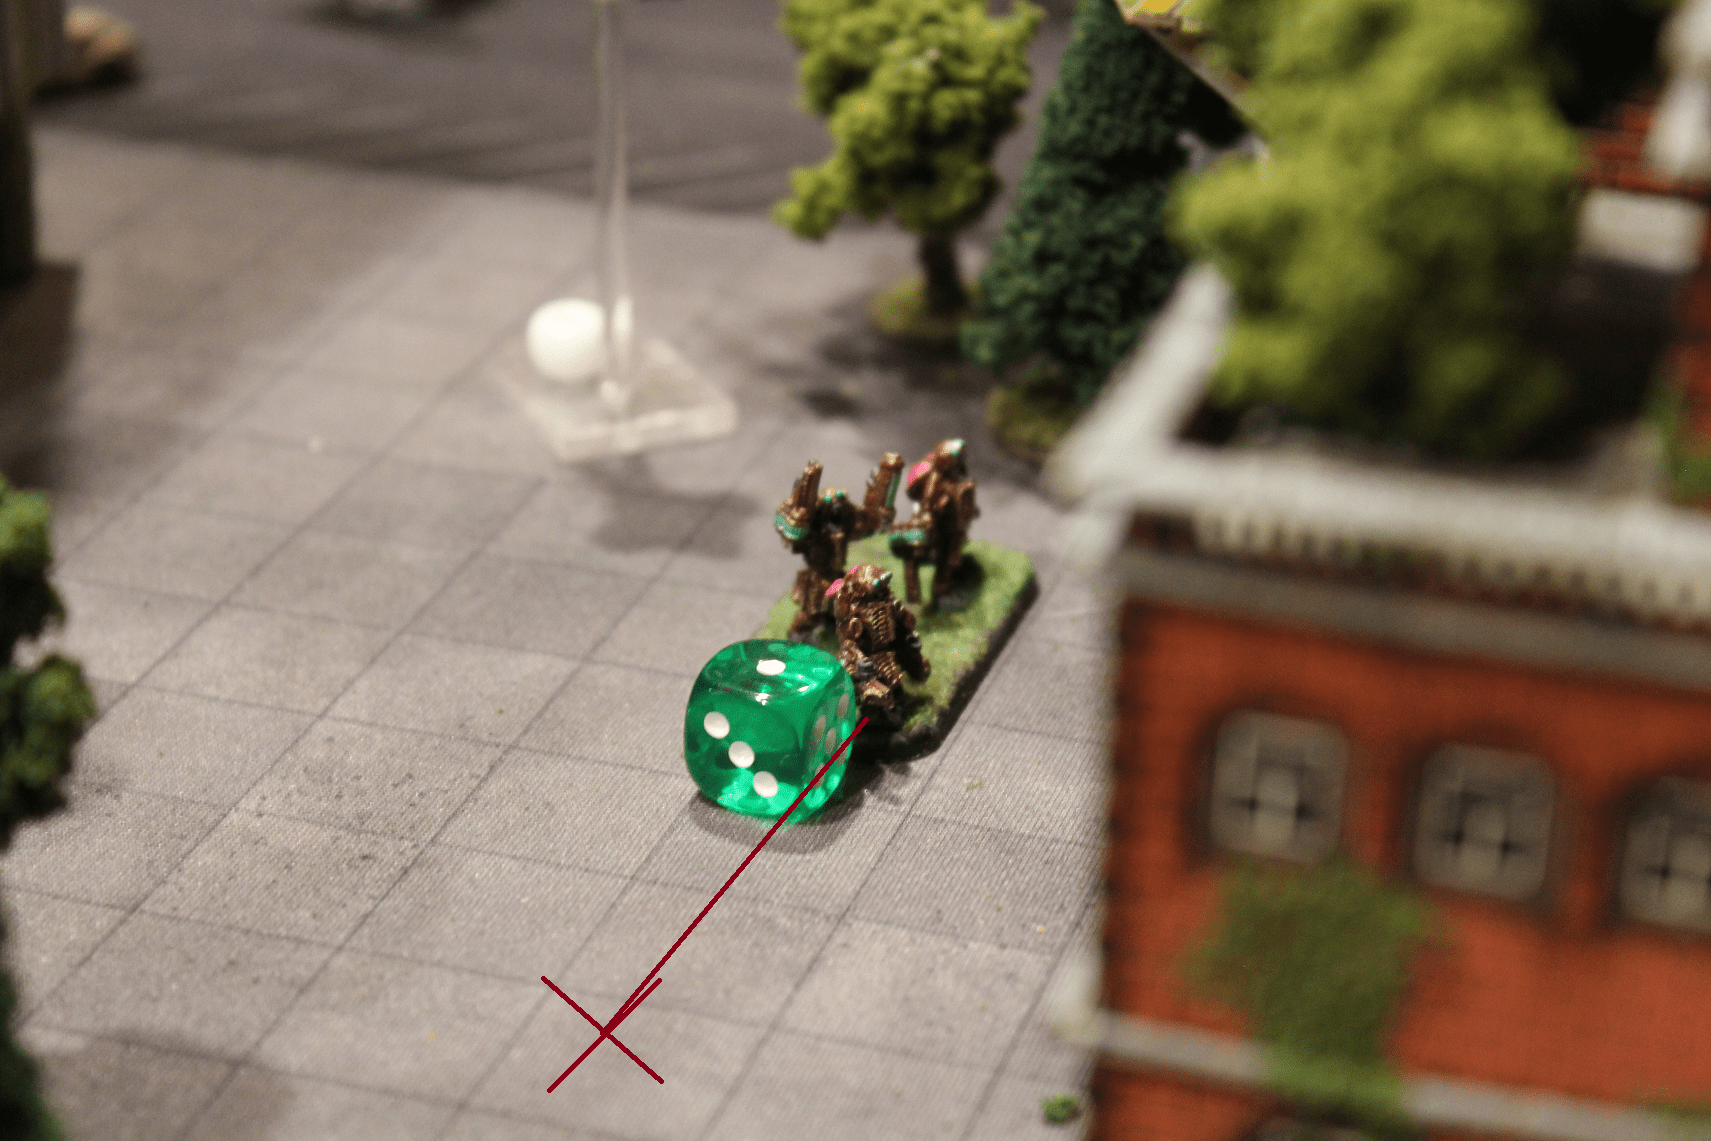
Sirens activate next, taking down the Prowlers, and I move the Triton behind the Longreach building to keep it safe for a potential objective extraction.

The intact armor group of Hunters and almost every auxiliary transport activates, with the latter all piling in on the center and a few getting in firing range of the behemoth. Just like the Triton from last activation, an Invader hides behind the building with the Warriors in wait.
Two Marauders and an Intruder let loose their plasma hoses at the Tethys, which takes two damage to the legs, triggering one cripple effect for one more point on the legs, while Hunters drop and take out one of the Thors.

I activate the armor group of Apollos and Phobos, shooting down the Harbinger and one Reaper.

Lone Hunter activates and blasts an Apollo.

My Immortal group is up, and I drop them into the building with the Valkyries. The Junos shoot at the Destroyers, inflicting no damage, and the Neptune misses a shot. The Immortals go to the wall and shoot down at them, finally killing one, but the other makes both passive saves it needed to and trudges onward.
All my Neptunes activate and shuffle around the board, failing to do anything with their shots. I land one between the Hunters and my Thor, blocking line of sight and giving it some hull down protection. The Triton troopship swoops over towards the Siren building.

Reaper dashes under the Tethys, and knocks a Mercury out of the sky.

I fire with the Longreaches, killing one Reaper and failing to damage the second, after which she plays her own Reactionary Tactics card and gets the Desolator into the pile.

The Desolator sends an ion cyclone into the Siren building, frying one base.

Phobos armor group is up, and shoots at the Desolator. A Deploy Flares card, forcing rerolls of all succesful damage rolls, keeps it in pristine condition.

Final Scourge activation, and it’s time for tentacles. The Warriors signal down the Dictator, which lands without incident. The lone Destroyer dumps a plasma charge into a Juno, destroying it with a critical.

Thor and Mercury vanguard group activates, with the Mercury moving towards the side objective building and picking up a scan token, while the Thor makes the 5+ needed to hit the Hunter group and takes them all out.

Final activation is my HQ group, and the Heras put on a poor display in an attempt to knock out the nearby Hunter.

End of round 2, and not one search action has taken place yet, so all the side objectives are unclaimed. 945 points of Scourge in range, versus 805 of PHR, so she secures the center objective again and extends her lead. One obvious mistake I noticed on my part is that I should have walked my two Phobos groups up towards the center to with the aim of contributing there later, but oh well.
PHR 0 – Scourge 2
Round 3

PHR wins initiative this turn, and I activate the Tethys, overcharging the sunglaives. The lasers and a nova missile go into the Dictator’s weapons, while one of the flamethrowers targets the Warrior garrison. Nine damage goes through to the weapons, plus one for the crippling, knocking out the Arc Maw and the left side Accelerators.
The three flame shots each hit, wiping out a base per shot and eliminating the Warriors.

She activates her behemoth now, and makes a full move into the center. The stomp damage kills her own Reaper, but also takes out the Apollo, and a static accelerator shot removes a Phobos. The Desolator and a Neptune had to be shuffled a bit just to make room for the Dictator.

I make another attempt at shooting down the Hunter with the Heras, and they disappoint once more.

The last Hunter and all the flying transports activate and target the weapons on the Tethys. The Hunter misses, and the transports get three damage through.

The dual Phobos armor group activates, and nearly KOs the Desolator.

Before I have a chance to finish the job with my other Phobos, she moves it behind the building and tries to wipe out the Sirens, but only gets two damage through.

Lusting for aircraft blood, the other Phobos marches ahead and blast a Marauder out of the sky.
You may have noticed that I activated multiple minigun toting walkers, and all of said walkers did not use said miniguns. That is because I completely forgot about this absolute fucker, who blasted away my other Juno with another critical plasma charger hit.

My Thor/Mercury vanguard group goes to bat, with the Mercury moving up to within 2″ of the building, and providing more line of sight to the Thor to target the Hunter. It makes another 5+ hit, taking out both the Hunter and the Reaper.

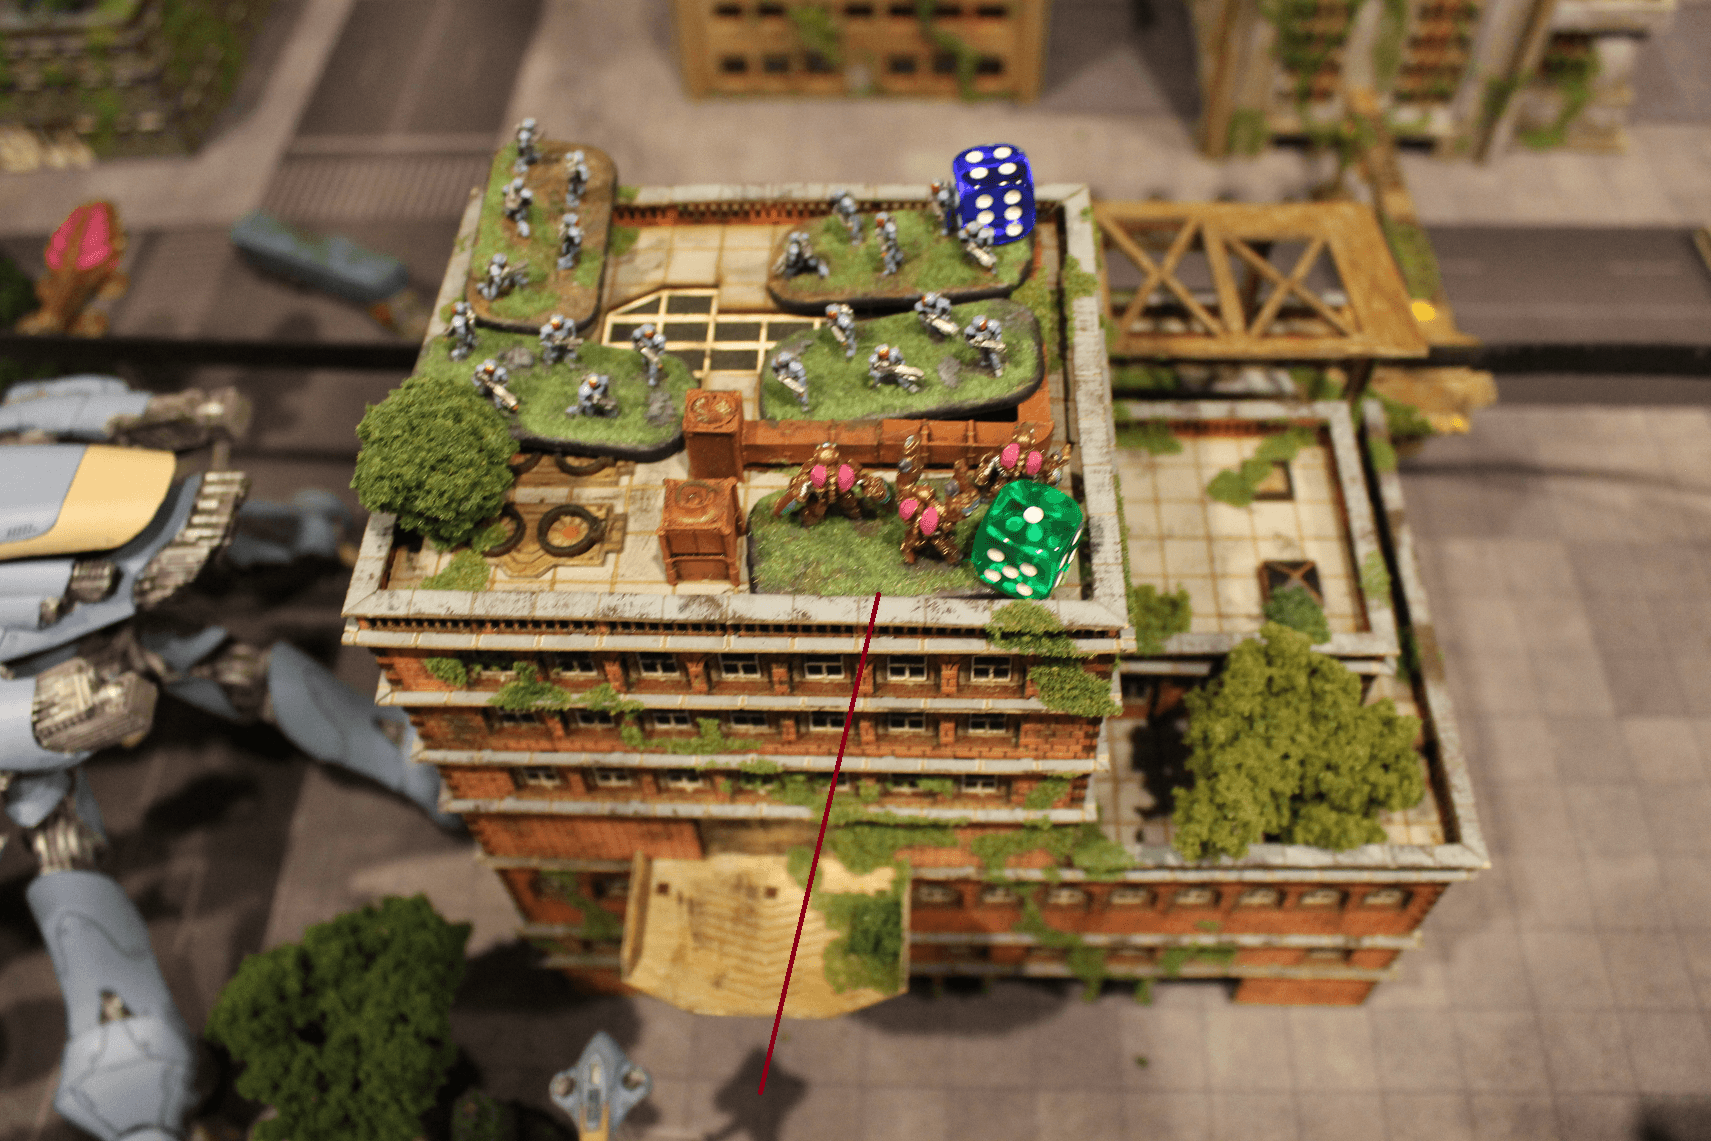
At this point she had nothing left to activate, so I did all my infantry and auxiliary stuff as pictured in one go. The Sirens fail to find the objective, the Longreaches get it, and despite using both scan tokens the first Immortal squad fails their search, while the second nabs it and tosses it over to the Valkyries, who hop into the next building.
End of round 3, and now PHR has control of the central objective.
PHR 1 – Scourge 2
Round 4

At this point, it seems clear PHR is going to pull ahead, but we’re playing out one more round at least.
She plays Quick Strategist before the initiative roll, giving her +3 to it, and winning initiative as a result. We both play Cloaking Field on our respective commanders as well while discarding, granting them P5+. After drawing cards, she plays a Shock Assault and activates the Desolator, burning away the last Siren.

The Dictator begins their final stand, and moves around the center. The Phobos is crushed, but the Hera avoids any damage. All three seeker lashes go at the Longreaches, who take 9 damage, surviving with one last fighter. The Dictator can actually target them with the remaining pair of static accelerators, as they never moved back from the edge, but between their E+3 and soft cover, it’s a 7+ to hit.
So instead, she targets the building itself, hoping to nail the last Longreach with collateral damage, and succeeds.
The flyers all repeat their plasma hose drenching on the Tethys weapons, but nothing gets enough focus hits to make it through.

First up for me is the Heras and all the transports. The Heras get two damage through on the weapons, the Neptunes fail to penetrate with their stealth missiles, and the Triton deals the last point of damage with the nanomachines to close out the weapons, and gets a crippling point over to the legs to begin working on them.
The Destroyer charges in and takes out one Immortal. You go for it, little angry giant alien thing.

Phobos squad take out an Intruder and damage a Marauder.

Thor knocks off a leg damage point, Valkyries net +2 VP.

Immortals finally put an end to the reign of terror. Go with grace, beautiful Destroyer.
End of round 4, PHR scores an objective and controls the middle.
PHR 4 – Scourge 2
We called it at that point as it was late, all the picture and note taking extended the game time out dramatically. For some thoughts on it; the scenario lended itself well to just slamming down a behemoth in one spot, so the Tethys was perfectly happy with it. The deciding point was likely the start of round 3, with the Tethys knocking out the arc maw on the Dictator and frying all the Warriors, keeping the Scourge from scoring an objective and getting a big chain hit on the maw that could have swung control of the center firmly under her. A big chunk of her forces getting splatted by the drop harness didn’t help either.
The lists didn’t have any glaring issues near as we could tell, although I probably should have gone with something like Ares over the Apollos, since the mobility hardly mattered in this scenario.
This was a fast and bloody game, likely due not just to the scenario but to the more open terrain layout. Had a good time despite it quickly descending into a blood orgy in the middle of the board; next time we play I’m going to pick something like the intel scenario and set up denser terrain to see how the behemoths compare there.
